

Have you ever stared at a blank sketchbook page, wanting to draw a face, and felt stuck because faces seem so hard? Here’s a trick that changed things for me: stop thinking of a face as a face and start thinking of it as shapes. A triangle nose, two circle eyes, a rectangle mouth. Suddenly it’s a puzzle instead of a portrait.
Geometric face drawings are bold, graphic and very beginner friendly. A ruler does half the work, and straight lines hide shaky hands better than curves. They also look striking on a sketchbook spread, almost like modern posters.
This list starts with simple shape faces and builds up to low-poly and kaleidoscope portraits. Each idea comes with three steps, a time estimate and what you’ll need. Grab a pencil, a ruler and a black pen, and let’s build some faces.
Key Takeaways
- Sketch the big shape of the head first, then fit the features inside it.
- A ruler and a pencil make everything easier. Ink over your lines once you’re happy.
- Mix only two or three shapes per face for a clean, bold look.
- Use solid black fills on a few shapes to add contrast without color.
- Symmetry looks calm, asymmetry looks playful. Choose one on purpose.
Easy Ideas
#1: Triangle Face
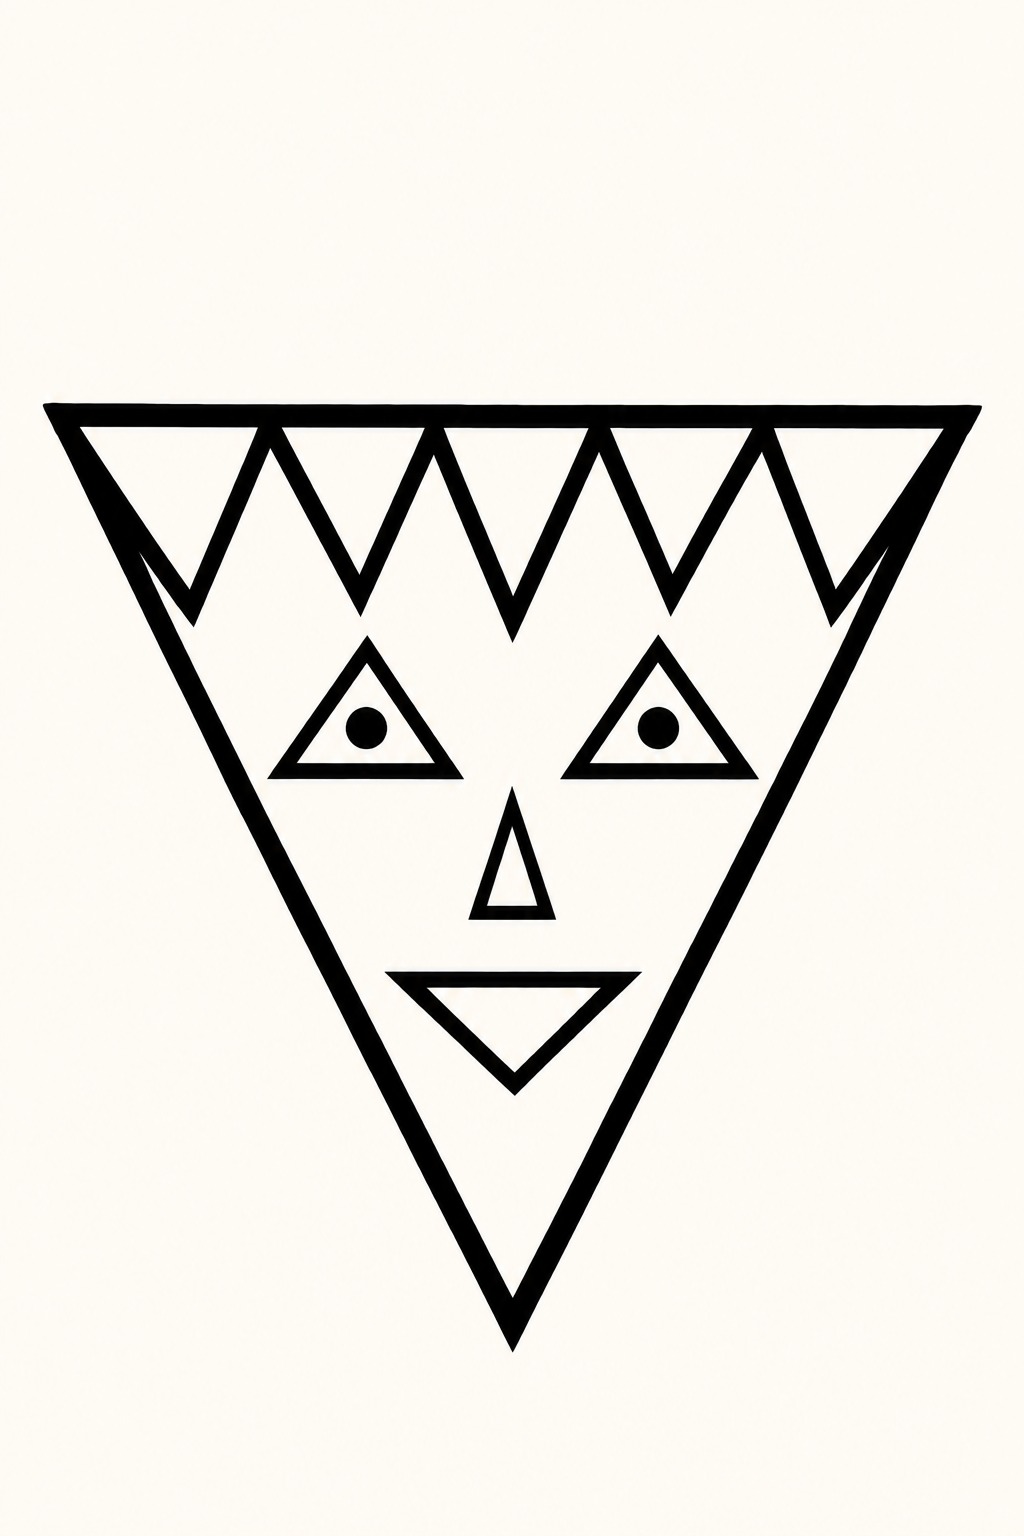
A whole face built from triangles: a big upside-down triangle for the head, smaller triangles for the eyes and a tiny one for the nose. It’s sharp, bold and takes a couple of minutes.
Try this:
- Draw a large upside-down triangle for the head.
- Add two small triangles for eyes and a narrow one for the nose.
- Finish with a flat triangle mouth and a triangle fringe of hair.
Difficulty: Easy · Time: ~3 min · You’ll need: pencil, ruler and a black pen
#2: Block Head Face
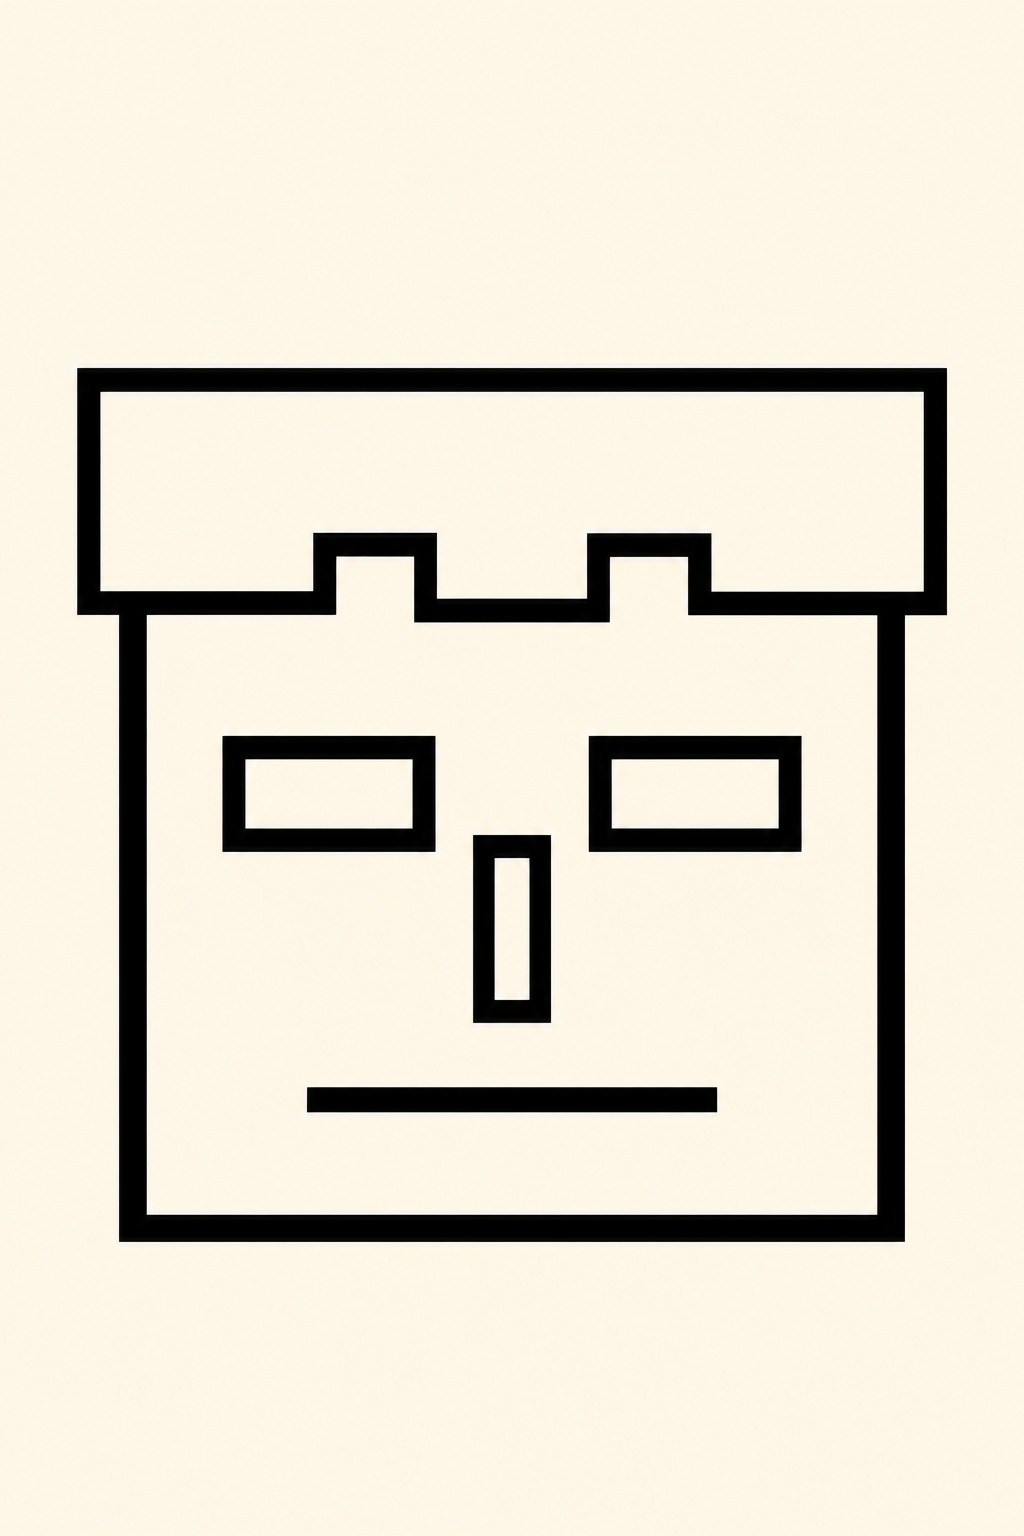
Start with a square head and keep everything boxy: rectangle eyes, a rectangle nose and a straight-line mouth. It looks like a modern sticker and is very hard to get wrong.
Try this:
- Draw a square for the head with a ruler.
- Add two small rectangles for eyes and a tall thin one for the nose.
- Draw a straight mouth and a flat rectangle for the hair.
Difficulty: Easy · Time: ~3 min · You’ll need: a ruler and pen
Pro tip: Fill the hair rectangle solid black. That one dark block makes the whole face pop.
#3: Circle-Stack Face
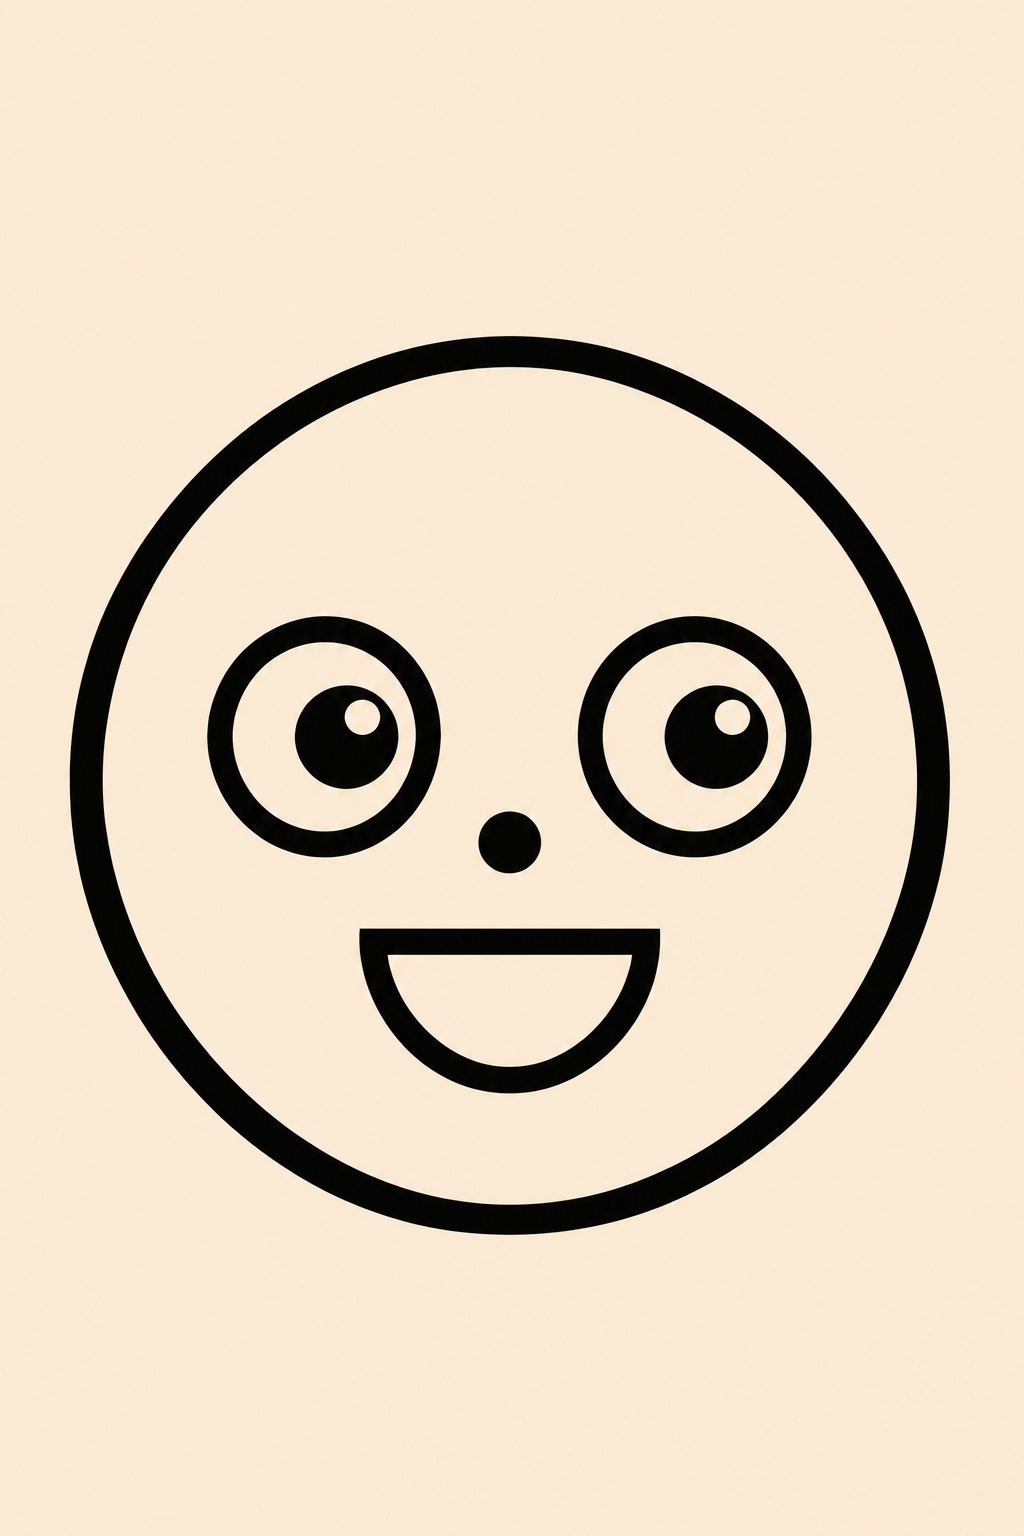
Every feature is a circle here, just in different sizes. A big circle head, medium circle eyes, a small circle nose and a half circle mouth. It’s soft, friendly and a nice break from straight lines.
Try this:
- Trace a mug or lid for the head circle.
- Add two medium circles for eyes with smaller circles inside.
- Draw a dot nose and a half-circle mouth.
Difficulty: Easy · Time: ~3 min · You’ll need: a pen and a round object to trace
#4: Half-Moon Sleepy Face
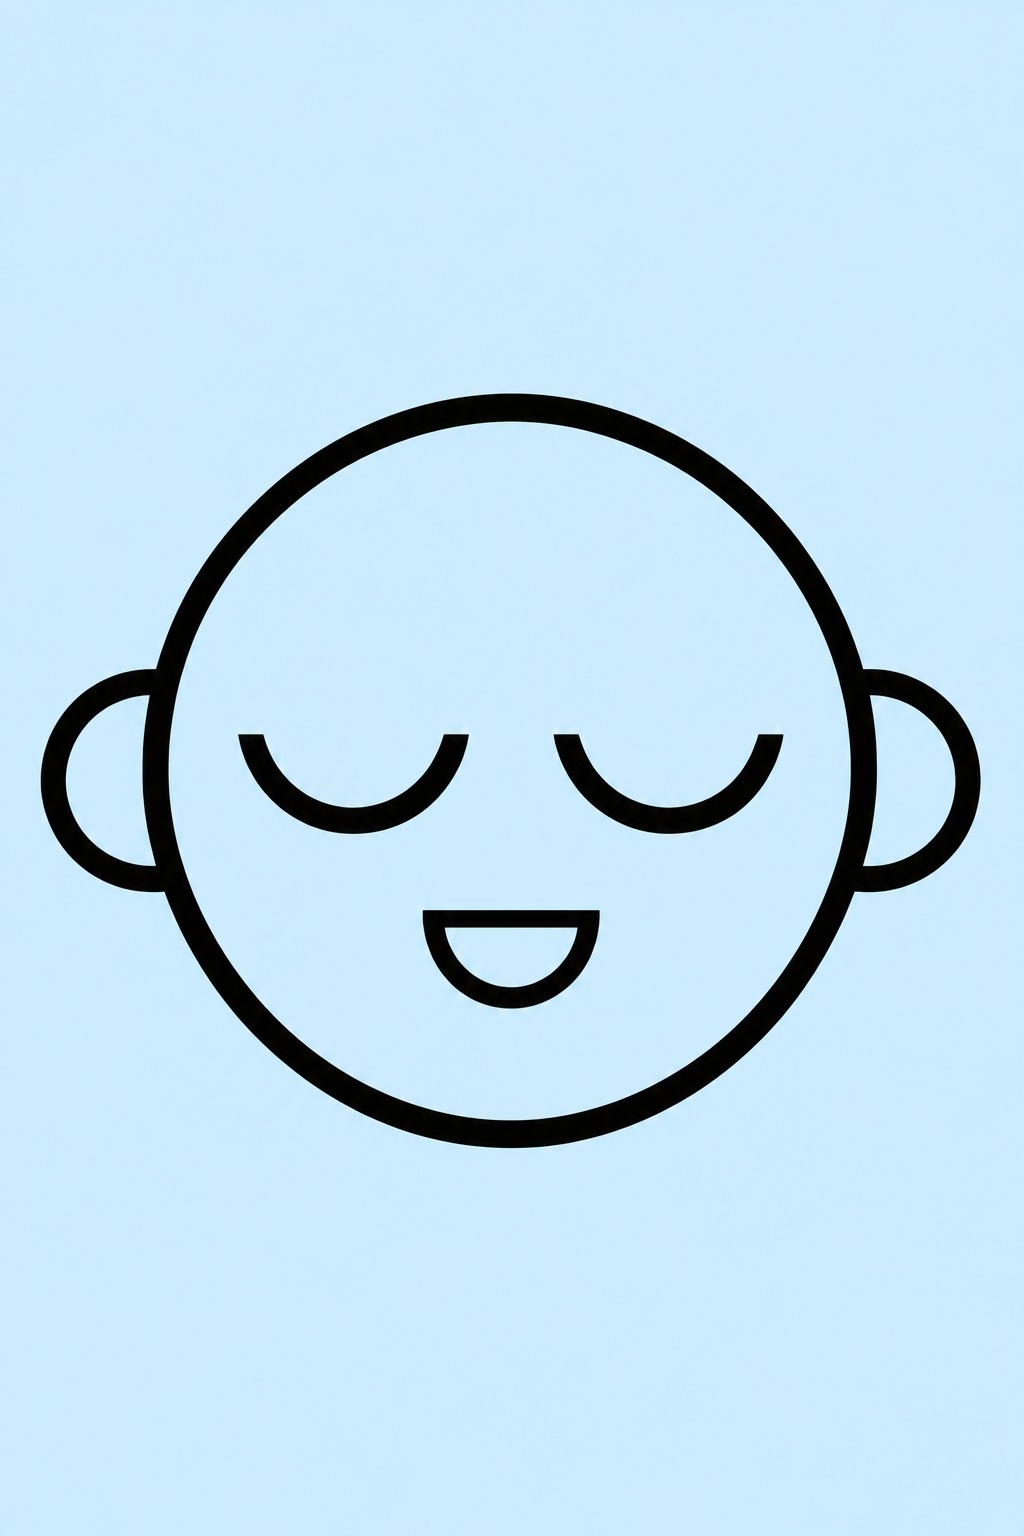
Use half circles for everything: half-moon closed eyes, a half-moon mouth and half-moon ears. The repeated shape makes it look calm and sleepy.
Try this:
- Draw a large circle for the head.
- Add two half circles, flat side up, for closed eyes.
- Add a small half-circle mouth and half-circle ears.
Difficulty: Easy · Time: ~3 min · You’ll need: pencil and pen
#5: Diamond Face with Bob Hair
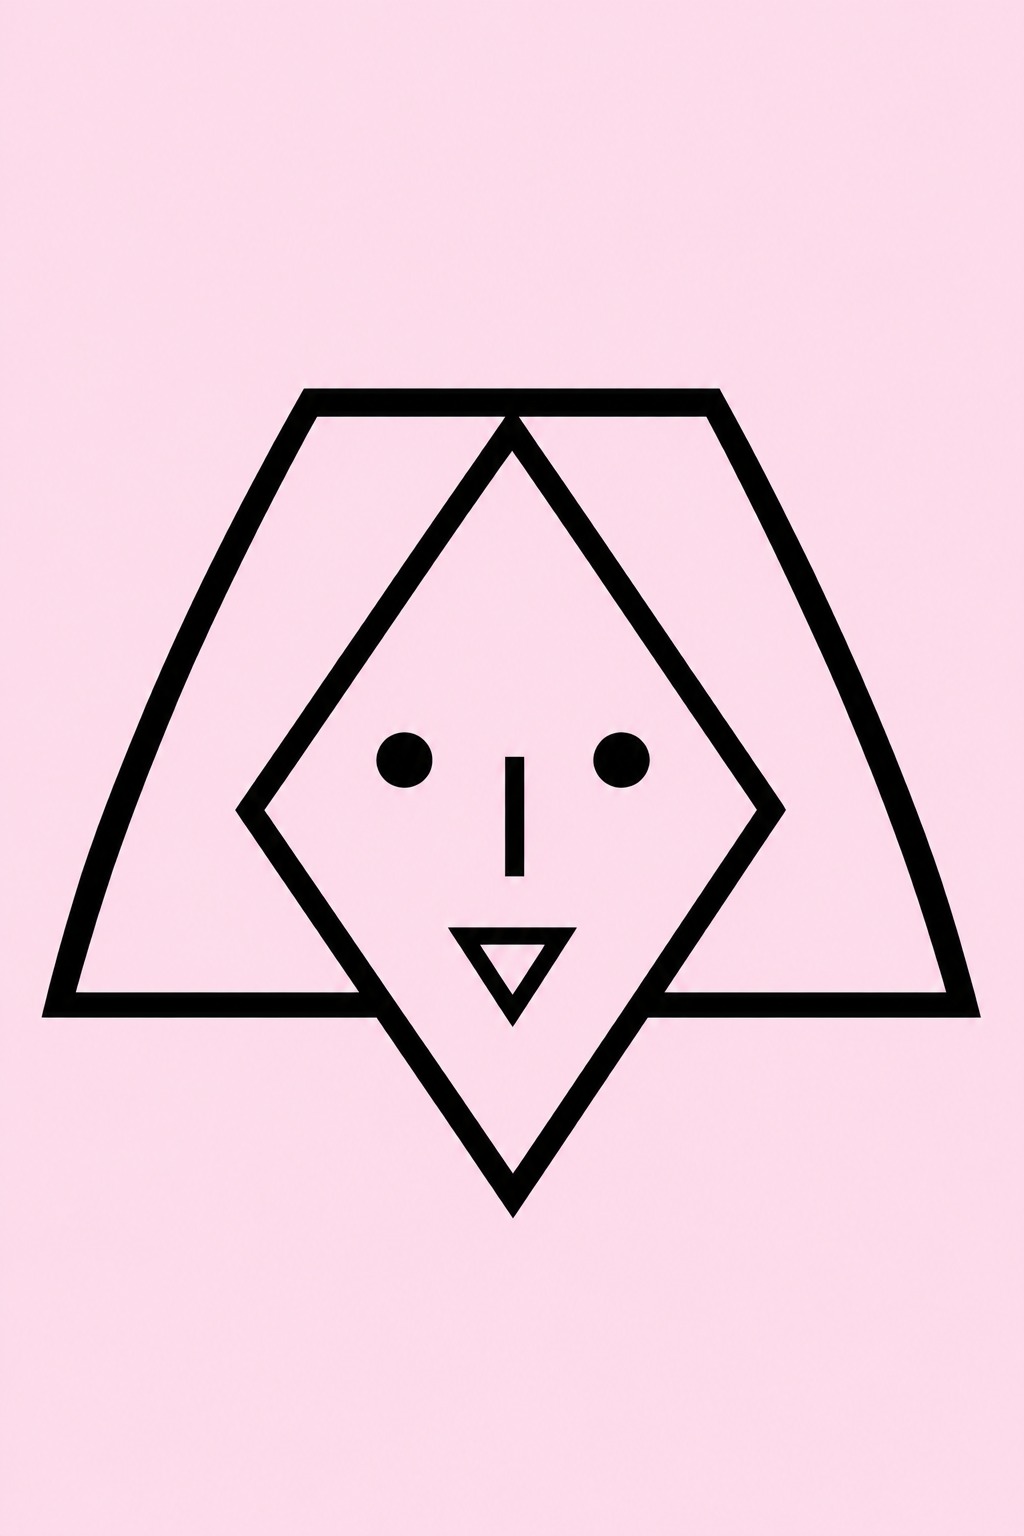
A diamond-shaped head framed by a sharp geometric bob haircut. The angles of the hair and face echo each other, which gives it a fashion-illustration feel.
Try this:
- Draw a tall diamond for the face.
- Frame it with a straight-edged bob made from two long trapezoids.
- Add dot eyes, a line nose and a small triangle mouth.
Difficulty: Easy · Time: ~5 min · You’ll need: pencil, ruler and pen
Medium Ideas
#6: Low-Poly Face
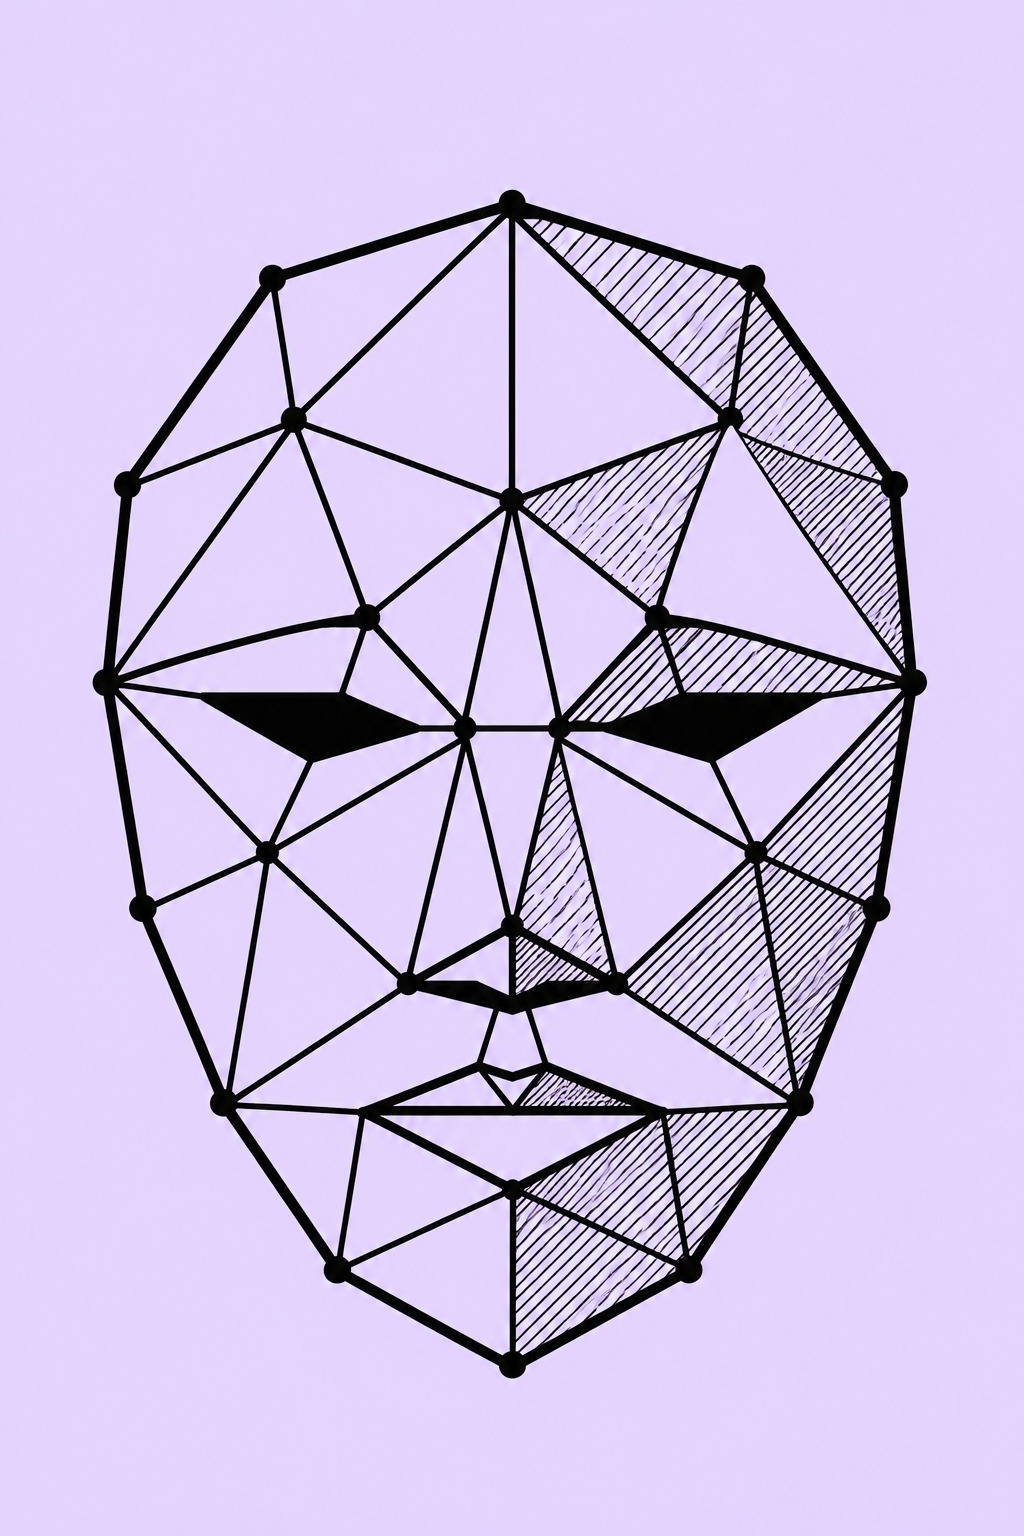
Low-poly means a shape built from lots of flat triangles, like an early video game character. Here you break a face outline into triangles and shade some of them darker to show the light.
Try this:
- Draw a simple oval face outline and mark dots around the edges and features.
- Connect the dots with straight lines until the face is all triangles.
- Shade a few triangles on one side darker with hatching.
Difficulty: Medium · Time: ~20 min · You’ll need: pencil, ruler and a fineliner
Common mistake: making all the triangles the same size. Use small ones around the eyes and big ones on the cheeks.
#7: Split Pattern Face
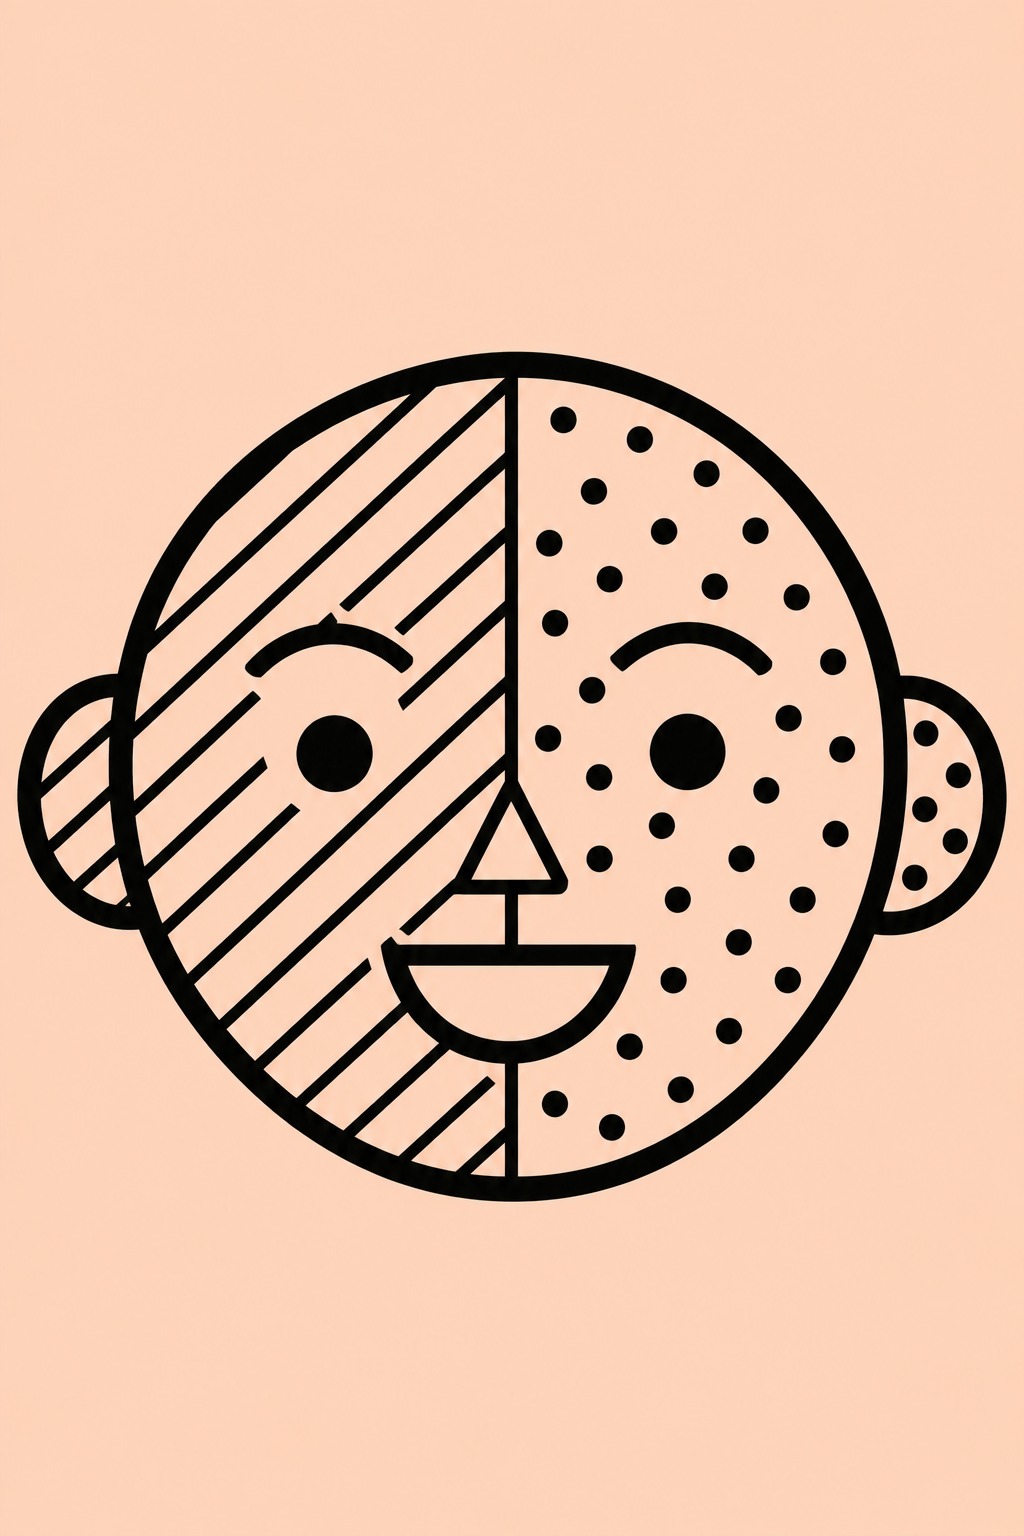
Draw a simple face and split it down the middle. Fill one half with stripes and the other with dots or checks. The face stays readable, but it turns into a pattern piece.
Try this:
- Draw a front-facing face with simple features.
- Rule a vertical line straight down the middle.
- Fill the left half with stripes and the right with dots.
Difficulty: Medium · Time: ~15 min · You’ll need: ruler and a fineliner
#8: Mosaic Tile Face
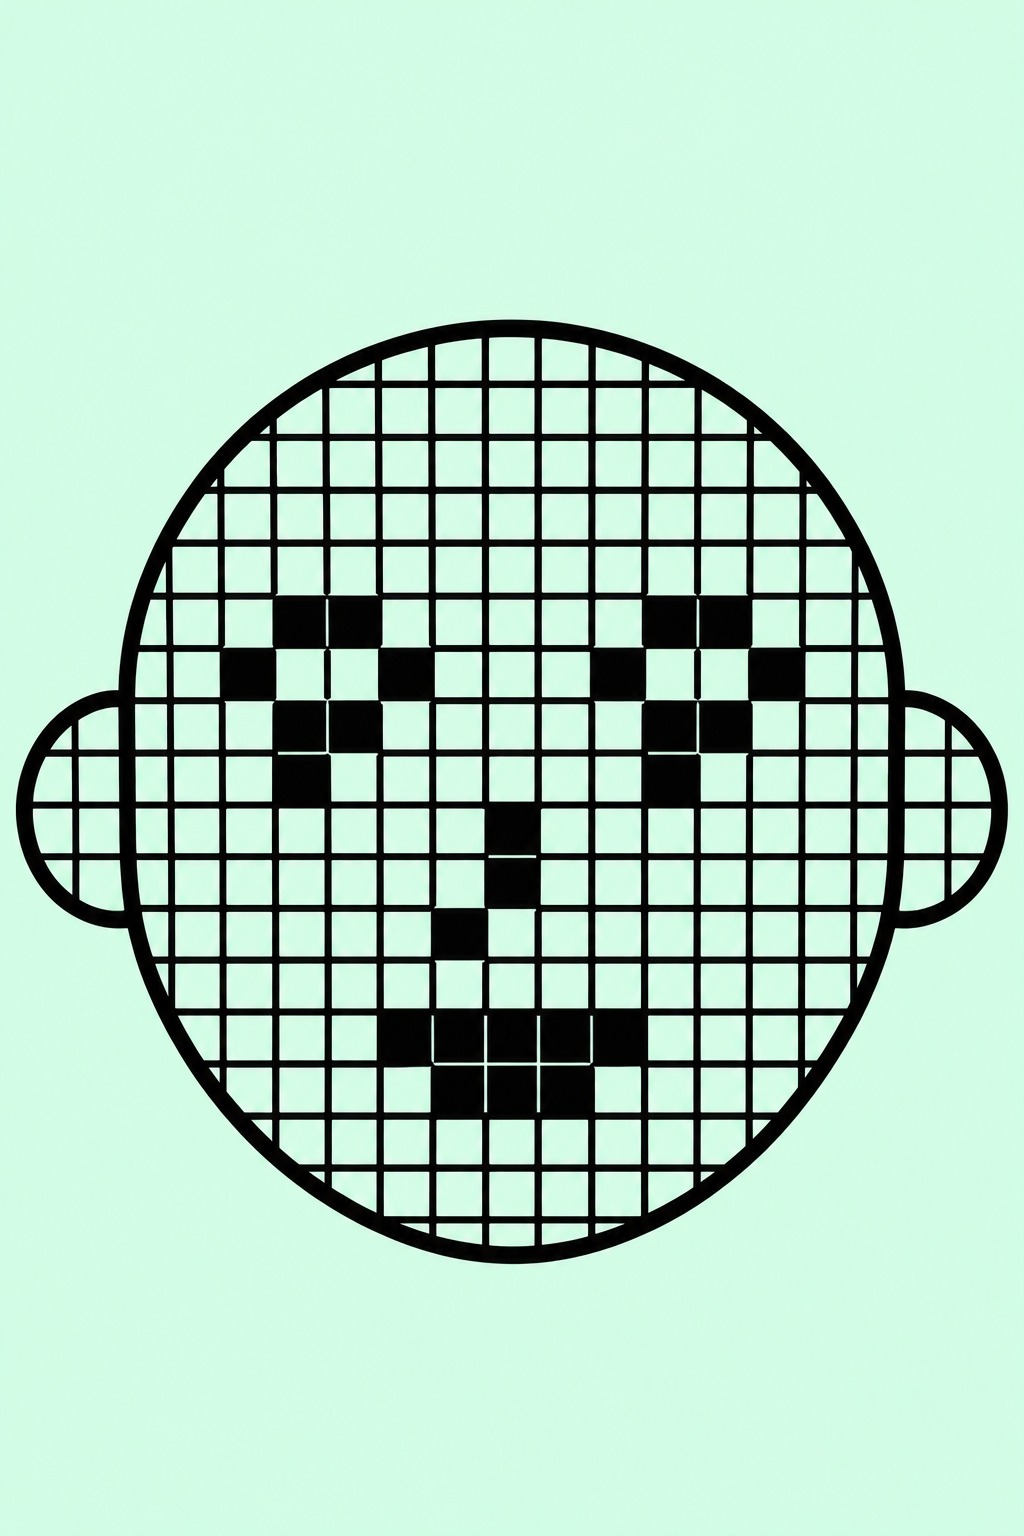
Divide the face into small square tiles, like a mosaic. Leave thin gaps between them and fill some tiles in black to form the eyes and lips.
Try this:
- Lightly draw a face outline and its features.
- Rule a grid of small squares across the whole face.
- Ink the squares, filling the ones that cover eyes and lips.
Difficulty: Medium · Time: ~25 min · You’ll need: pencil, ruler and a fineliner
I love this one on a rainy afternoon. It’s slow and really relaxing.
#9: Rearranged Shape Portrait
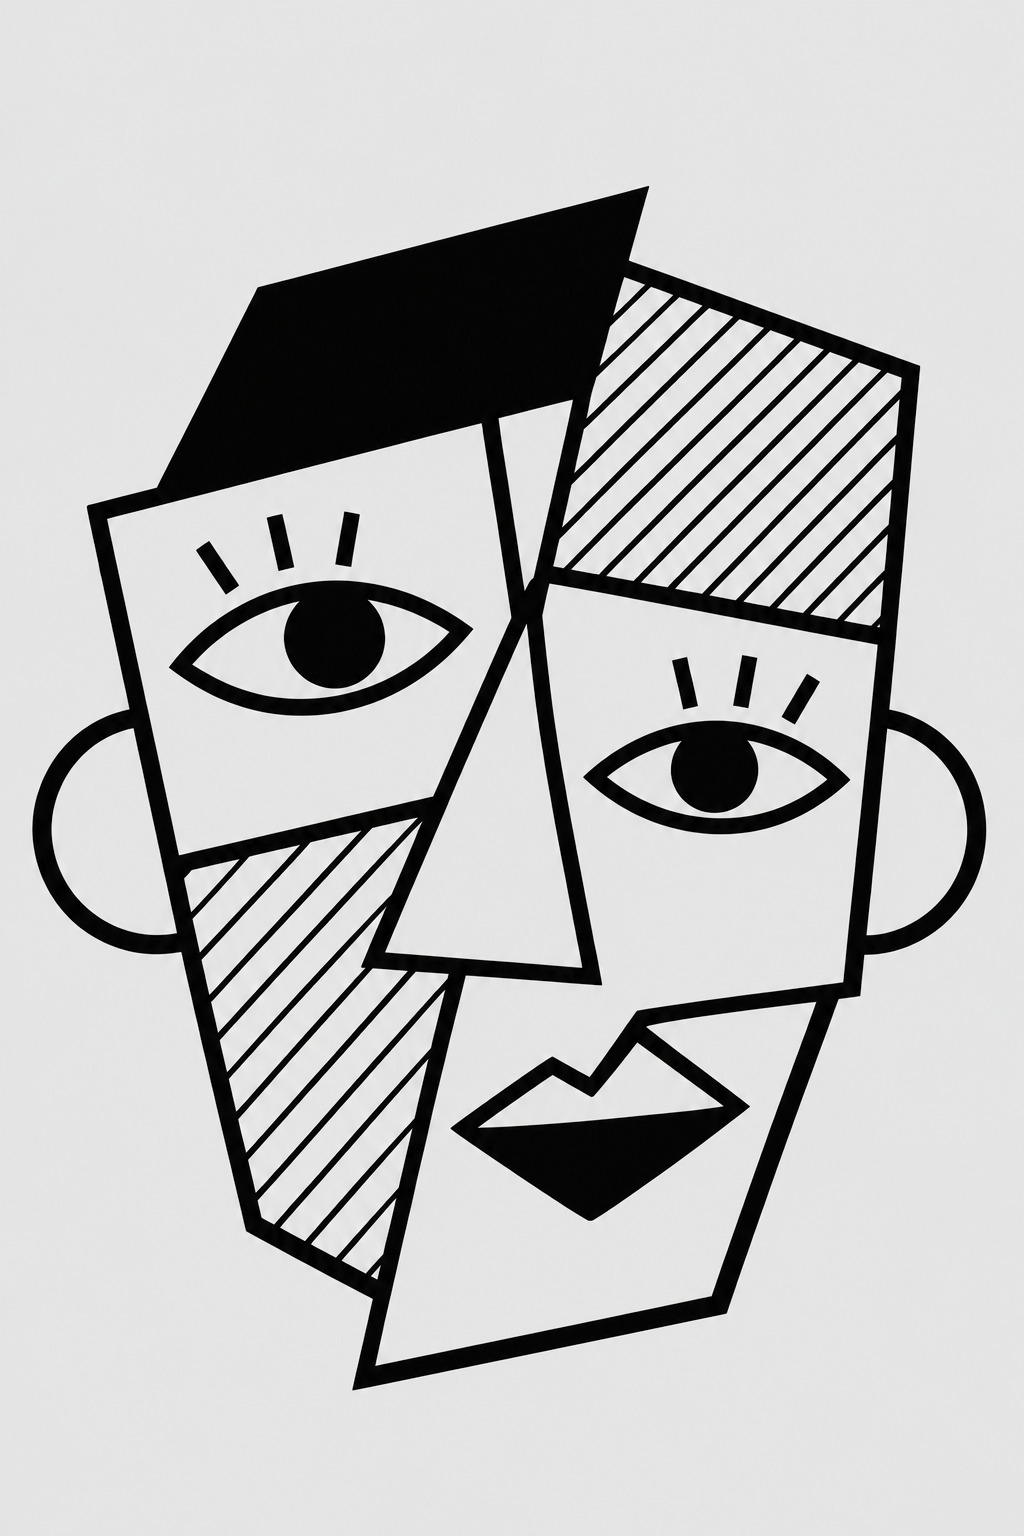
Inspired by cubist art, this face uses blocky shapes that don’t quite line up: an eye in a square, the nose in a triangle, the mouth slightly off center. It’s playful and looks like a modern art print.
Try this:
- Draw a rough head shape and divide it into four or five big angular sections.
- Put one feature in each section, slightly offset.
- Fill one or two sections with hatching or solid black.
Difficulty: Medium · Time: ~15 min · You’ll need: pencil and a fineliner
#10: Polygon Side Profile
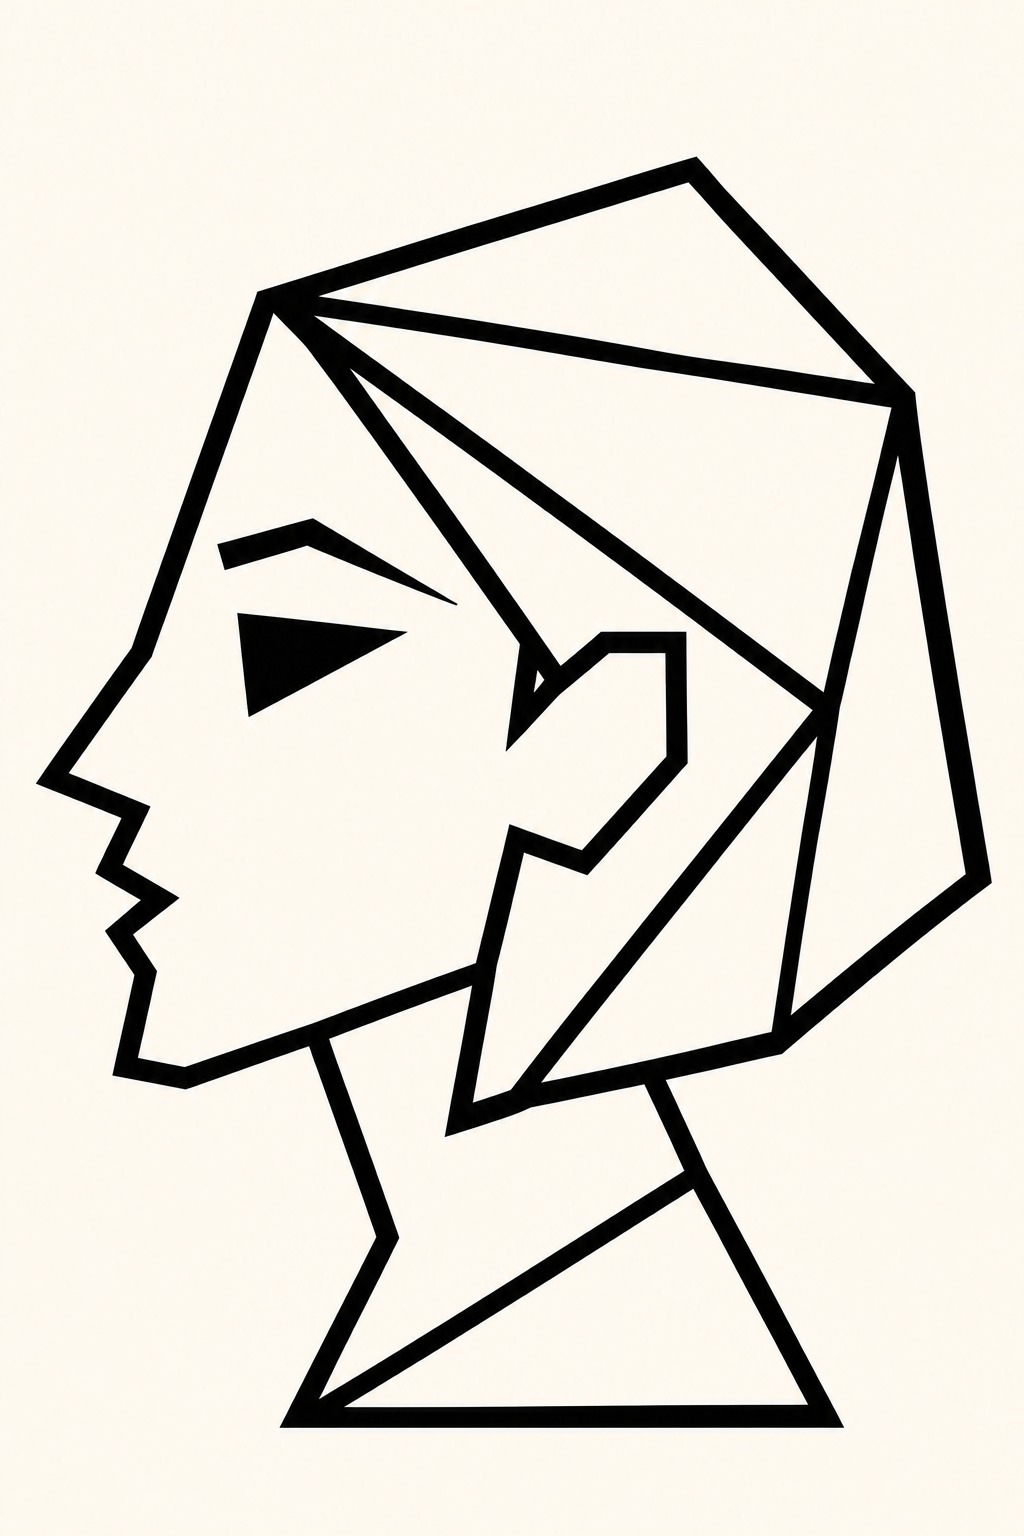
A side profile drawn only in straight lines, so the forehead, nose, lips and chin become sharp angles. It feels like a paper cut-out.
Try this:
- Draw the forehead as a straight slanted line.
- Make the nose, lips and chin with short angled segments.
- Add a triangle eye and angular hair at the back.
Difficulty: Medium · Time: ~10 min · You’ll need: a ruler and pen
#11: Geometric Pattern Hair
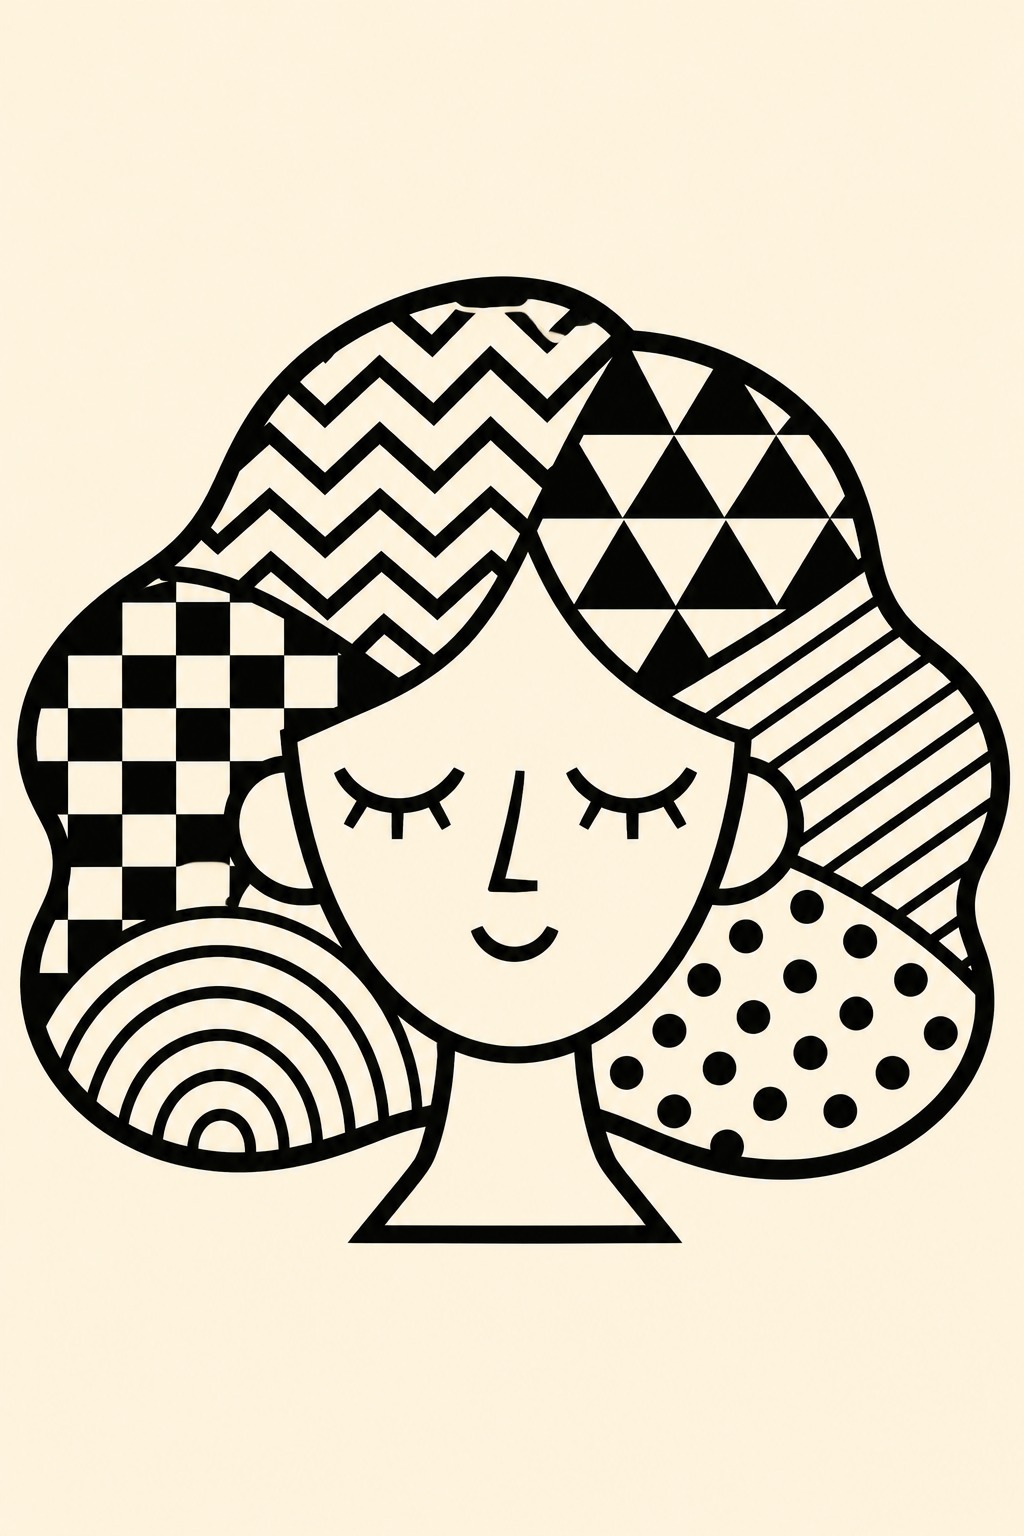
Keep the face very simple and pack all the detail into the hair. Fill the hair with zigzags, triangles, checkers or concentric arcs, a different pattern in each section.
Try this:
- Draw a small simple face with a big hair shape around it.
- Divide the hair into five or six sections.
- Fill each section with a different geometric pattern.
Difficulty: Medium · Time: ~20 min · You’ll need: pencil and a fineliner
Pro tip: Alternate busy and simple patterns so the hair doesn’t turn into gray noise.
Challenge Ideas
#12: Wireframe Head
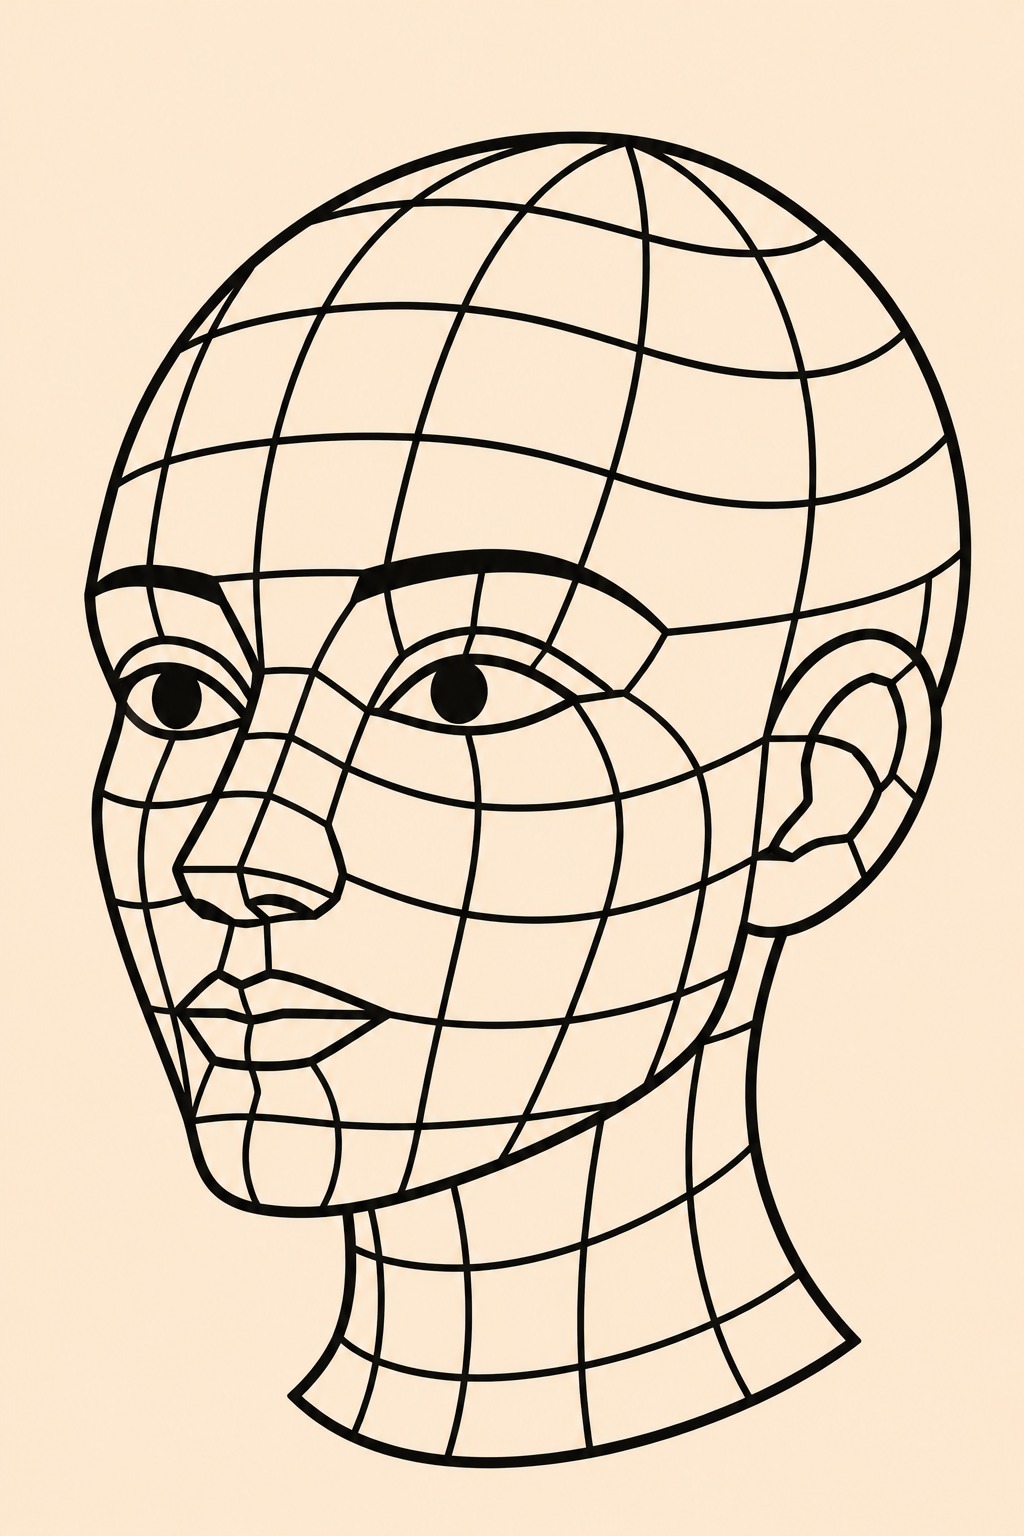
A head made of curved grid lines, like a 3D model. The lines wrap around the forehead, cheeks and chin, which gives a strong sense of shape without any shading.
Try this:
- Draw a three-quarter head outline in pencil.
- Add curved horizontal lines that wrap around the head.
- Add curved vertical lines that follow the nose and cheeks, then ink.
Difficulty: Hard · Time: ~30 min · You’ll need: pencil, eraser and a fineliner
#13: Origami Fold Face
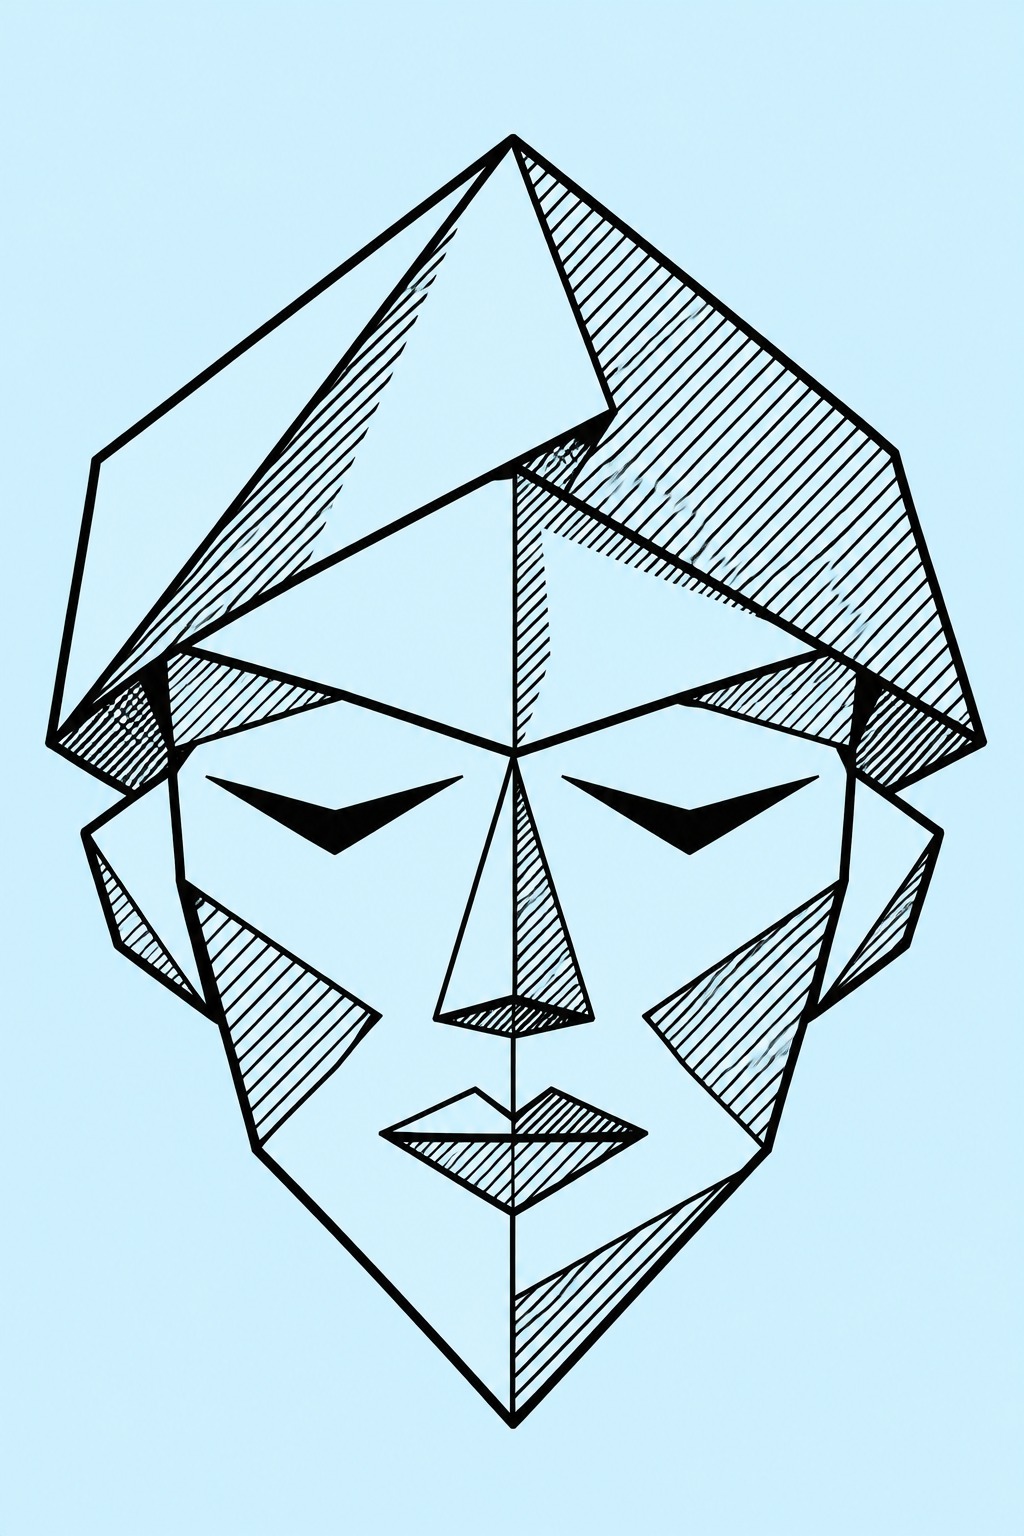
Draw a face as if it were folded from paper, with crisp fold lines and flat planes. Shade one side of each fold to make it look three-dimensional.
Try this:
- Sketch a diamond-shaped head with a central fold line down the nose.
- Add angled fold lines for the brow, cheeks and chin.
- Shade one side of each fold with neat hatching.
Difficulty: Hard · Time: ~25 min · You’ll need: pencil, ruler and a fineliner
#14: Geometric Mask Face
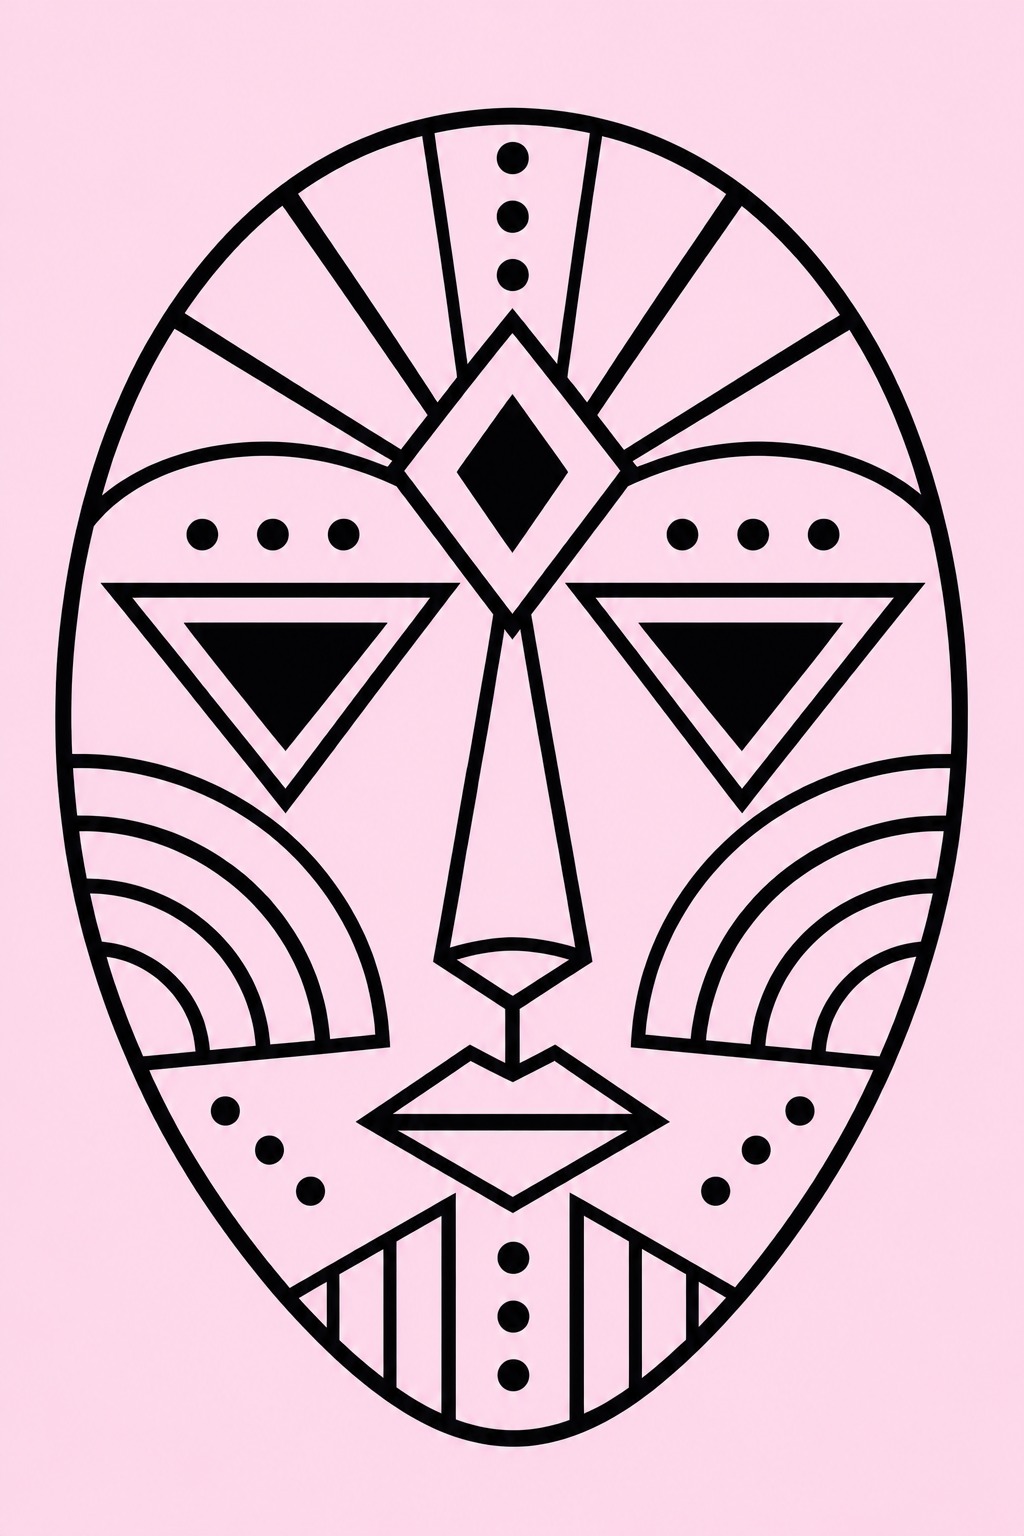
Build a decorative mask from shapes: triangle eye holes, a diamond on the forehead, stacked arcs on the cheeks. It’s bold and a little mysterious.
Try this:
- Draw a symmetrical oval mask outline.
- Add triangle eyes, a central diamond and a narrow nose.
- Decorate the cheeks and chin with arcs, dots and lines.
Difficulty: Hard · Time: ~25 min · You’ll need: pencil, ruler and a fineliner
I like to fold the paper in half first to get perfect symmetry.
#15: Kaleidoscope Face
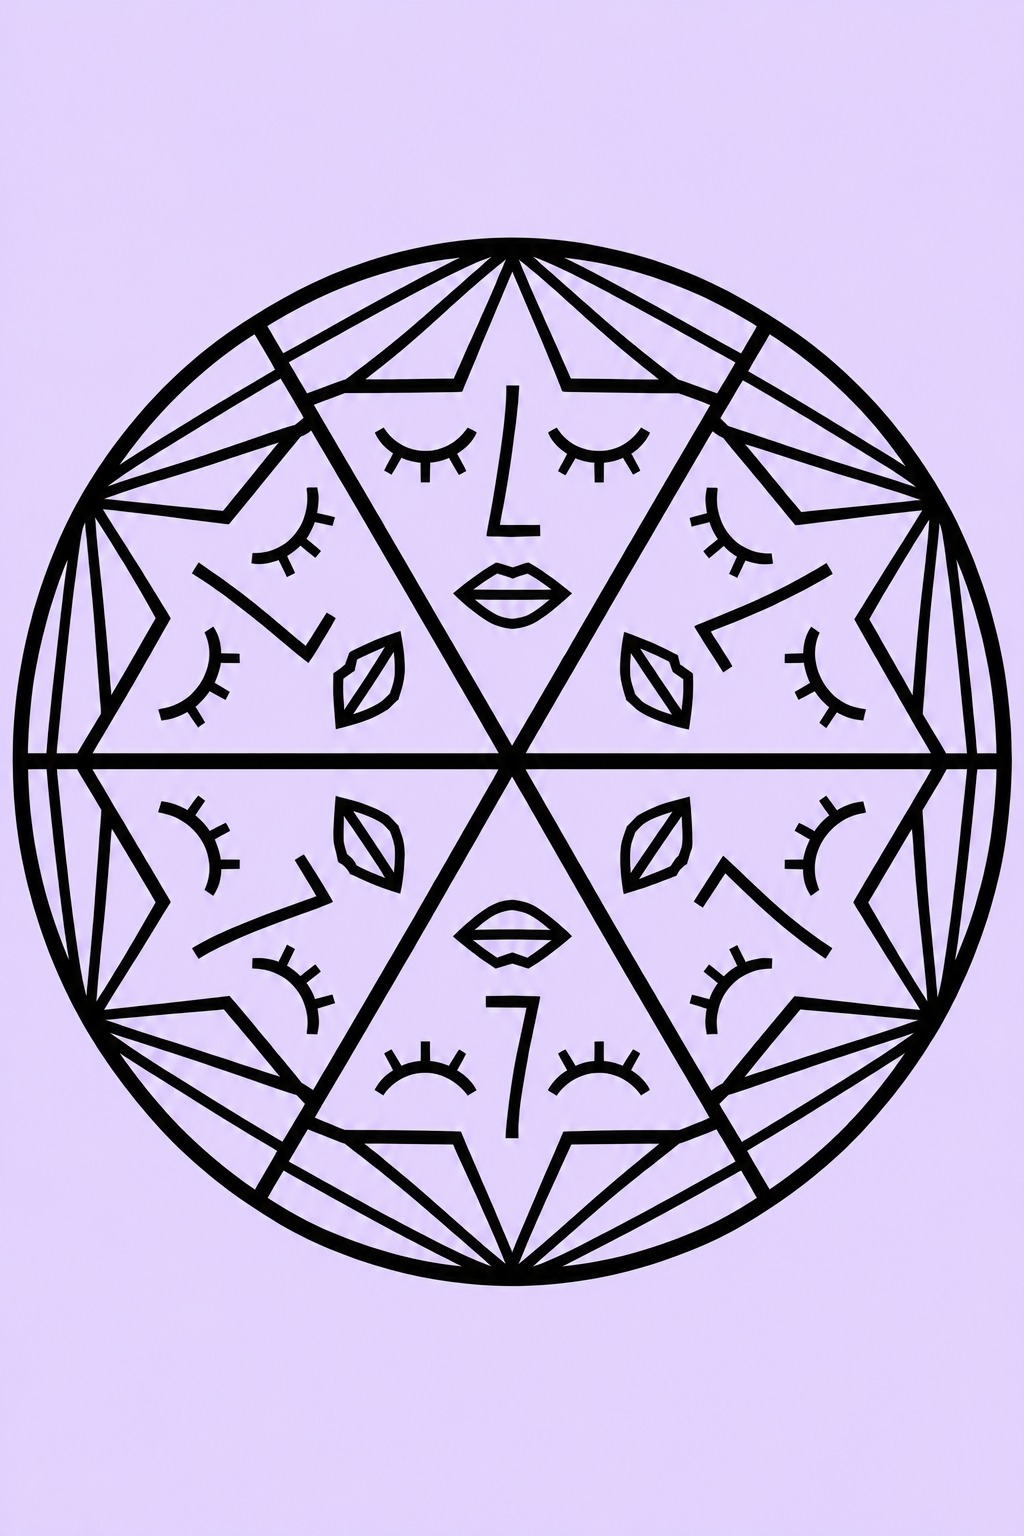
A face that repeats around a center point, like a kaleidoscope. Draw one simple face segment and copy it around a circle so the features form a star-like pattern.
Try this:
- Draw a circle and divide it into six equal slices.
- Draw a simple eye, nose and lip shape in one slice.
- Repeat the same shapes in every slice, then ink.
Difficulty: Hard · Time: ~35 min · You’ll need: a compass or round object, ruler and fineliner
Common mistake: skipping the guide slices. Without them the pattern drifts quickly.
FAQ
How do you draw a geometric face?
Start with one big shape for the head, such as a triangle, square or diamond. Then fit simple shapes inside it for the eyes, nose and mouth. Keep the number of different shapes small so the face stays bold and readable.
What is a low-poly drawing?
A low-poly drawing breaks a subject into many flat triangles, like an early 3D computer model. Shading some triangles darker than others makes the shape look three-dimensional.
Do I need a ruler to draw geometric faces?
A ruler helps with clean straight lines, especially for low-poly and mosaic ideas. Freehand geometric faces look fine too and have a more relaxed, sketchy feel.
Are geometric faces easier than realistic faces?
For most beginners, yes. Shapes are easier to measure and repeat than curves, and nobody expects a geometric face to look like a real person. It’s a great way to practice proportion without pressure.
Conclusion
Geometric face drawings show that a face can be built from the same shapes you learned as a kid. Triangles, squares and circles turn into eyes, noses and hair, and with a ruler and a black pen you get bold, graphic results fast.
Start with the triangle face or the block head, then move on to low-poly and mosaic faces when you want something slower and more detailed. If a line ends up crooked, keep going. Crooked lines are part of the charm, and every face you draw makes the next one easier.
If you like working with shapes, try some abstract drawing ideas, practice bold edges with outline drawing ideas, or turn your shape faces into characters with these easy doodle characters.
Keep your sketchbook open, pick a shape and see what kind of face it wants to become. Everyone can draw this way, and you might surprise yourself.

Jessie has a passion for bringing people together through creativity and socializing. She has organized many painting events that have left guests with lasting memories and new friendships. She’s also been to various sip events to unleash her own creativity and connect with like-minded individuals.