Have you ever looked at a simple kitchen sponge and thought, “There’s no way this could turn into art”? Oh, my friend… it absolutely can! Sponge painting is one of my favorite beginner-friendly techniques because it requires almost no special tools, just a sponge, paint, and a surface to play on. Even better? This style is naturally forgiving. The textures hide little slips, the shapes are easy to control, and every dab looks beautifully organic.
Whether you’re painting with kids, crafting during a cozy weekend, prepping party decor, or just experimenting to unwind, sponge painting gives you instant results with almost no pressure. You don’t need fancy brushes or advanced blending skills. Just tap, drag, swirl, and have fun. Keep reading for simple, creative ideas that you can try with any sponge, even the ones you already have at home.
Key Takeaways
- Sponge painting is beginner-friendly and kid-approved.
- You get natural textures instantly, no blending skills required.
- Most projects use items you already own.
- The technique works on paper, canvas, wood, ceramics, and even fabric.
- Mistakes blend in easily, making this a low-stress art activity.
#1: Cloudy Sky Sponges

Use a soft sponge to dab fluffy cloud shapes across a blue background. Start heavy in the center, then tap lightly outward to get that soft fade. This is a great warm-up project because the texture does most of the work for you.
Pro tip: tear the sponge instead of cutting it, you’ll get a more natural cloud edge.
#2: Ocean Wave Texture
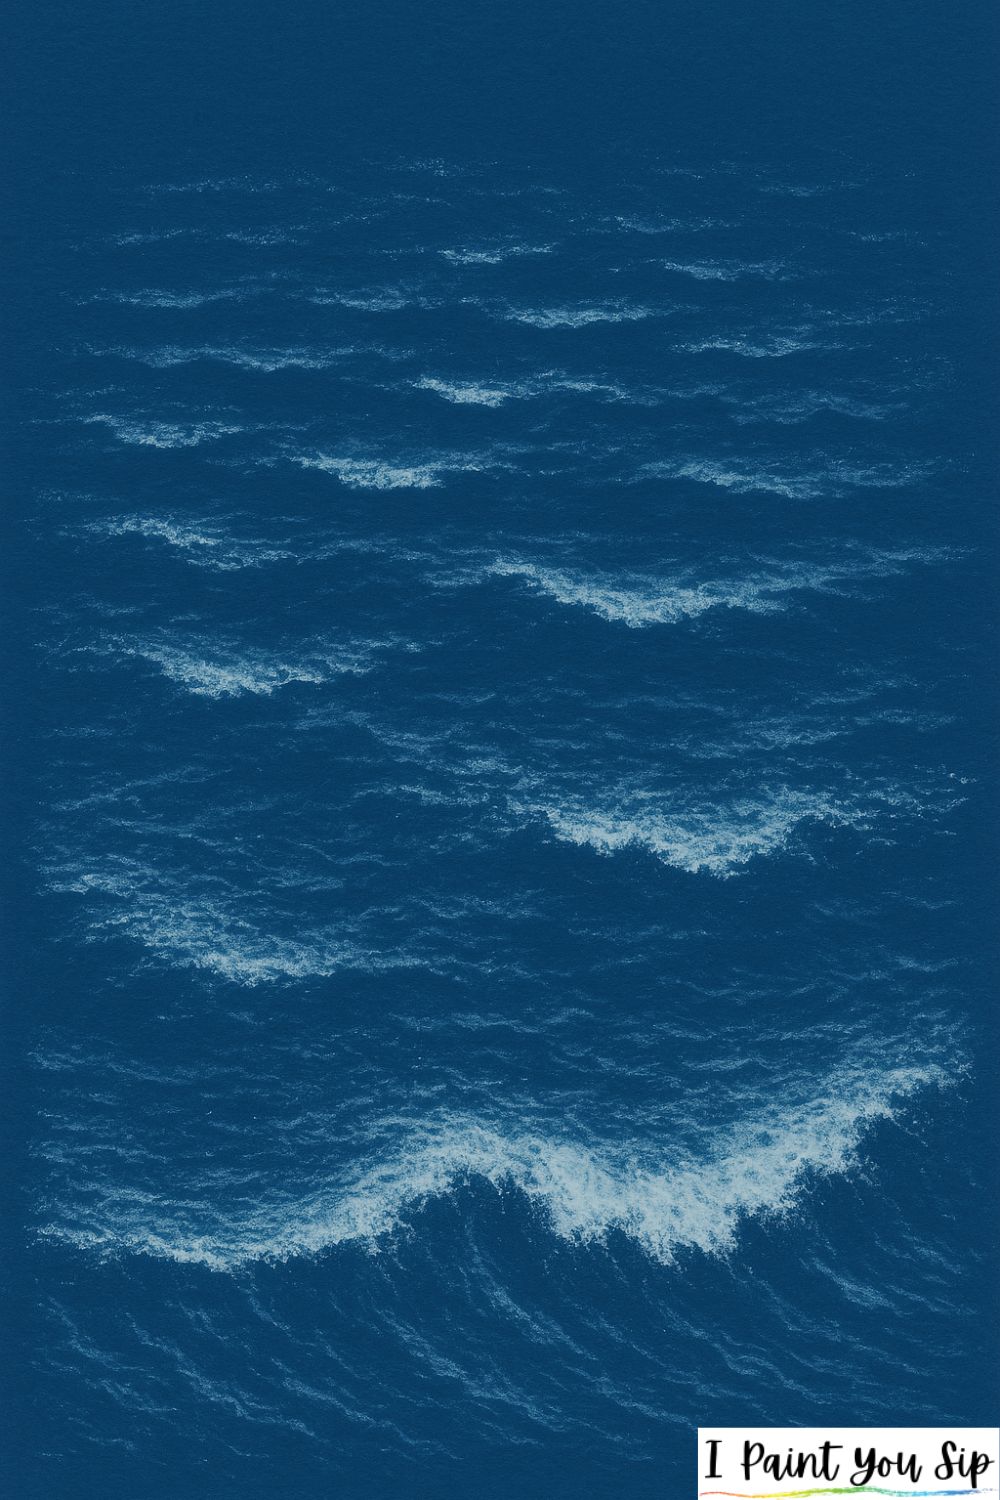
Dip the edge of a sponge into white or light turquoise paint and swipe it gently across a deep blue background. The uneven pressure creates a foamy wave effect that feels surprisingly realistic.
I love this one for beach-themed decor or kids’ rooms.
#3: Sunset Gradient Sponging
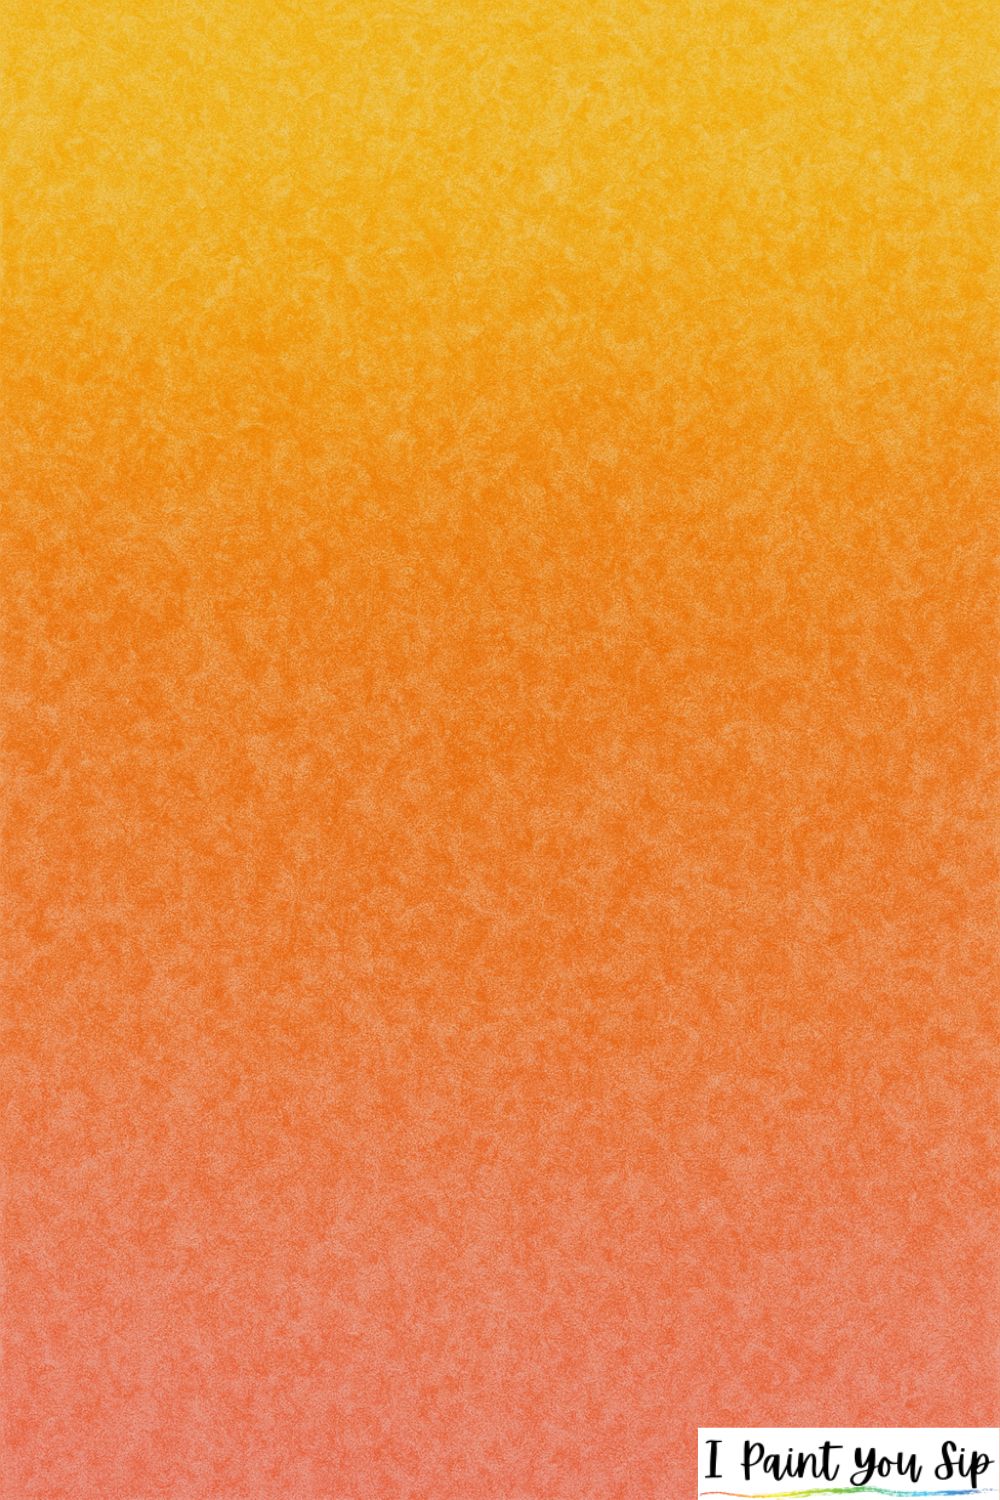
Use a larger sponge to blend yellow, orange, and pink across your canvas. Lightly overlap each color so the edges melt together. Sponge gradients are easier than brush gradients because the texture hides lines and harsh transitions.
#4: Sponge-Stamped Flowers
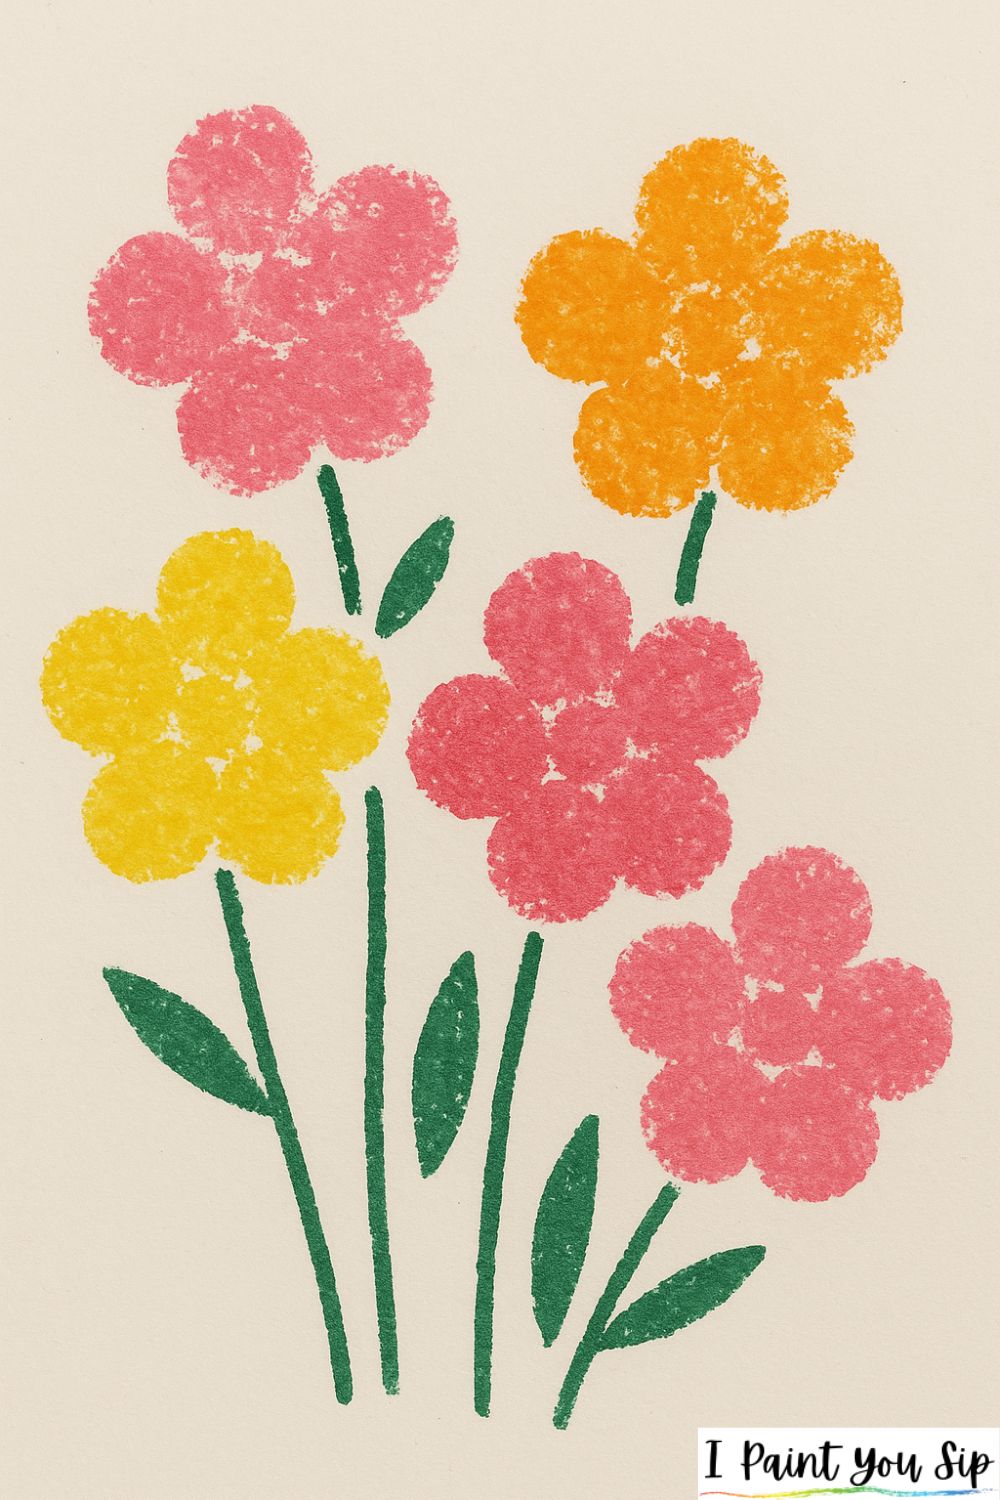
Cut a sponge into simple petal shapes and dip them into your favorite colors. Stamp them in clusters to make blossoms, then add a few painted stems. This technique is perfect for little hands or anyone who wants cheerful, no-stress florals.
#5: Brick Wall Effect
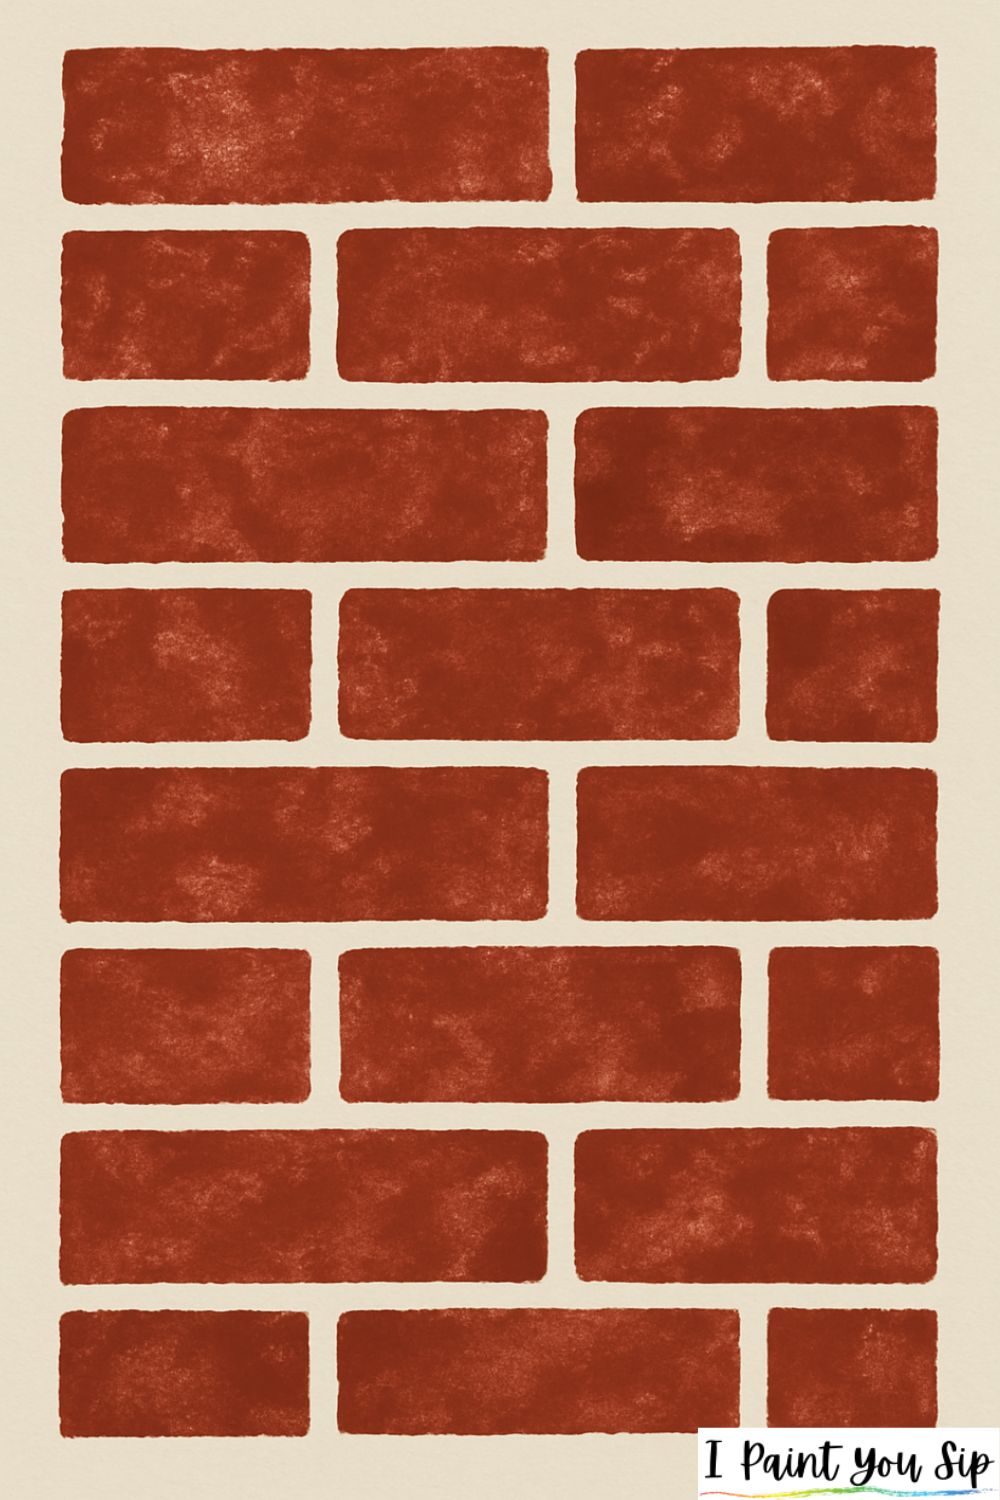
Use a rectangular sponge dipped in red or brown paint and stamp it repeatedly in neat rows. Leave a bit of space between each “brick.” Add white or gray lines with a thin brush for mortar. It’s simple, graphic, and oddly satisfying.
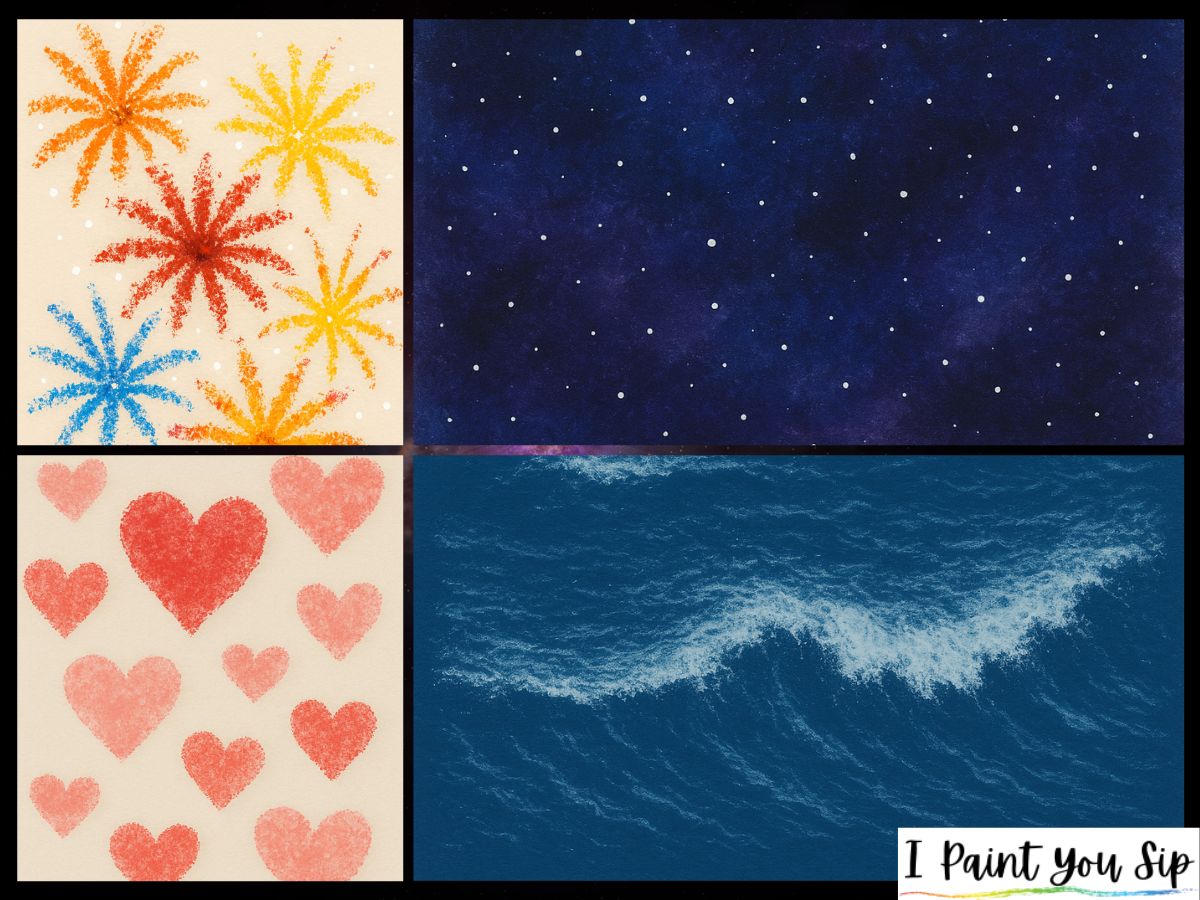
#6: Galaxy Texture Dabbing
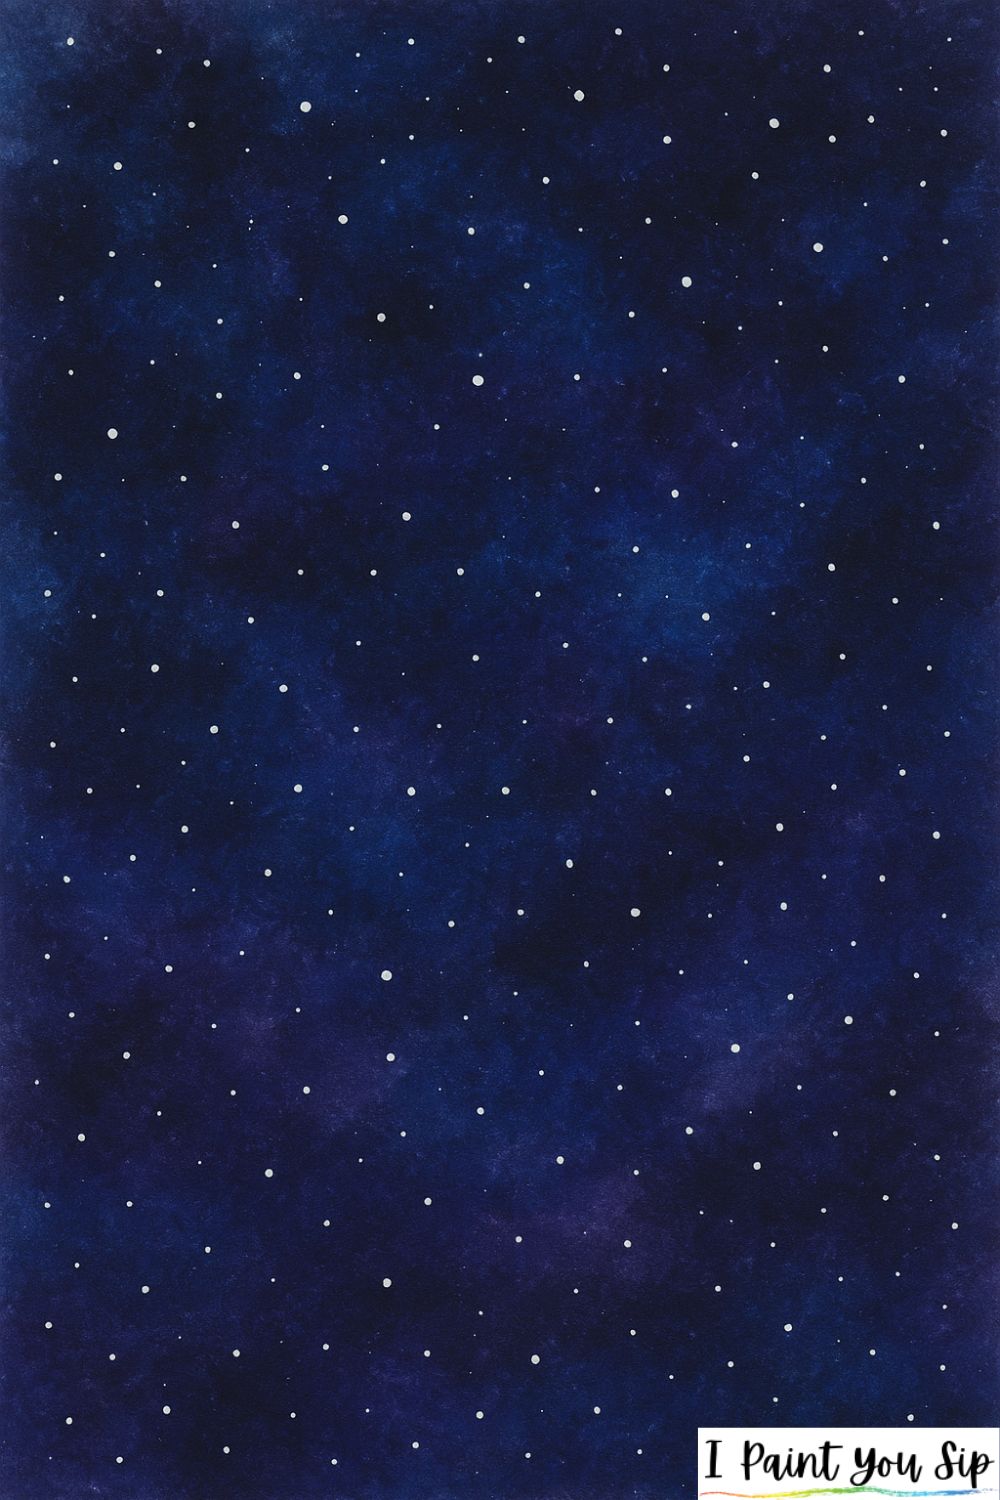
Tap a sponge into deep blues, purples, and blacks to create a dreamy galaxy background. Add white dotted stars once the paint is dry. The sponge gives the space clouds a soft, floating look that’s hard to beat.
#7: Rainbow Sponge Stripe
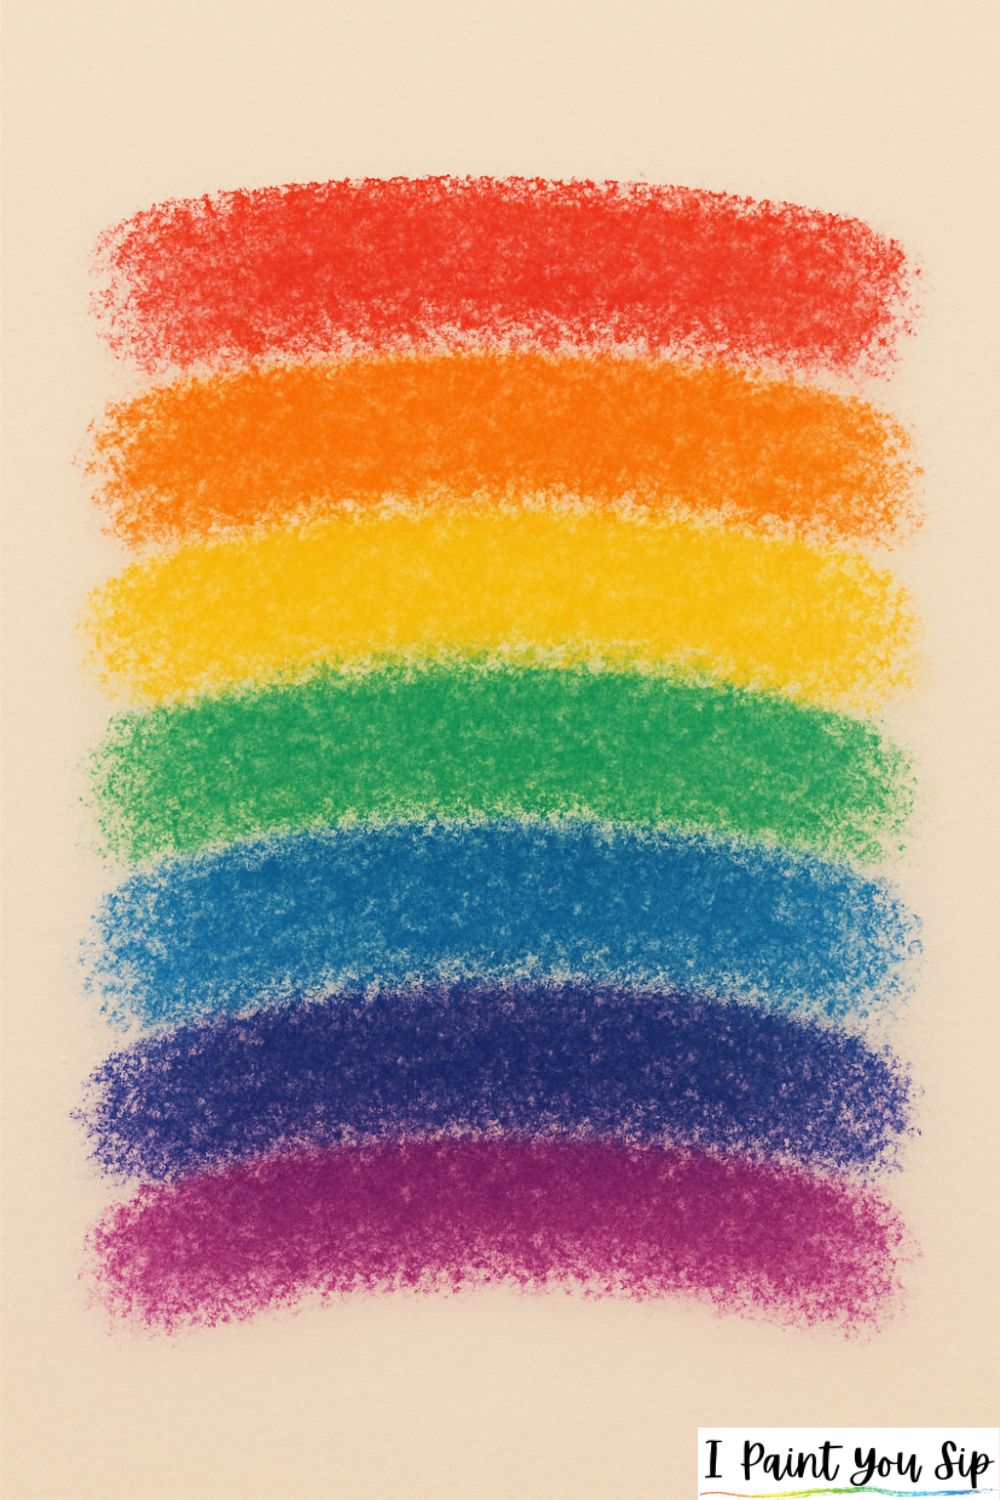
Swipe a sponge lightly across your surface using all the colors of the rainbow, either stacked or blended. The result is a fun, textured rainbow that feels whimsical without needing perfect lines.
#8: Leaf Print Sponging
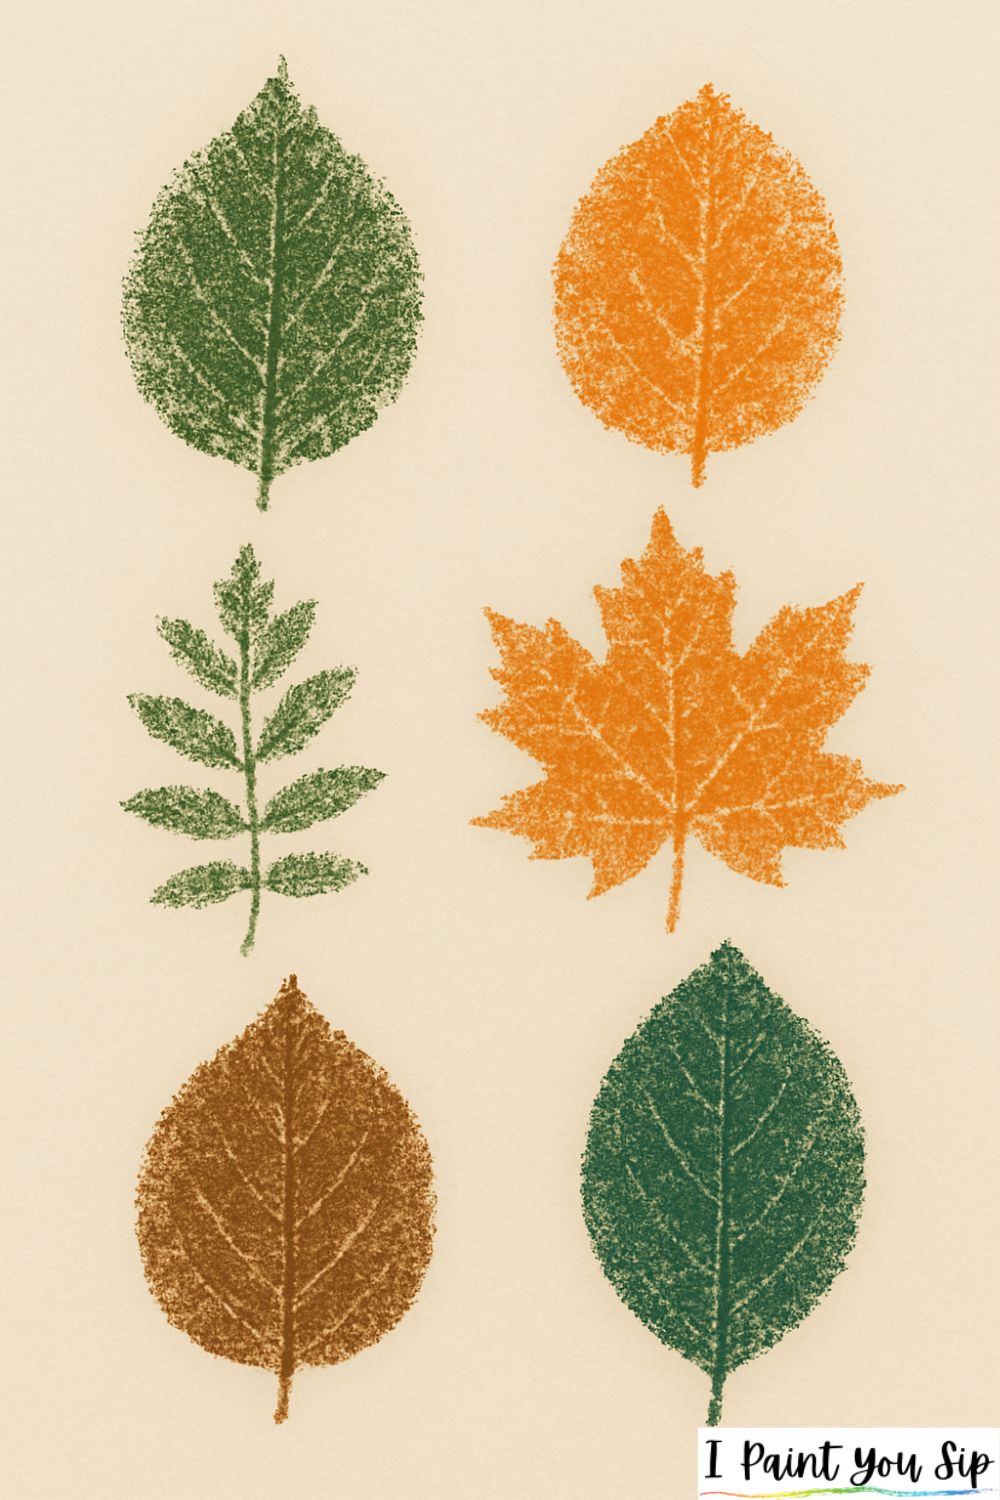
Hold real leaves under your sponge and dab paint over them. When you lift the leaf, you’ll get a soft silhouette with natural edges. This works beautifully for seasonal art or nature-themed journals.
#9: Faux Stone Texture
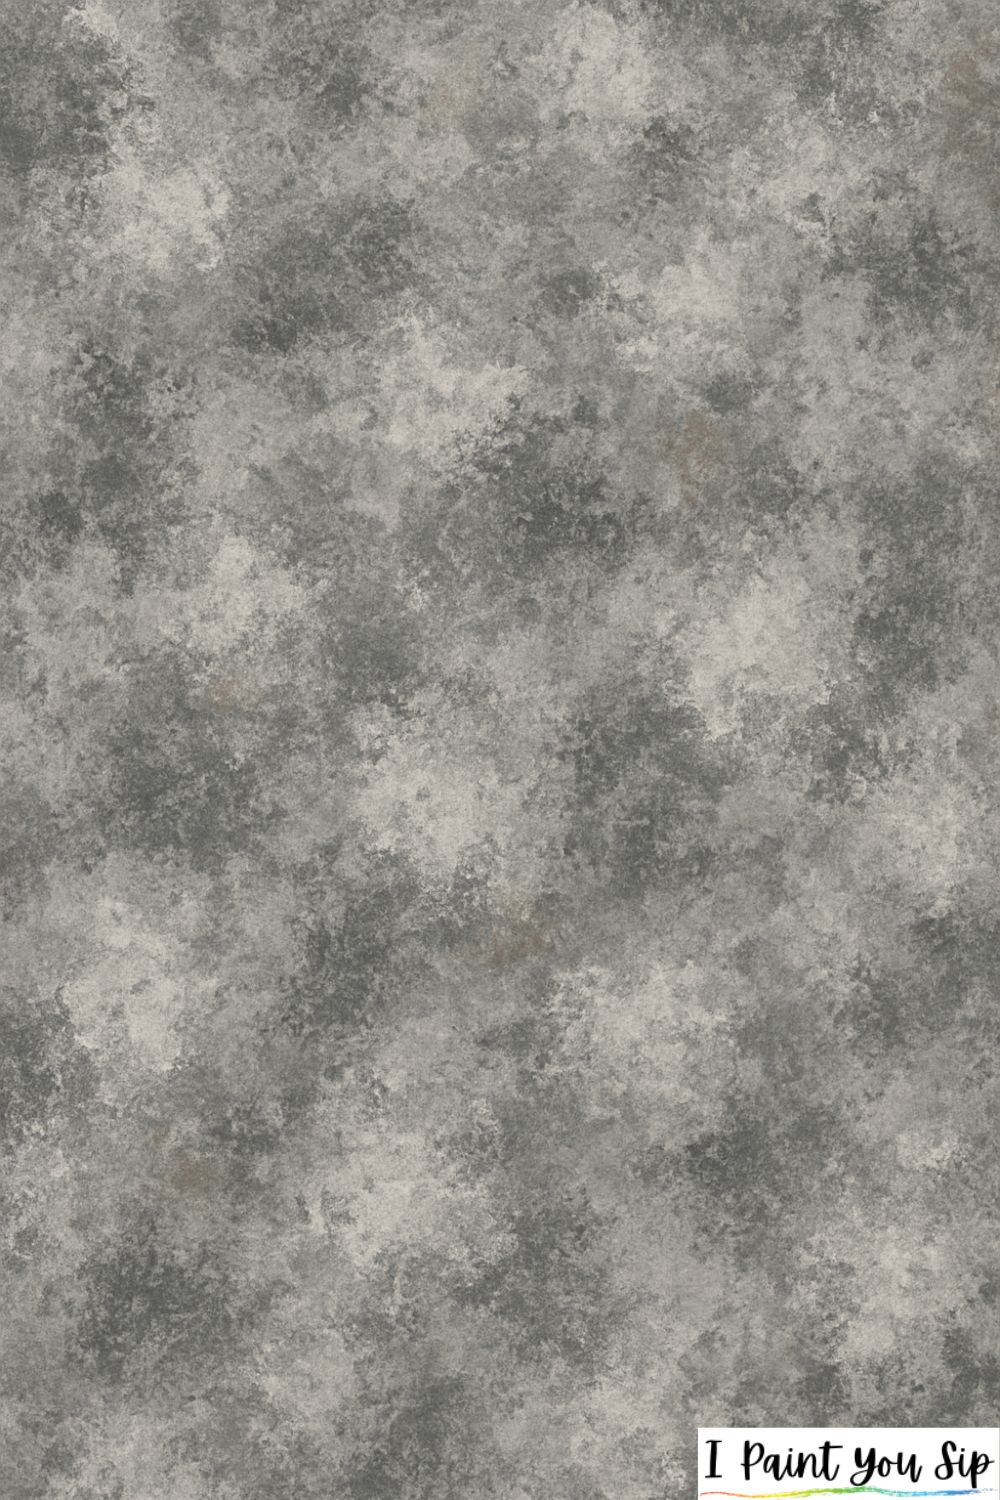
Use gray, white, and a touch of brown to dab a stone-like texture across a canvas or wooden sign. Layers make it look realistic. People often use this trick for DIY home decor, and it looks great even when done quickly.
#10: Heart-Shaped Sponge Prints
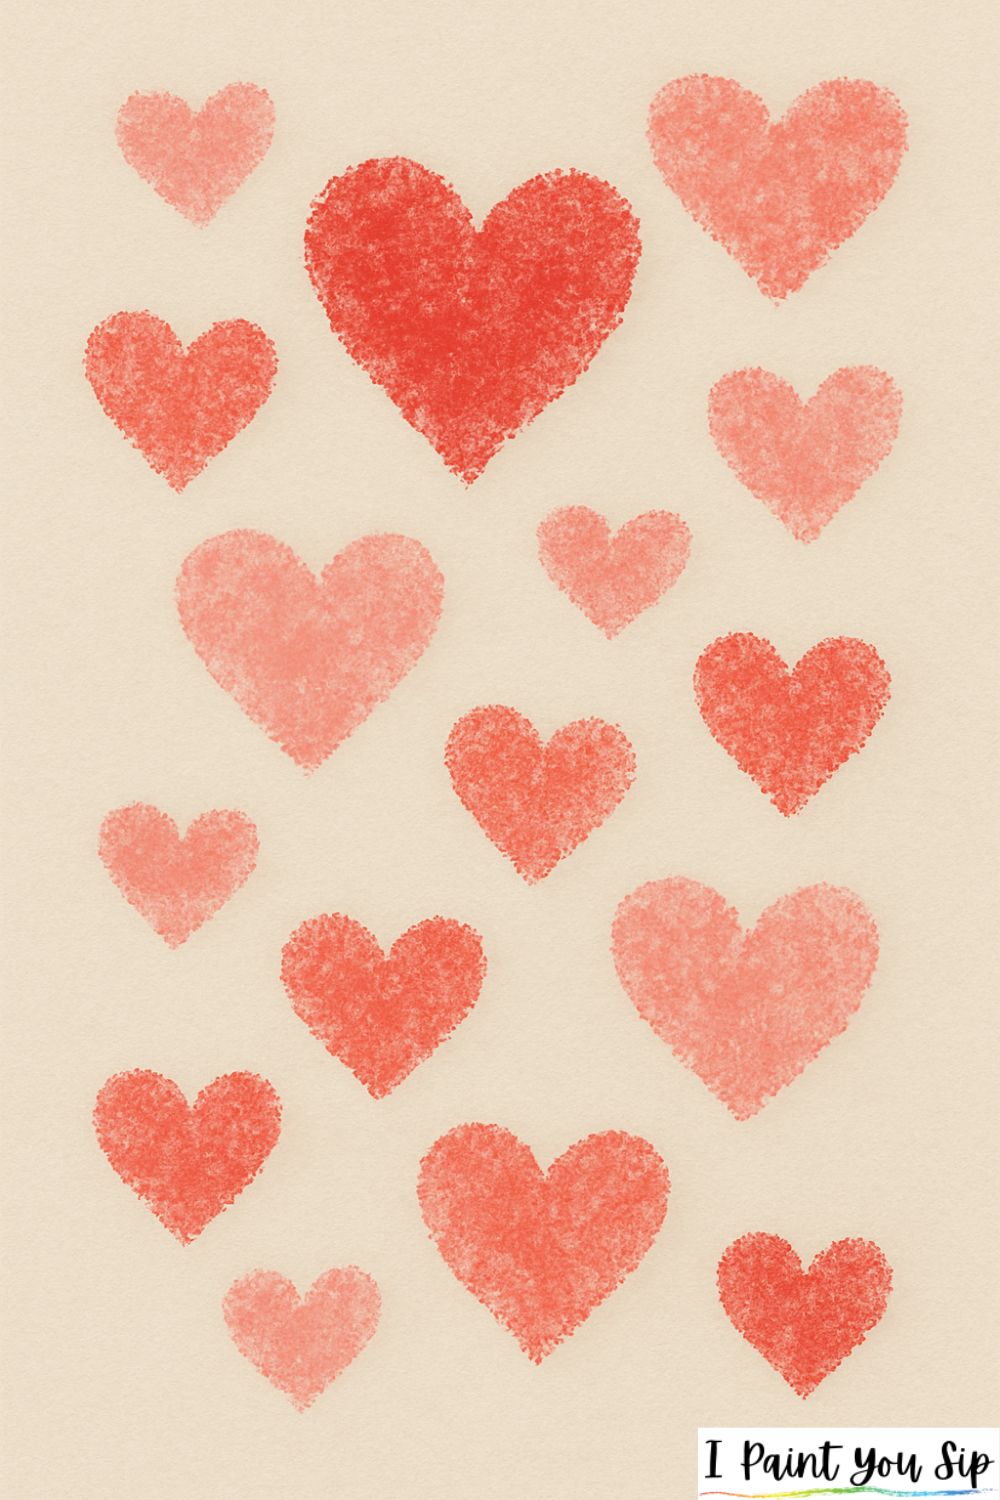
Cut a sponge into a heart and stamp it in reds, pinks, or pastels. This one is adorable for Valentine’s Day cards, kids’ crafts, or handmade gifts.
#11: Sponge-Stamped Trees
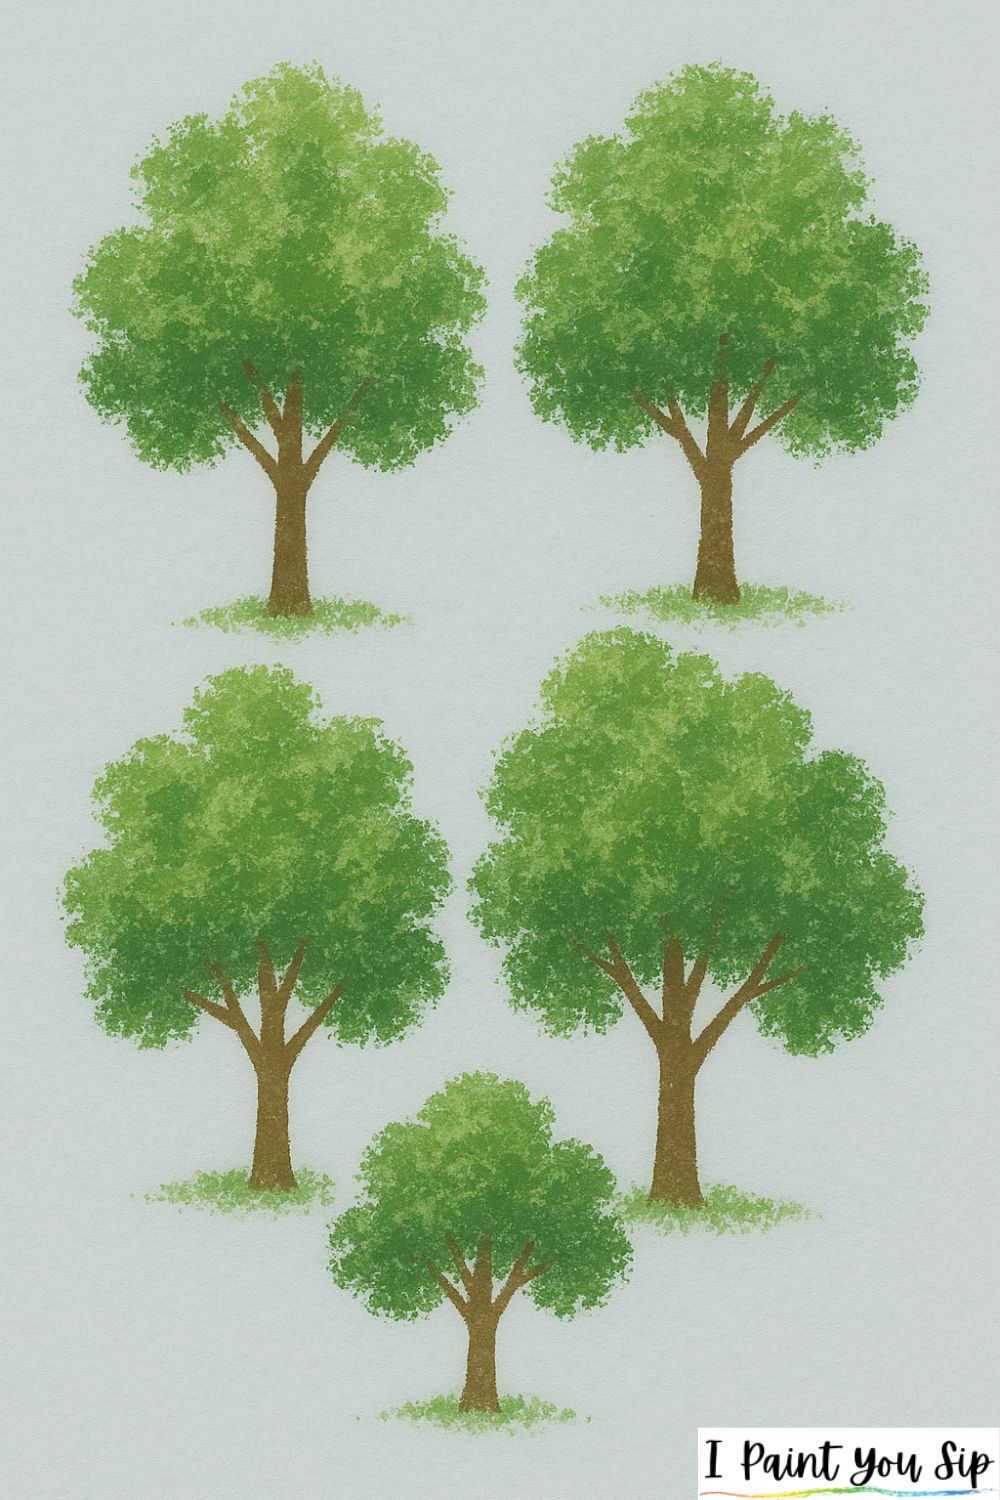
Tear off a small piece of sponge and use it to dab leafy shapes onto branches. Different shades of green add dimension. This is a great way to make full, bushy tree tops with almost no effort.
#12: Abstract Color Blocks
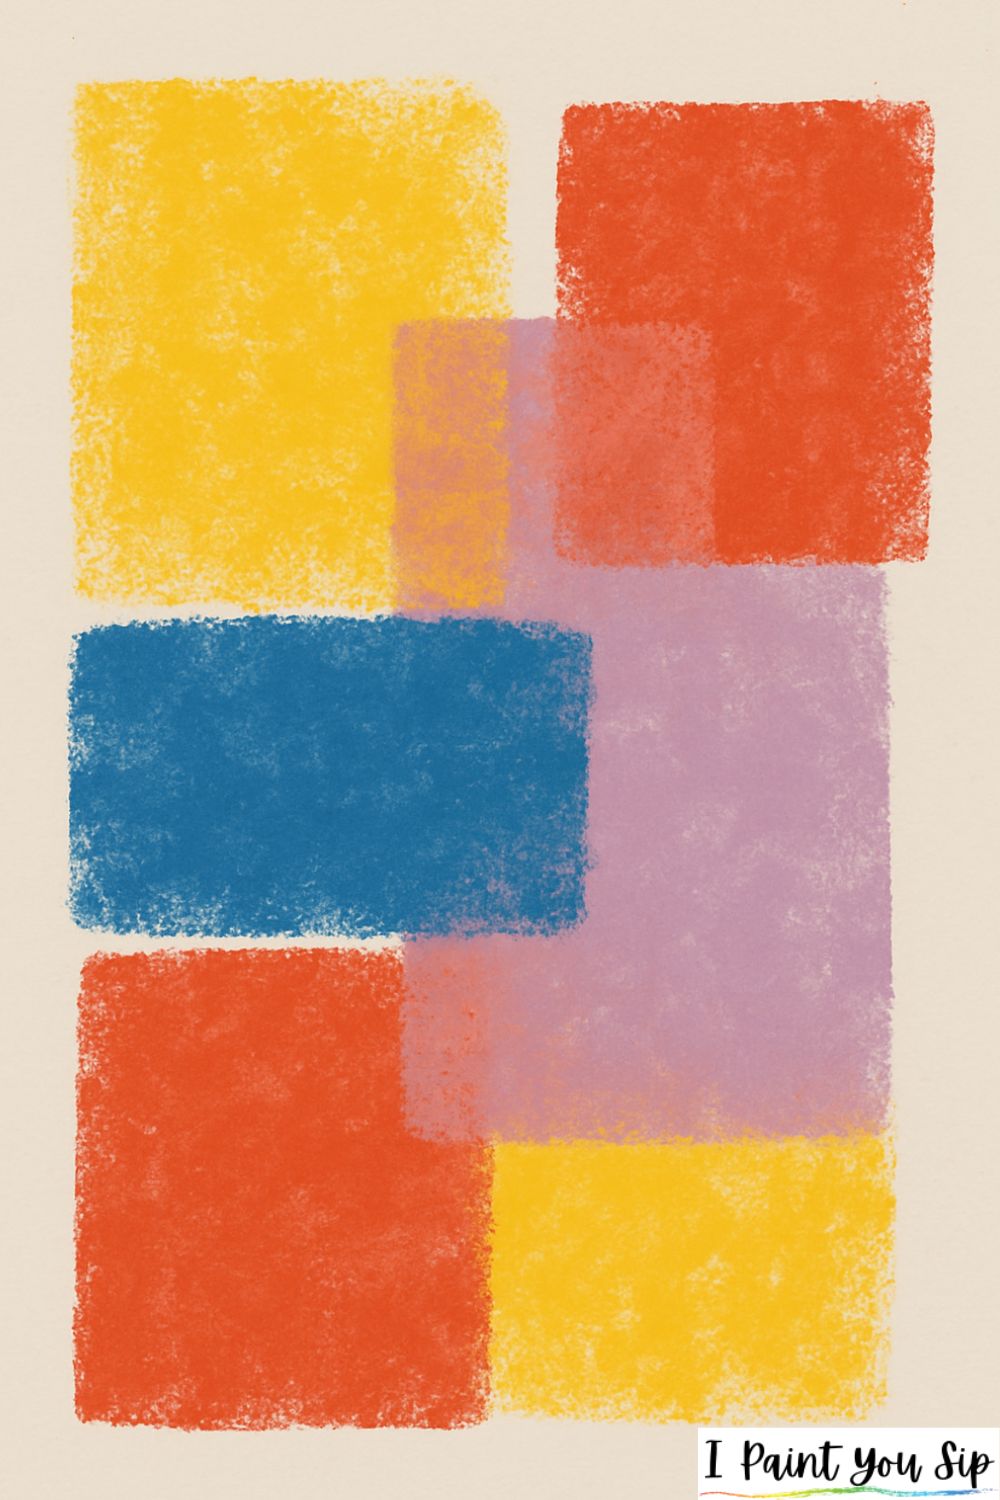
Use a square or rectangular sponge to stamp overlapping blocks of color. Go bold with primaries or soft with pastels. The charm comes from the imperfect edges, embrace them!
#13: Underwater Reef Texture
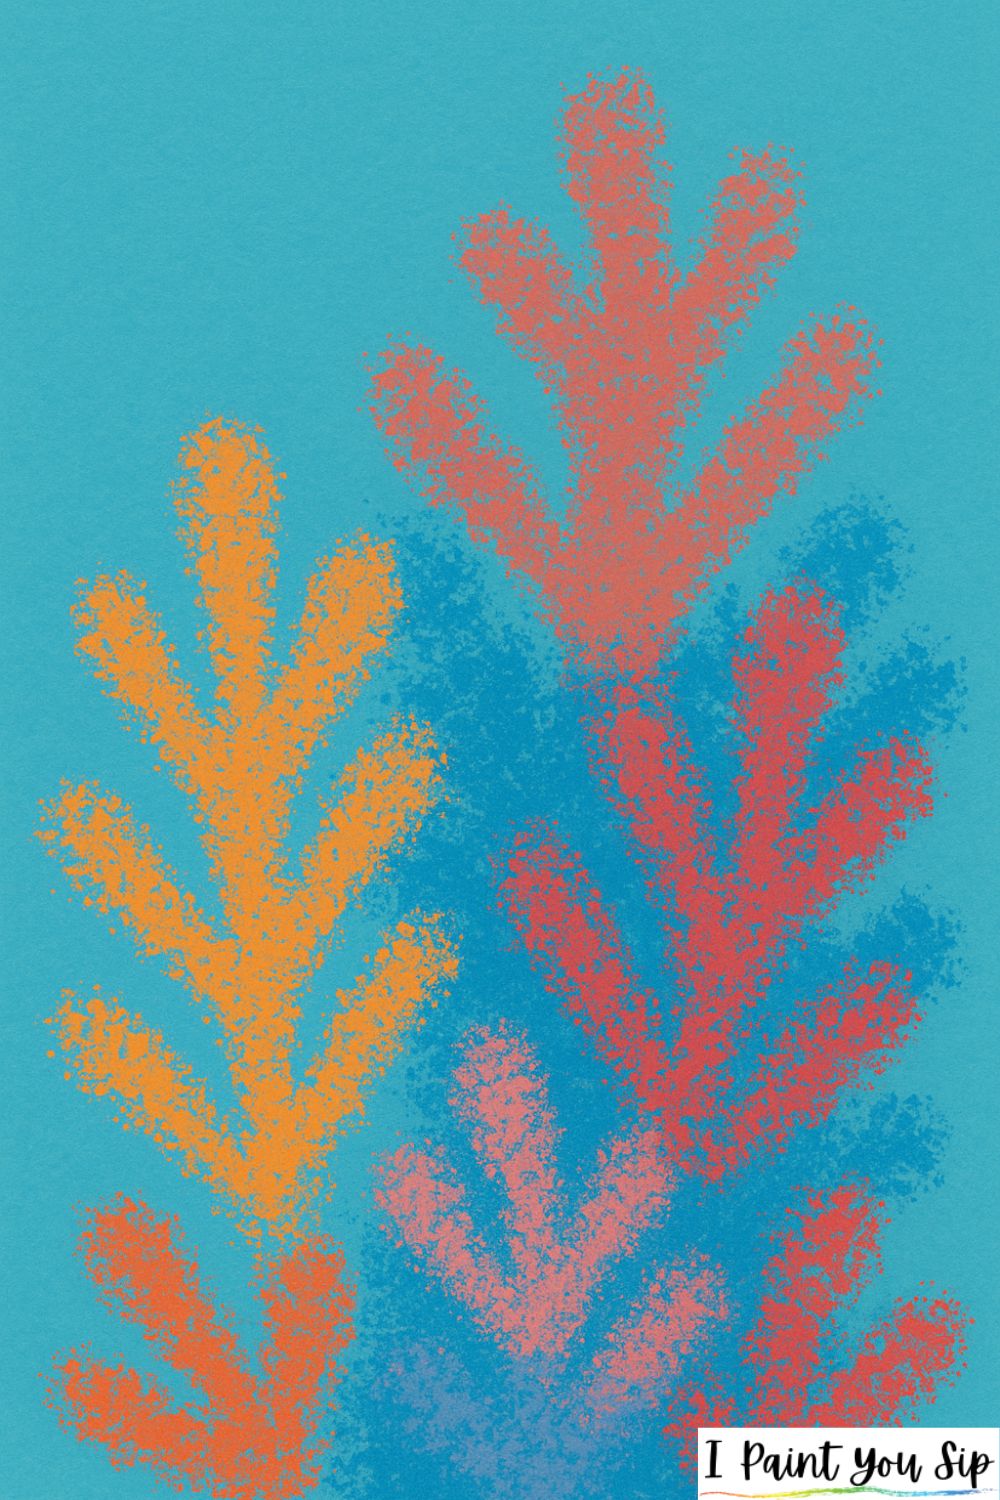
Create coral-like shapes using dabs of orange, pink, and blue. Let the textures overlap slightly. It’s playful, colorful, and perfect for ocean-lovers.
#14: Echo Ring Meadows
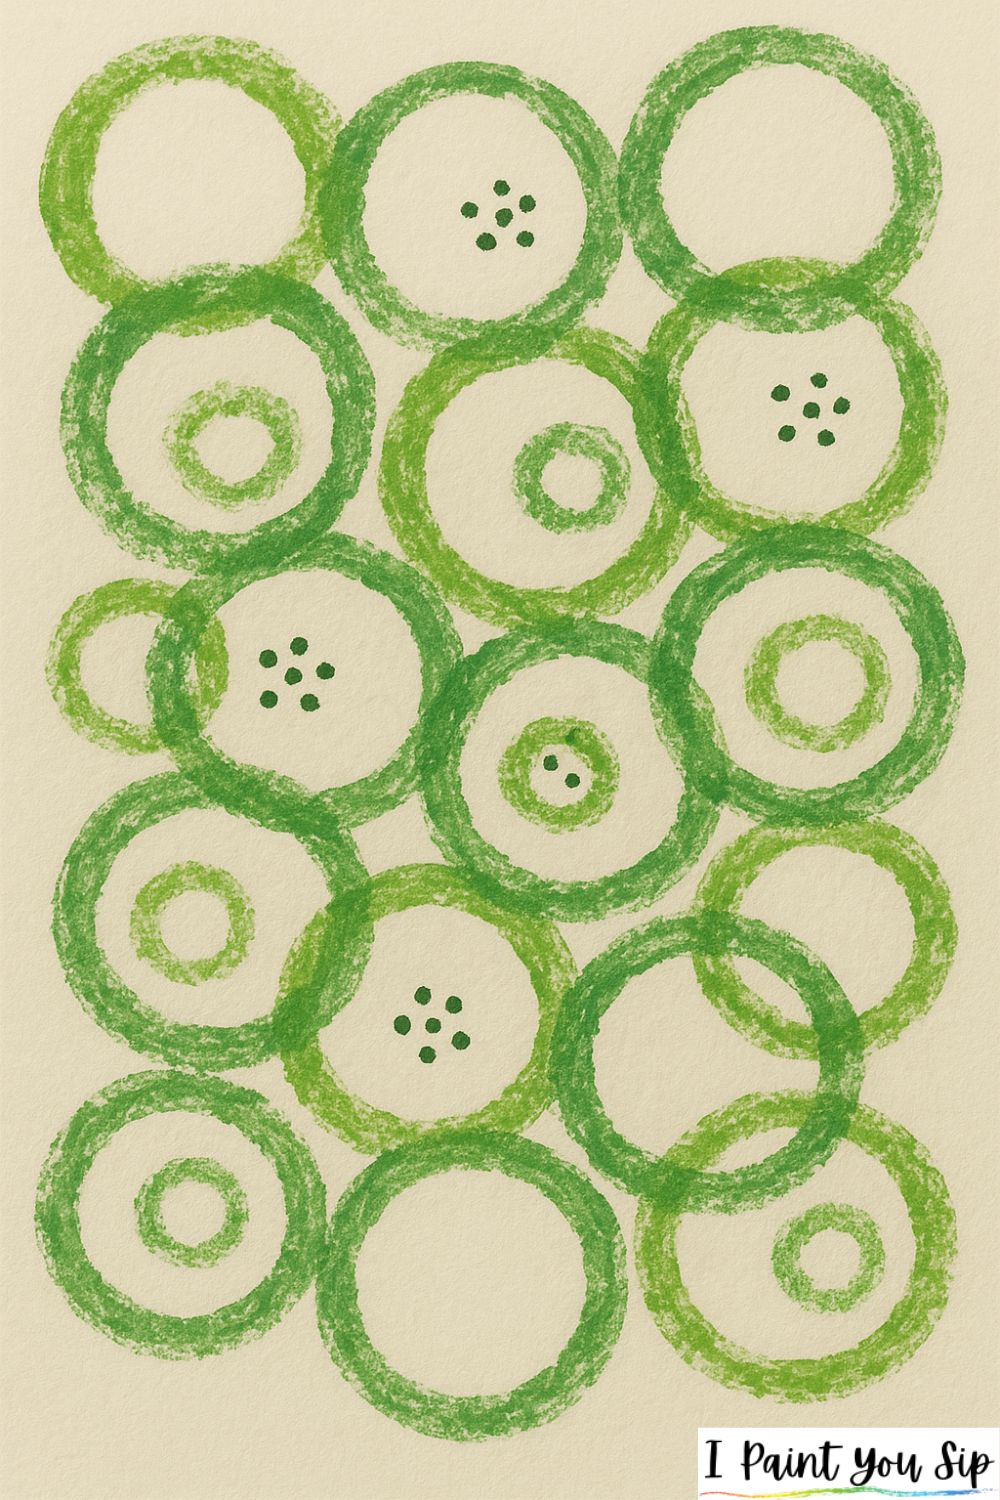
Tear your sponge into a rough circle, dip it lightly in two different greens, and stamp overlapping rings across your canvas. The uneven texture creates “echoes” of grassy circles, almost like crop circles or whimsical meadows viewed from above. Add tiny painted dots inside some rings for wildflowers.
#15: Sponge Stencil Magic
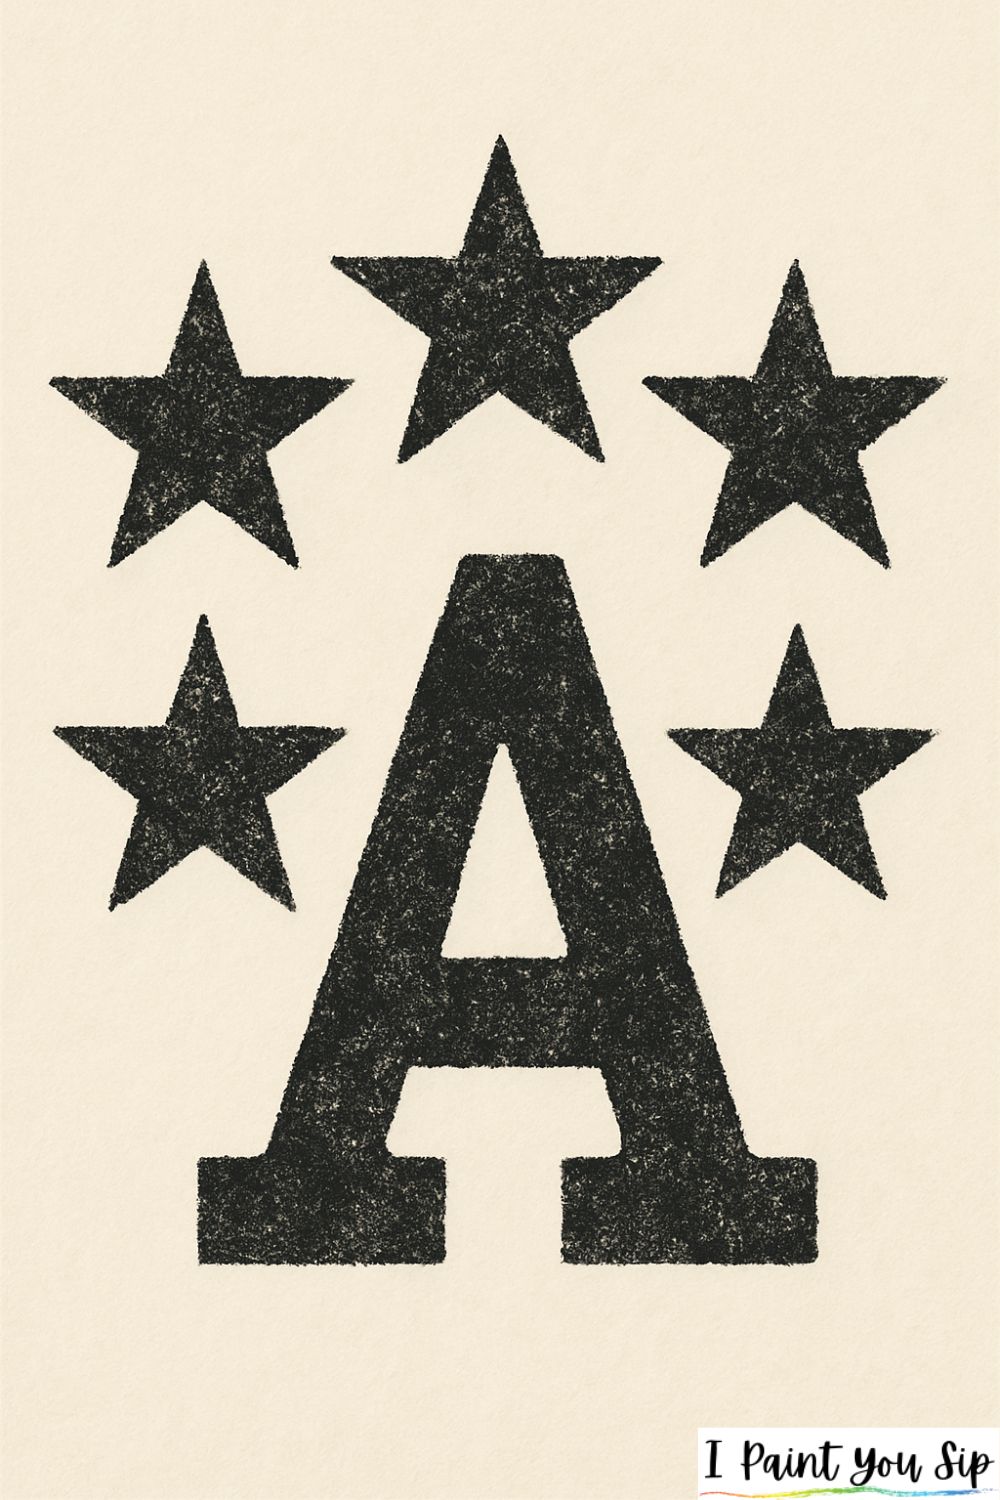
Place any stencil down: letters, stars, shapes and dab a sponge over it. Lift the stencil to reveal crisp designs with pretty texture. This gives beginners instant confidence.
#16: Circular Sponge Swirls
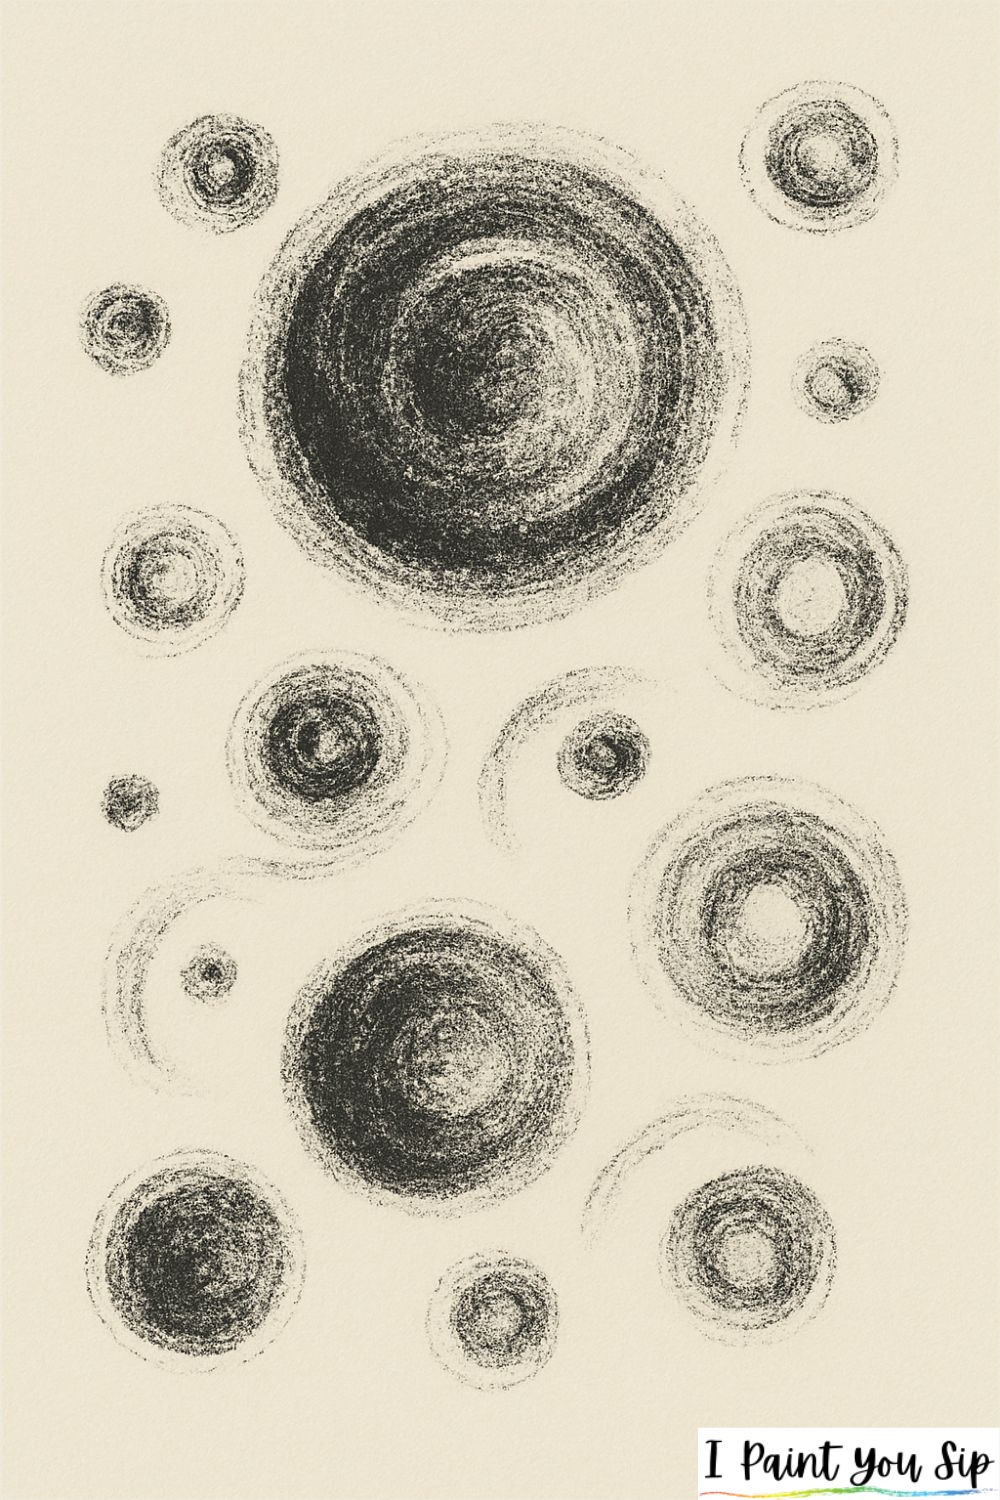
Lightly twist a round sponge dipped in paint to create planets, bubbles, or abstract circles. Add smaller swirls around big ones for extra movement.
#17: Torn Sponge Ombre Lines
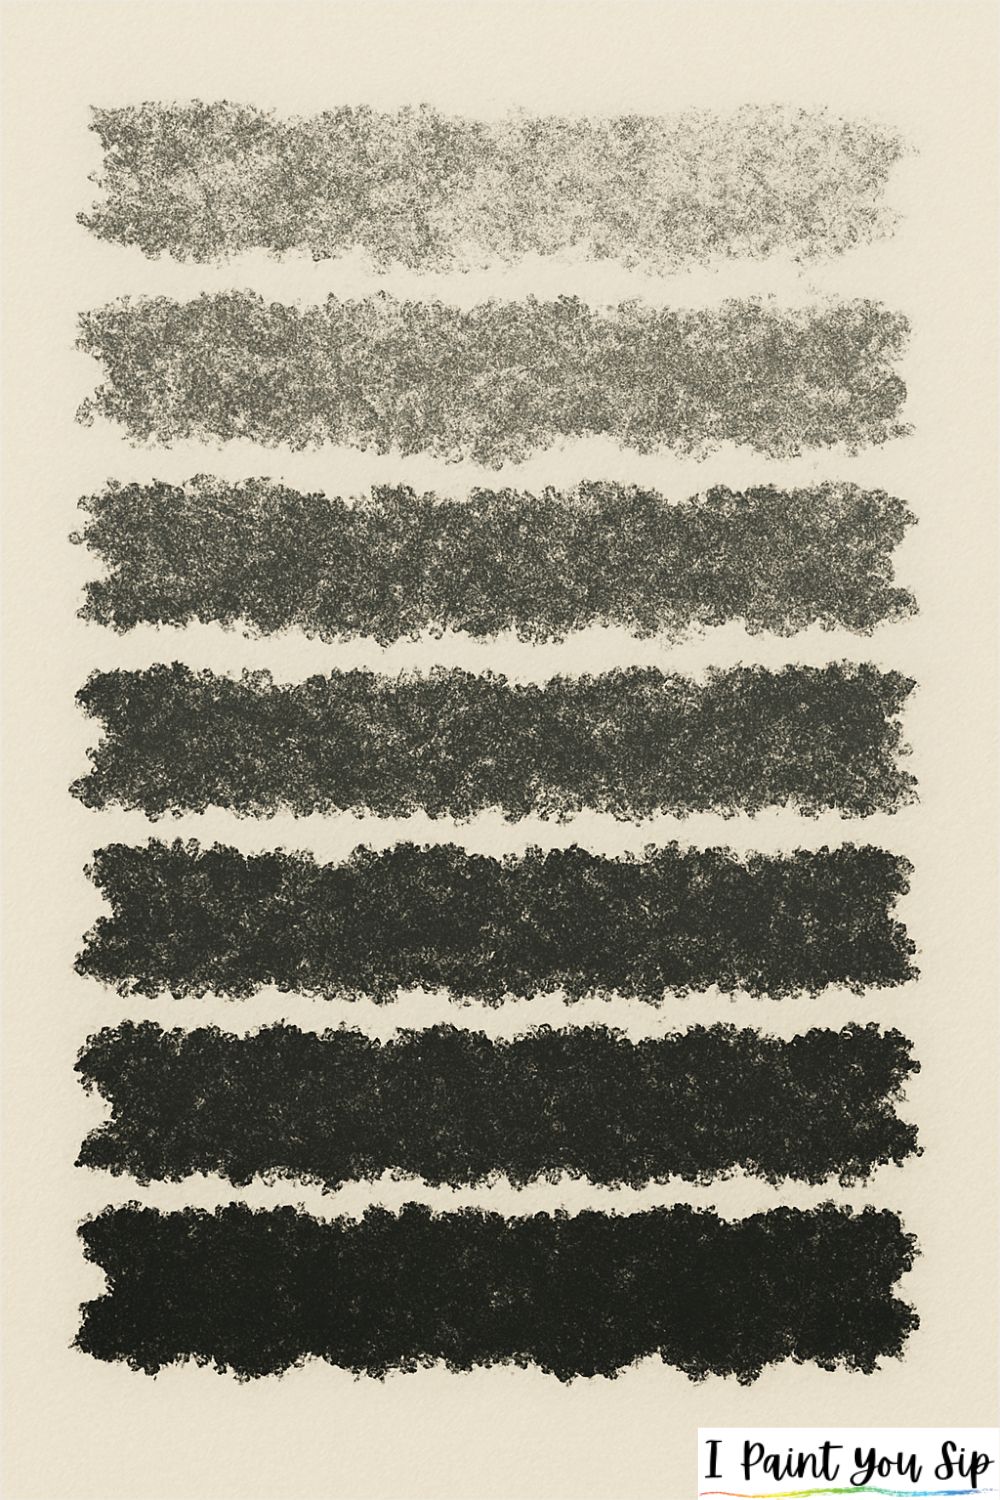
Tear your sponge into a jagged edge and drag it lightly across your canvas to create textured stripes. Layer multiple colors for a modern, abstract look.
#18: Sponge-Printed Veggie Shapes
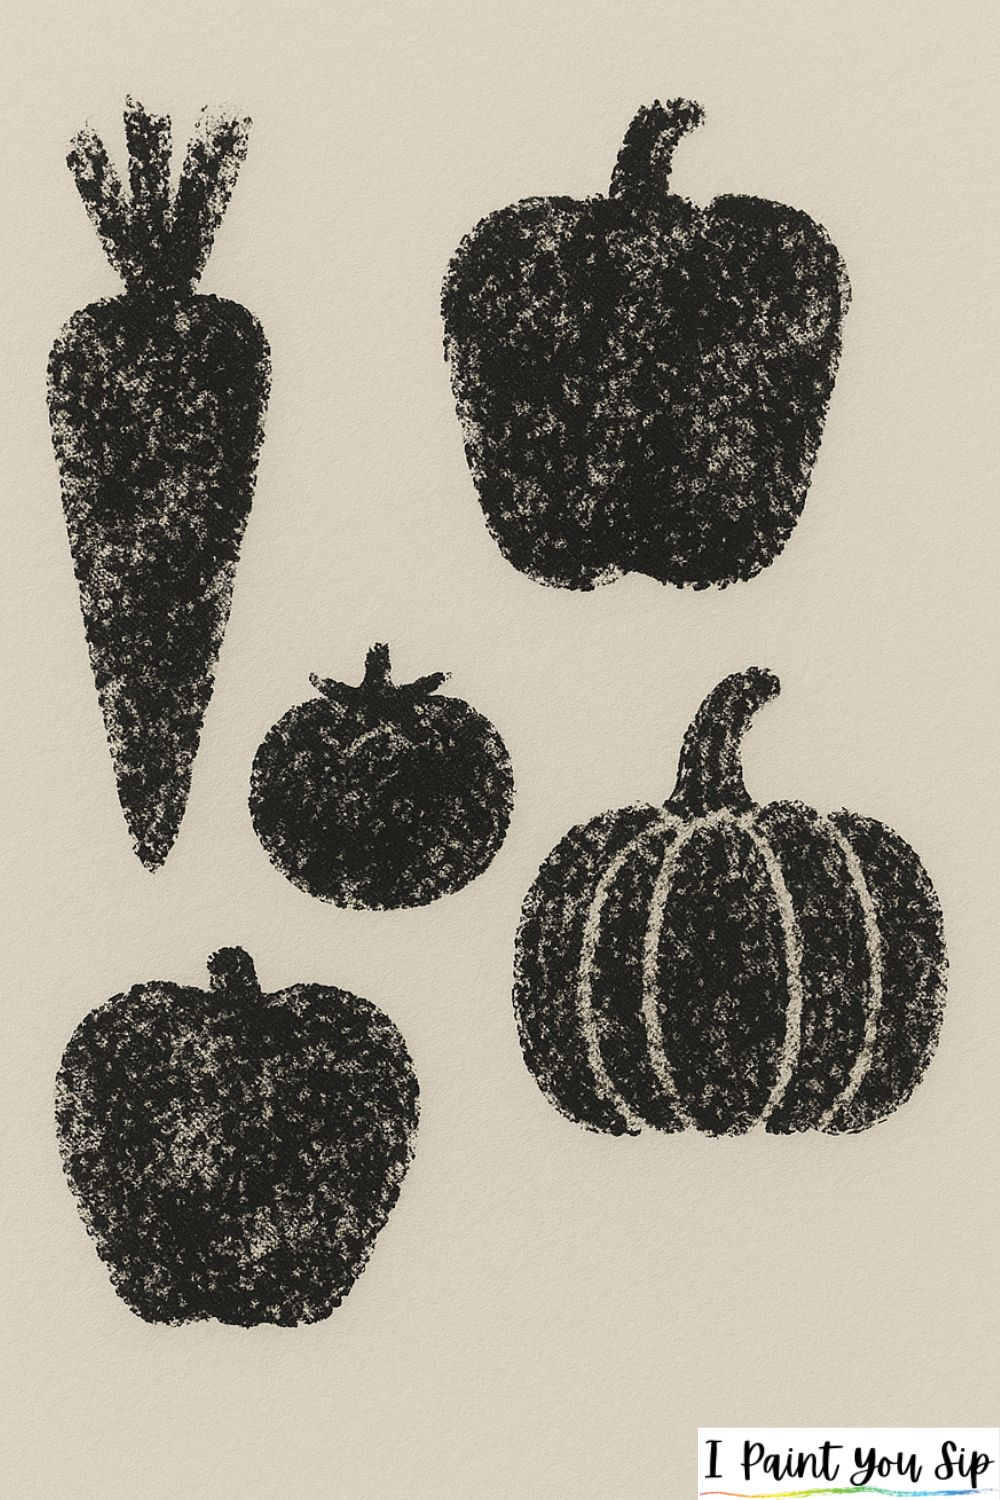
Cut a sponge into simple veggie shapes: carrots, tomatoes, pumpkins and stamp away. This is extra fun for kids and works great on tote bags or recipe cards.
#19: Fireworks Burst Dabbing
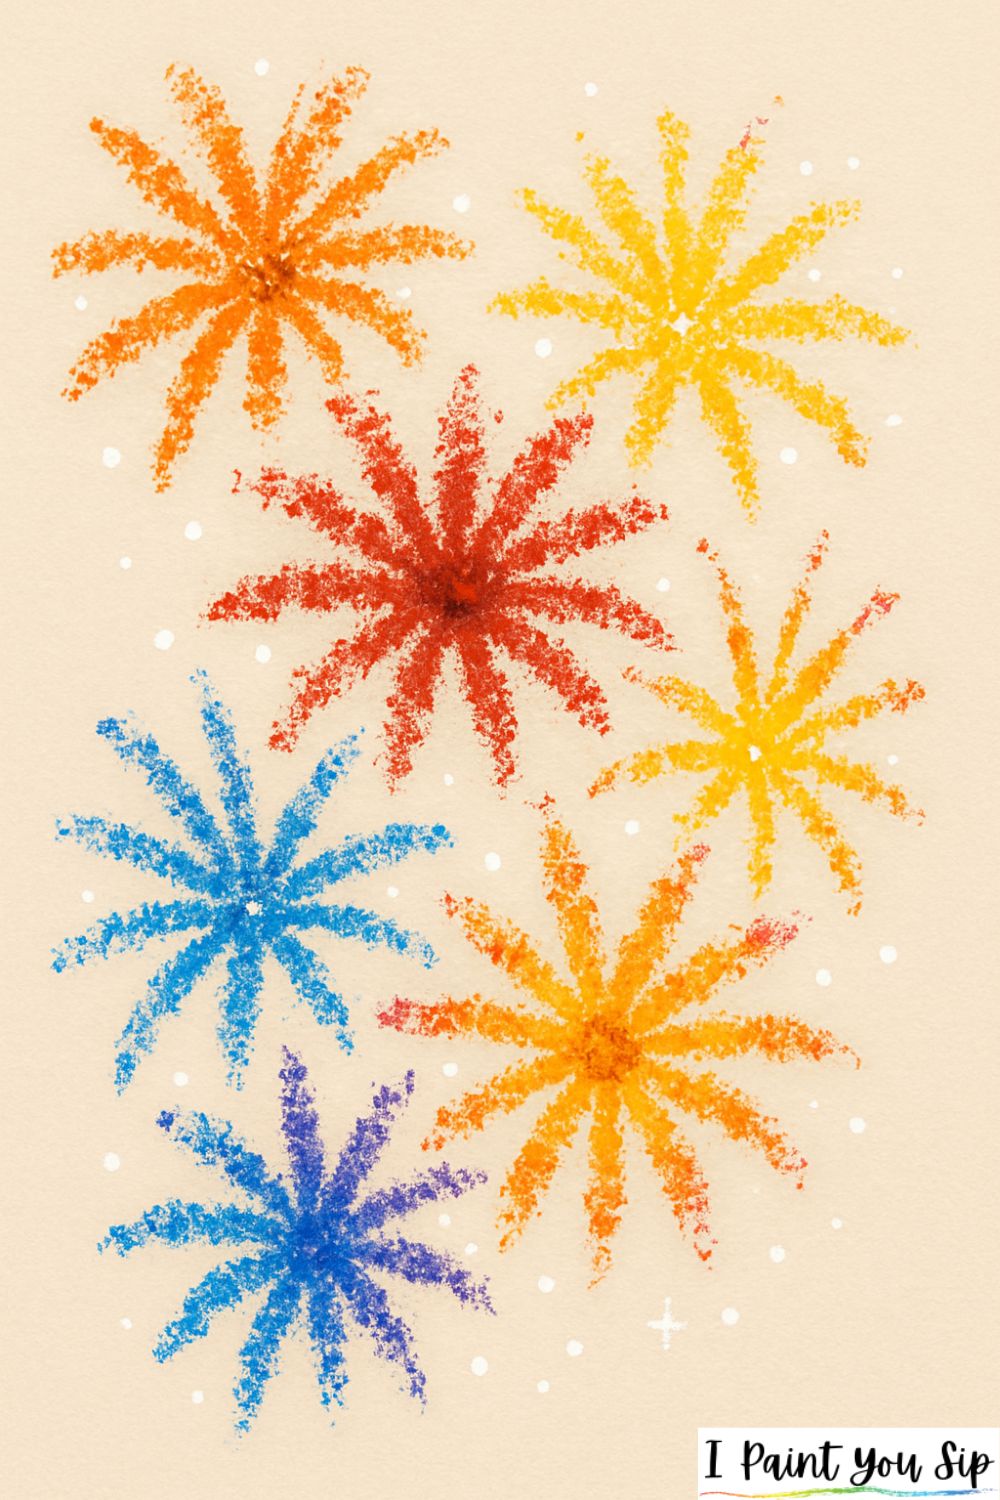
Use a tiny piece of sponge to dab outward from a center point, using different colors for each “burst.” Add a few white dots for sparkle. It’s energetic and super festive.
Conclusion
Sponge painting is one of those wonderfully simple art techniques that gives you big results with minimal stress. Whether your shapes come out perfect or a little wonky, the textures always make everything feel intentional and artistic. Don’t worry about keeping things tidy, some of the best sponge projects happen when you let go and let the paint do its thing.
As you try these ideas, remember that creativity comes from experimenting. Mix colors you’ve never paired before, tear your sponge into new shapes, or combine ideas from the list. And if something doesn’t turn out the way you hoped? That’s just part of the fun, you can always paint over it and try again.
If you enjoyed sponge painting, you might love exploring other texture-rich techniques like finger painting, dot painting, or brush-blended backgrounds. Most importantly, keep going, keep playing, and keep believing that creativity is for everyone, including you.
Jessie has a passion for bringing people together through creativity and socializing. She has organized many painting events that have left guests with lasting memories and new friendships. She’s also been to various sip events to unleash her own creativity and connect with like-minded individuals.