Every so often I am asked to teach paint and pour classes instead of the acrylic painting techniques I normally teach. A lot of people are getting into paint pouring for a variety of reasons.
I have found that many beginners are more comfortable doing paint pour rather than learning how to paint a landscape or a still life. This is because you don’t need to have any artistic skills to create an interesting paint pouring artwork.
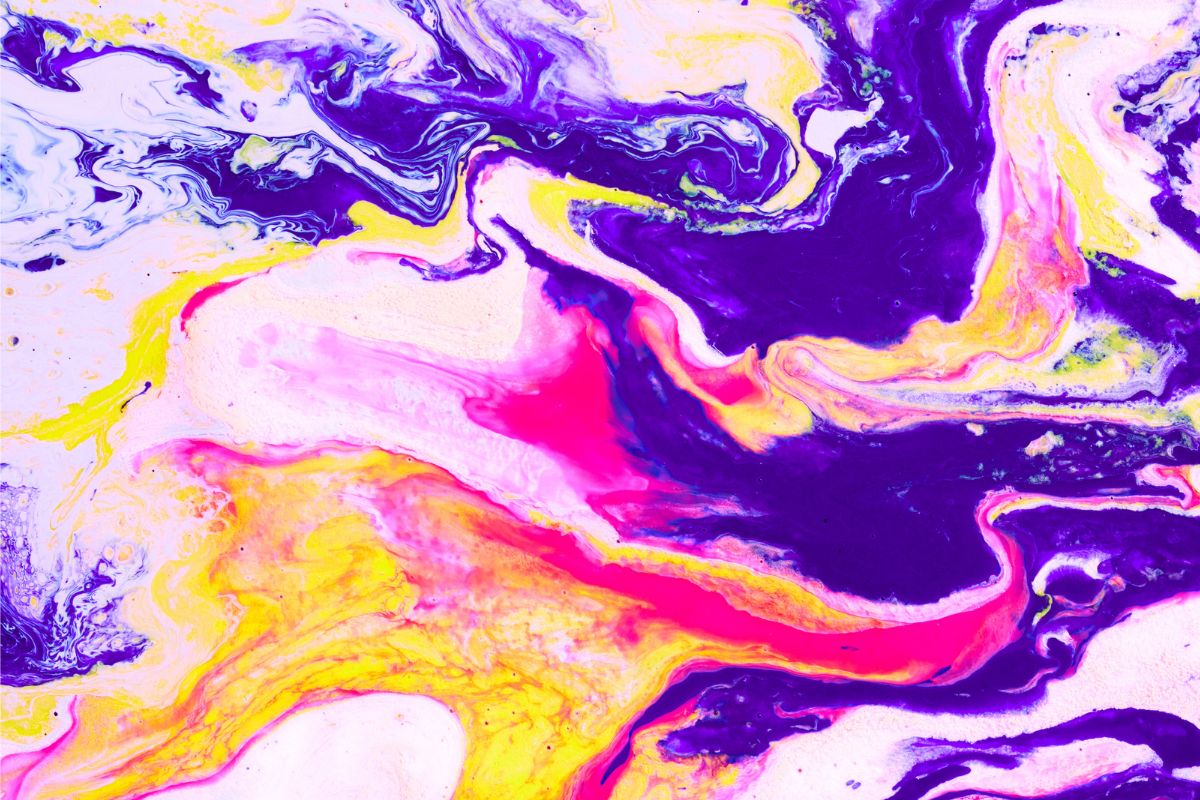
What is Paint Pour Art?
Paint pour art, also known as fluid art or acrylic pouring, is a contemporary painting technique where various colors of acrylic paint are mixed together and then poured onto a canvas or other surfaces.
The paint is manipulated by tilting, swirling, or using other techniques to create unique abstract patterns and designs. The results are often unpredictable and visually captivating, with the colors blending and flowing together to form mesmerizing compositions
Not only is acrylic pouring ideal for beginners, but it is also loads of fun. You can get messy without worrying about it, and just let the paint do its thing.
Easy Techniques on How to Pour Painting
I found this video that explains in simple terms that every beginner can follow and understand.
To create a cool fluid paint and pour painting, certain tips and techniques can help. That is what we are going to talk about today.
Let’s get started.
Here are some acrylic pour painting techniques you can start using:
#1. Tilt the Cup when Mixing a Dirty Pour
Combining many colors in the same cup is known as a dirty pour. If you just pour the paint straight into the cup, the colors are going to mix.
You want the colors to lay on top of one another for this type of pour. So, tilt the cup a little bit when you are adding the paint colors.
By doing this the paint will layer on its own rather than being in horizontal sections in the cup. This is going to add a whole new dimension to the overall look of your painting.
#2. Use a Base Coat
I always recommend using a base coat before getting into the pouring. Make sure that you not only coat the top of the canvas but also the sides.
When you add a base coat, there will be more texture on the canvas. The outside layer of the paint will stick and the next layers will flow over the top. Without a base coat, the paint on the outer edges could get lost in the mix.
#3. Don’t Go Overboard with Medium
If you are using heavy-body acrylics, it is important to not use too much medium. Start by just adding a few drops at a time.
Mix the paint with the medium well, and then add more medium, a few drops at a time. Keep doing this until the paint is the consistency you are trying to achieve.
This is going to prevent the paint from clumping or not mixing properly. When you try to mix it all at once is when you run into problems.
#4. Pour Paint Onto Another Object
Instead of pouring the paint directly into a cup, which can leave you with colors that mix instead of being separate, try pouring the paint onto a spoon or a stick and letting it run into the cup.
This is going to slow down the paint pouring into the cup so each layer will be separate. It is also a good idea to only pour small amounts of paint at any time so one color doesn’t sink into the previous colors.
#5. Use Excess Paint to Fill In the Corners
In most cases, you will end up painting the corners last. This is also where the paint is going to fall off (which is why you need a drop cloth or paper under your work).
There is bound to be some leftover paint in your cup after you finish the main design. Use this paint to fill in those corners. This is going to ensure that all areas are painted and that you don’t waste too much paint.
#6. Use the Right Cups when doing a Flip Cup Pour
If you are doing a flip cup pour, make sure you are using cups of the right size. The paint should fill the entire cup.
If the paint doesn’t fill the cup completely, the paint will go into the empty space at the bottom of the cup. The more empty space, the more the paints are going to settle and mix, and the result will be muddy.
A Few Paint Pouring Tips to Keep in Mind
Working with acrylics is a lot of fun. Here are some extra tips you can follow to create an amazing experience:
#1. Get Creative with Tools
I love to encourage my acrylic pour painting guests to get creative with the tools they use to spread the paint over their canvases. For instance, using a comb or a hair pick will give you some interesting lines and swirls.
Another option is to use a straw to blow the paint around the canvas. This is going to produce some very interesting effects.
#2. Tweezers Aren’t Just for Plucking Stray Hairs
It is a good idea to keep a set of tweezers nearby when doing a paint and pour project. There is always a chance of something falling into the painting, such as dried paint chips or even pet hairs.
If you try to remove debris from your painting with your fingers, you are likely going to end up making a huge mess. It is easier to grab these things with a pair of tweezers, and the rest of the painting will not be disturbed.
#3. If At First, You Don’t Succeed, Start Over
It may be that you are not happy with the final result of your paint and pour efforts. When this happens, do not throw away the canvas.
Don’t be afraid to add some more paint. Or, you might even want to start over. Once the paint is dry, you can cover the painting with a base coat and try a new poured paint art project.
Conclusion
You can have loads of fun with friends by hosting a paint and pour party. These are just some of the tips and techniques I offer to paint party guests.
There are no hard and fast rules when it comes to paint pour art. It is a great way to be creative without having to follow any specific painting rules.
Try experimenting with different tools to create your designs. The more you experiment, the more you are going to learn about what works and what doesn’t work.
Check my guide on spray paint art on canvas for more cool art creation techniques.
See more: How to thin acrylic paint
*image by Nik_Merkulov/depositphotos
Sari Green is a semi-professional artist and professional writer. She has been hosting paint & sip parties for the past couple of years, and truly enjoys helping other people to create their very own masterpieces. She loves to create, and you never know what she’s going to come up with next!