Key takeaways
Plan Your Composition: Before starting, sketch a thumbnail to determine the placement of your subject and preserve white areas, as watercolor lacks opaque white paint.
Understand Water Control: Master the balance between water and pigment to achieve desired effects. Wet-on-wet techniques create soft blends, while wet-on-dry offers sharp edges.
Layer Light to Dark: Begin with light washes and gradually add darker tones. This approach maintains the transparency and luminosity characteristic of watercolor.
Use Quality Materials: Invest in good watercolor paper and brushes. High-quality paper prevents warping and allows for better paint absorption, enhancing overall results.
Limit Your Palette: Using a limited color palette helps maintain harmony in your painting and reduces the risk of muddy colors from overmixing.
Practice Patience: Allow each layer to dry completely before adding details or additional washes to prevent unwanted blending or bleeding.
Experiment and Explore: Regular practice and experimentation with different techniques and color combinations will improve your skills and help develop your unique style.
Many people think that when they first get into painting, they should start with acrylic paints. While this is a popular choice, another great choice is to work with watercolors.
When I started painting, I chose to work with watercolors first. I figured this would be a great way to learn some painting techniques and create cool paintings in a short period of time.
If you are interested in trying your hand at watercolor painting, I encourage you to do so. It is loads of fun, and you can learn a lot of techniques that can be transferred to other mediums later on.
I wrote a specific guide on what watercolor paint is. Feel free to check it out!
Today I am going to give you some of my favorite watercolor painting tips for beginners. I hope these tips will help you to get the most out of working with watercolors.
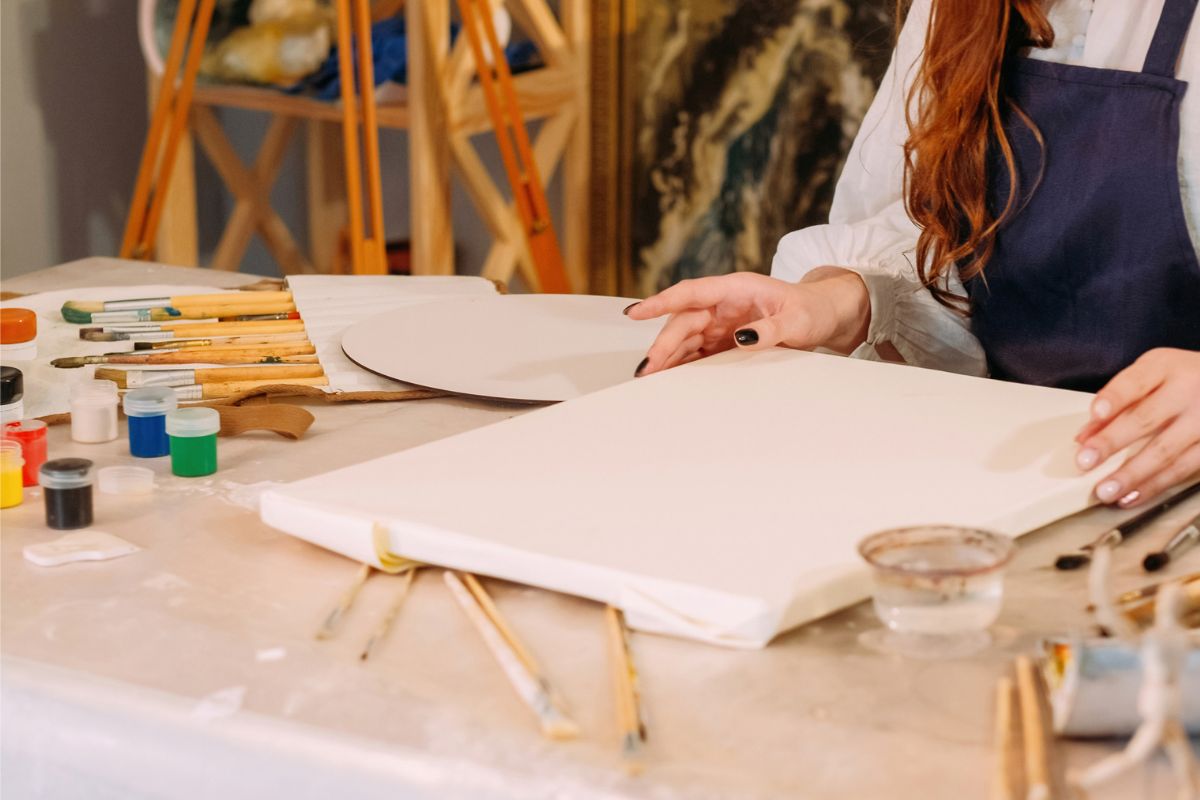
#1. Use Watercolor Paper
When working with watercolors, you are going to be using a lot of water. This means if you are painting on paper, the paper is going to warp.
It is important to use watercolor paper, which is specifically designed for use with watercolor paints. The paper may warp a little bit, but it can be flattened out after you finish your painting.
You can check my guide on how to flatten watercolor paper to learn more.
Watercolor paper is thicker than other types of paper, so it will absorb more water without warping too much. I recommend using 140-pound watercolor paper.
You also need to consider the texture of the paper. If you want to do fine detail work, opt for hot-press paper, which is smooth. If you want to do washes and detail work with a bit of texture, use cold-press paper, which has a bit of texture.
#2. Use the Right Brushes
Some people think that they need to have every type of paint brush that is available. This isn’t always the case.
I always recommend starting with the most important brushes. These include a round brush that can be used for details, filbert brushes with a wide, flat tip for blending, and a fan brush for creating things like grass, leaves on trees, etc.
Make sure that you take care of your brushes properly. One thing I love about working with watercolors is that it is so easy to clean the brushes when I am finished painting.
All you need to do is rinse them with soap and warm water until the paint is completely rinsed away. Mold the bristles to their original shape with your fingers, and then allow the brushes to dry before putting them away until you are ready to use them again.
#3. Play with Different Amounts of Water
The more you experiment with different amounts of water, the more you will learn about the amount of water you need for various effects. You will learn how much water is too much because it causes the paint to spread and it dilutes the pigments.
As you play around with different amounts of water, you will figure out which colors need more or less water. Eventually, you will know just how much water to use for each color you are working with, for washes, for details, etc.
#4. Mix More Paint than You Will Need
I always tell paint and sip students to go ahead and mix up a lot of paint, even if they are not going to use it all. One of the great things about watercolors is that they can be reused.
I often allow my paint to dry out, and then I can put it away until I am ready to use it again. All it takes is some water to reactivate the paint, and it can be used over and over again.
The main reason why I advise mixing more paint than you think you will need is because inevitably, you are going to need it. If you do not mix enough and you are doing a wash, it may be next to impossible to mix that same shade again. It is better to have too much than not enough.
#5. Plan the White Sections
If there are going to be white sections in your watercolor painting, I always advise planning them out in advance. There are a couple of ways you can ensure that the white sections stand out.
I like to use masking fluid. This watercolor medium is great because you can cover any areas that you want to remain white. Paint as you normally would, and paint right over the masking fluid.
When you have finished painting, all you have to do is peel off the masking fluid and the white will stand out. Masking fluid dries to a rubbery consistency, so it is easy to peel off without causing any damage to the watercolor paper.
#6. Make Test Swatches
Every time I get a new set of watercolor paints, I make a new set of test swatches on a piece of watercolor paper. This helps later when you need to know how a color is going to look on the paper, as it will look different than it does on the palette.
On each test sheet, write down the brand of paint you are using. Make a test swatch for every color, and then once it is dry you will be able to see how each color looks.
Be sure to file each of these sheets away for future reference.
#7. Paint From Light to Dark
With acrylic paints, painting is done from dark colors to light colors. It is just the opposite when you are working with watercolors.
Because watercolors are transparent, if you start with dark shades it will be impossible to see the lighter shades you paint over the dark ones. When you start with the lightest shades, you can be sure they are always going to stand out.
Check these watercolor painting ideas you can try.
Conclusion
These are just a few of the most important watercolor painting tips and tricks I like to share with my paint and sip students. There are so many tips I could share, but it will take more than one article to discuss everything you need to know about working with watercolors.
You can check my guide on watercolor painting techniques for more tips.
For the time being these tips should help you to get started. You will be able to see how the colors look by doing swatches. You will have white areas that stand out. And you will be able to blend your colors from light to dark so every color you use will be bright and vivid.
*image by golubovy/depositphotos
Sari Green is a semi-professional artist and professional writer. She has been hosting paint & sip parties for the past couple of years, and truly enjoys helping other people to create their very own masterpieces. She loves to create, and you never know what she’s going to come up with next!