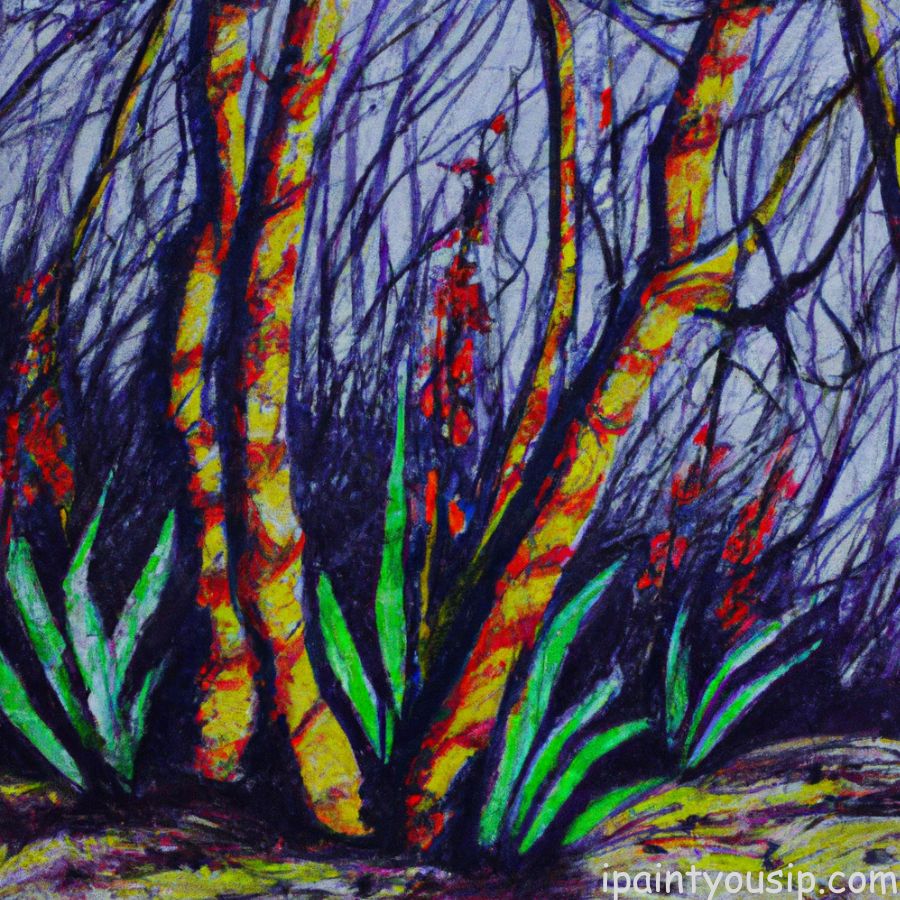
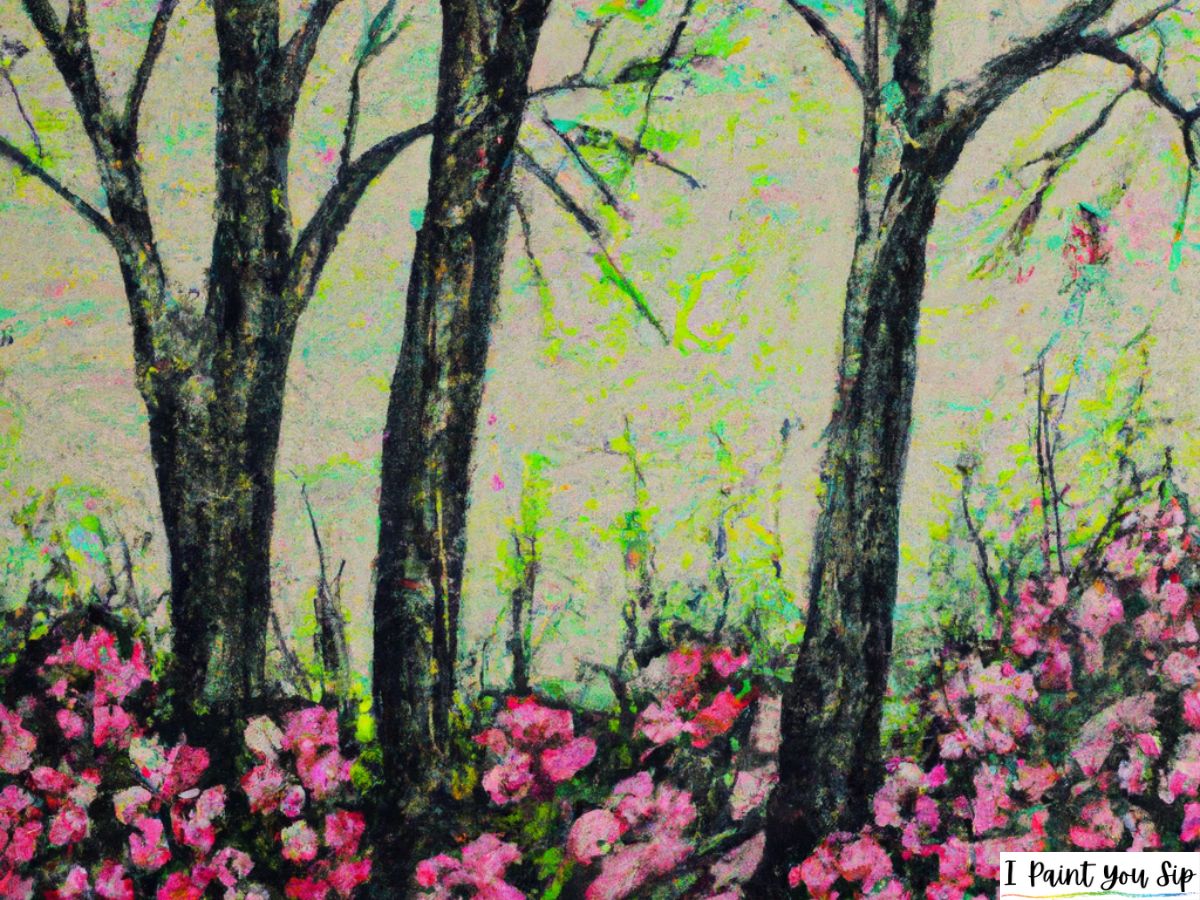
If you are looking for an alternative to oil painting, you may want to give oil pastels a try. These pastels can be used to mimic the look of oil paints, without some of the things that people find inconvenient about oil paints.
Oil pastels are soft, making it easy to use a number of techniques that will make your art look like a traditional oil painting. The colors are vibrant, and you can get oil pastels in grades from beginner to artist.
When most people start using pastels, they tend to use soft pastels and then move on to using oil pastels. While both have many differences, they also have some similarities, and you can often use the same techniques when working with both types.
Today we are going to talk about some of the most common techniques artists use when working with oil pastels.

To be able to create amazing paintings with oil pastels, there are certain techniques every artist should know.
How to Use Oil Pastels
Some oil pastel techniques are better for beginners than others, and it is those techniques we are going to talk about here:
#1. Blending
No matter what type of painting you are doing, chances are you are going to need to blend colors. This is one of the first techniques most students learn when they get into using oil pastels.
Blending oil pastels involves applying one color to the paper and then applying another color or shade beside the first color. Then, you would use a blending tool, or even your finger to blend the colors together. This creates a new color between the two original colors.
There is also a technique known as pre-blending. This is when you mix two colors on a palette. I like doing this because it gives me a chance to see what the blended color looks like before I apply it to the paper.
#2. Dotting
Dotting, also known as stippling or pointillism, is a technique that allows you to create texture through the use of dots. The tip of the pastel crayon is used to create shapes, figures, etc.
While dotting isn’t overly difficult, it is a technique that requires time and patience. It can be a bit tricky at first because you need to make sure that you don’t press down too hard and end up breaking the pastel and leaving crumbs behind on your work.
I suggest practicing dotting on a scrap piece of paper until you get the hang of it. Then you can try it when working on your next oil pastel painting.
#3. Overlaying
When you create a base and then create a new layer on top of that base, it is known as overlaying. This technique is used to give the painting a sheet effect.
Overlaying allows the artist to achieve thicker layers of color, which will give the painting a lot of color. This is great for painting backgrounds.
To use this technique properly, be sure to use the side of the pastel to get more coverage.
#4. Scratching
Here is a technique that is loads of fun to play around with! Also referred to as “sgraffito”, scratching involves using oil pastels dry.
When oil pastels are dry, you can get many of the same effects that you would get when using soft pastels.
The first step is to cover the paper with the colors you wish to use for your painting. Then, you will be adding another color on top of these colors. Quite often the top color will be black.
You will need to wait for a while to let the pastels set. Then, you can use a tool with a sharp tip to scratch off the black surface to draw any shape.
As you scratch away the black, you will see the bright colors underneath. The more colors you use, the more vibrant your finished painting is going to look.
#5. Stenciling
Stenciling is ideal for those who aren’t confident with their drawing skills. You can use stencils to keep from making a lot of mistakes. It will also allow you to work faster.
The first step is to cut out a shape from hard paper or cardboard (you can also buy pre-cut stencils). Lay the stencil on the paper and color inside the shape.
Don’t worry if you color on top of the stencil. This will not affect your painting in any way.
Another option is to apply the pastel colors on the edge of the stencil. Then you can use your finger to spread the color onto the paper. This effect works great if you want lighter colors.
#6. Masking
Masking is a fun technique that you can use to create abstract pastel paintings. It involves placing tape on various parts of the paper to create patterns.
You can use masking tape for this technique. Some artists also like to use draft tape or painter’s tape.
For a simple painting using this technique, place the tape on the paper to create some geometrical shapes. Then, use whatever colors you wish and color the entire page, coloring over the tape. You don’t have to worry about going outside the lines.
When you finish coloring, you can remove the tape and you will have spaces between the colored shapes. The lines will be nice and crisp.
You can use this technique to create textures, Simply leave the tape in place and color over it. The tape will add more texture to your painting.
Conclusion
These are just a few of the many techniques artists use when working with oil pastels. They are also some of the first tips I learned when I started working with oil pastels.
Once you get the hang of using these oil pastel drawing techniques, you can start moving on to some of the more advanced pastel painting techniques. It won’t be long before you have mastered most techniques and can create artwork you can truly be proud of.
See more:
Sari Green is a semi-professional artist and professional writer. She has been hosting paint & sip parties for the past couple of years, and truly enjoys helping other people to create their very own masterpieces. She loves to create, and you never know what she’s going to come up with next!

