Key Takeaways:
- Ideal for Beginners: Stencils assist participants who may lack drawing skills, ensuring they can create artwork they’re proud of.
- Best Surfaces for Stenciling: Smooth surfaces like glass, metal, wood, and fabric are preferable, as rough textures like canvas can cause paint to bleed under the stencil.
- Surface Preparation:
- Wood: Sand with medium-fine grit sandpaper, then clean with a water-vinegar solution.
- Metal: Clean with a water-vinegar solution; remove rust using vinegar and baking soda.
- Glass: Simply clean with a water-vinegar solution.
- Fabric: Wash and dry without fabric softener to ensure paint adherence.
- Securing the Stencil: Use painter’s tape to hold the stencil in place; avoid spray adhesives due to potential mess and fumes.
- Painting Technique:
- Dry Brushing: Apply paint to a brush or sponge, then offload excess on a paper towel before tapping onto the stencil.
- Layering: Build up color gradually to achieve the desired intensity.
- Avoid Premature Removal: Keep the stencil in place until painting is complete to maintain alignment.
- Touch-Ups: After removing the stencil, use a fine liner brush with the background color to correct any paint bleed or imperfections.
If you have been to a few paint and sip parties, you may have noticed that in some cases, the designs are already pre-drawn onto the canvases.
In some cases, the painters may have stencils of the designs that they can apply to the canvases themselves.
Why would you need to use stencils for paint and sip paintings? Well, painting and drawing are two completely different things.
Many great painters aren’t always great at drawing, but they can paint. When it comes to paint and sip classes, many of the guests are beginners, and often they aren’t experienced with drawing.
A stencil can help those who are not great at drawing. It will ensure that everyone ends up with a finished painting that they can truly be proud of.
Are you interested in learning how to use stencils for your next paint and sip party? Keep reading to find out more.
Surfaces for Stenciling
I tend to use stencils at paint and sip parties when working with surfaces other than canvases. A canvas has a rough surface, so it is not ideal for stenciling, although it can be done.
When you place a stencil on a rough surface, chances are the paint is going to bleed out of the edges. Paint party guests won’t be happy with the finished product if it looks messy.
If I am teaching a painting class using other surfaces, such as glass, metal, wood, or fabric, I often like to use stencils.
Prepare Surfaces for Stenciling
Before using stencils at sip and paint parties, it is important to prep the surface that you will be painting on. Each type of surface requires a different type of prep work.
Check all different types of surfaces you can use for sip and paint.
Make a Cleaning Solution
The first step is to make a cleaning solution. A simple cleaning solution can be made with one cup of water and one cup of vinegar.
If you need deeper cleaning, you can make a solution using one cup of water, half a cup of vinegar, and one to two teaspoons of Borax.
#1. Prepping Wood
Smooth the wood with medium-fine grit sandpaper. Wash with either cleaning solution, and allow the wood to air dry.
#2. Prepping Metal
Clean the metal with the cleaning solution and allow it to dry. If there is any rust, you can get rid of it with vinegar and baking soda, followed by a wash with the cleaning solution. Allow the metal to dry completely before the sip and paint class begins.
#3. Prepping Glass
Prepping glass is super easy. All you have to do is wash it with the cleaning solution and allow it to dry before the students begin painting.
You might also need to learn how to prime glass for paint to achieve the best outcomes.
#4. Prepping Fabric
Wash and dry the fabric just as you would with clothing. Do not use fabric softener, as it can keep the paint from adhering to the fabric.
Painting with Stencils
Now it’s time for the painting party to begin. Before the painters begin painting, I always get them to secure the stencil so it doesn’t move around.
This is as simple as using painter’s tape to hold the stencil in place. You can also use spray adhesive for this, but I find this can be quite messy, and the fumes are not good for anyone who has allergies or respiratory issues.
Once the stencil is in place, the fun part of the painting party can begin!
#1. Work in Layers
I always get paint party guests to work in layers, and to use the dry brushing technique. This works even when using other materials to transfer paint, including sponges.
The first thing to do is to apply paint to the brush, sponge, stipple brush, roller, etc., and then offload the paint by pressing it into a piece of paper towel. When stenciling, you don’t need much paint, and the brush should almost feel dry. Do not dip it into water.
Work in layers. Build up the color until you achieve the shade that you are looking for.
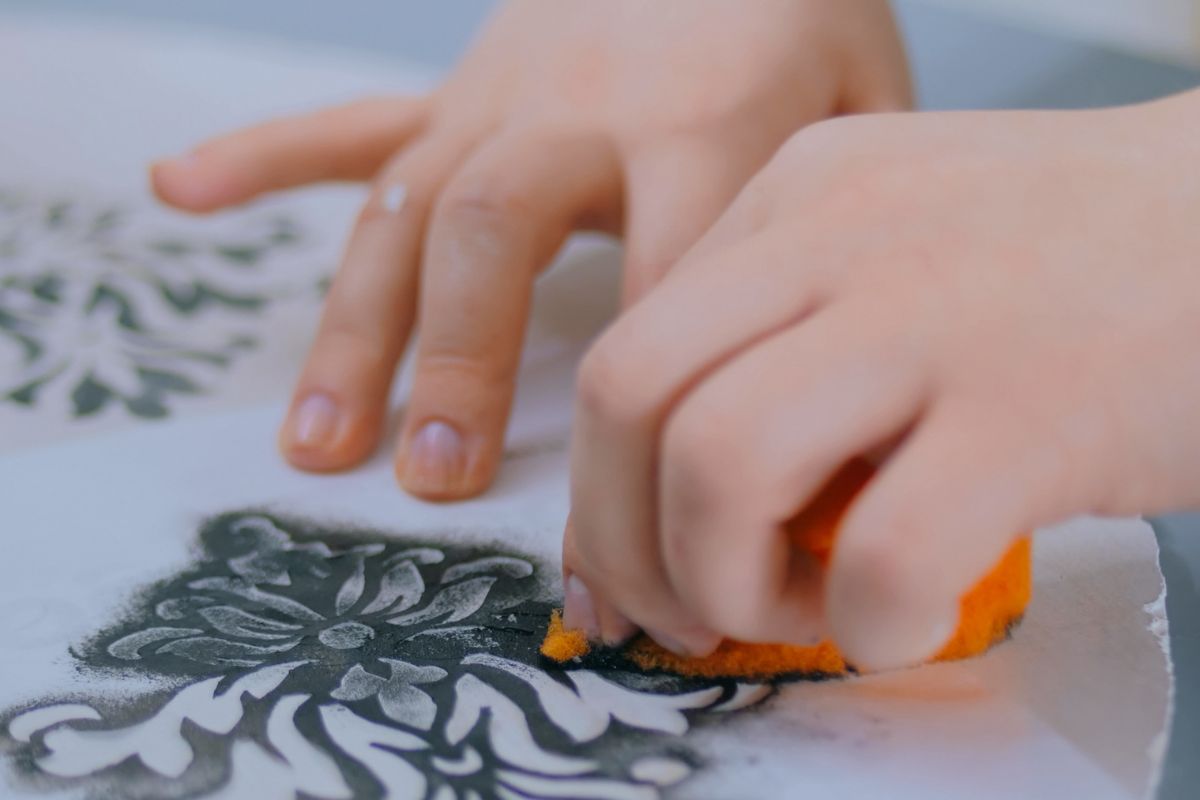
#2. Tap the Paint Onto the Surface
When using a paintbrush, you work in brush strokes. When stenciling, instead of strokes, paint, and sip students will tap the paint onto the stencil. The only exception to this is if the painters are using rollers.
I always tell paint party guests to begin at the edges of the stencil and work inwards. I also get them to use a clean brush, sponge, etc. for each color they are working with at the painting party.
#3. Don’t Remove the Stencil Until the Painting is Finished
It never fails. At every paint and sip party, I teach at, at least one guest pulls the stencil away from the painting before they are finished.
I get it, they want to see how their work looks every step of the way. But, it is next to impossible to place the stencil in the exact same position as it was in the beginning. Just leave it alone, no matter how tempting it may be to remove it.
#4. Touch-Ups
Once the painting is complete, paint and sip guests can remove the stencil to see how their paintings have turned out. Now is the time to fix any little mistakes, such as paint bleed.
I recommend using a fine liner brush for fixing these little details. Instead of using the color of the details, use the background or base color.
Conclusion
I love using stencils at paint and sip classes, especially if I am working with beginners. This gives them a chance to create a nice piece of art, and have loads of fun.
Paint parties should be lighthearted and not too serious. Using stencils is a great way to keep things light, and everyone still learns something without being overwhelmed by too much information.
If you are planning on teaching or hosting a sip and paint party in the near future, I suggest going online to order some stencils. The design options are virtually endless!
*image by Zyabich/depositphotos
Sari Green is a semi-professional artist and professional writer. She has been hosting paint & sip parties for the past couple of years, and truly enjoys helping other people to create their very own masterpieces. She loves to create, and you never know what she’s going to come up with next!