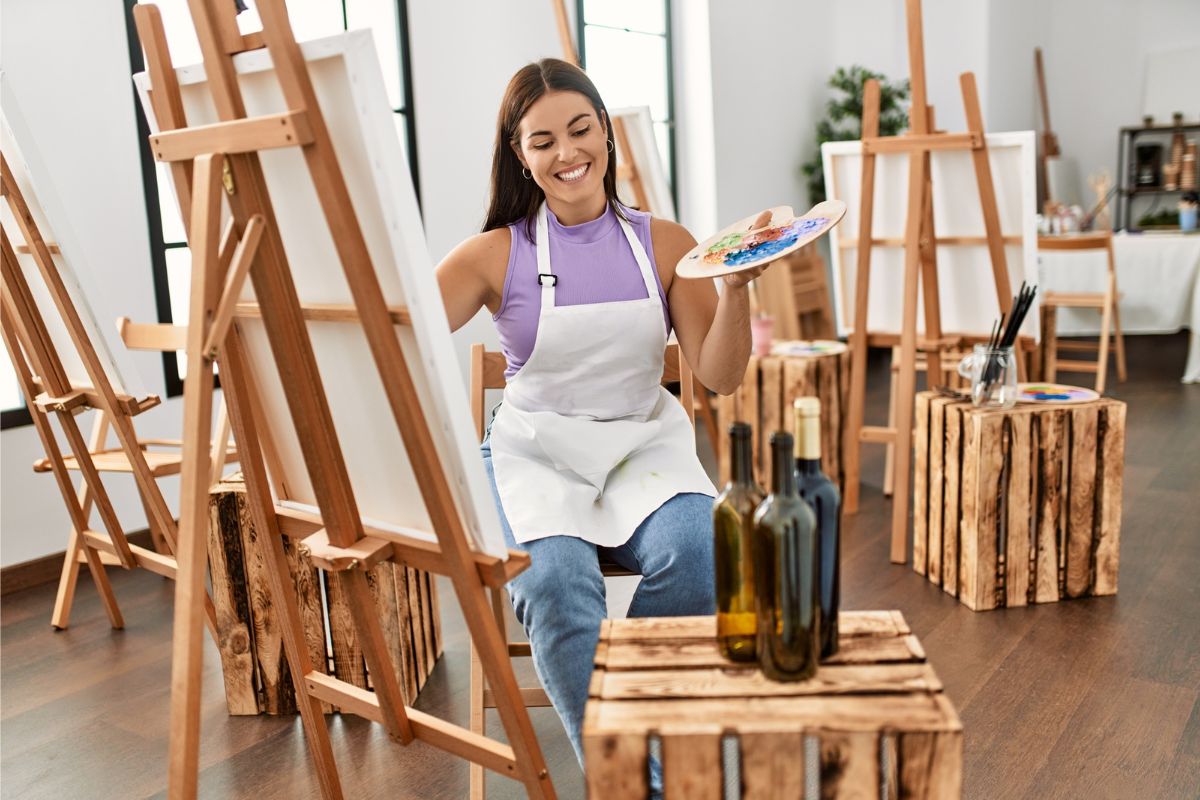
Anyone who has ever been to a paint and sip party knows that there is a lot of sipping going on. Most of the time, it is wine that most paint party guests are sipping on.
Wine could be the entire theme for your next sip and paint night. For instance, instead of painting on canvases, another idea could be to paint on wine bottles or most types of glass bottles.
I always love to use different surfaces, especially if I have repeat clients. This keeps people from getting bored because they are getting to try new things.
Painting on wine bottles is loads of fun, and it is a really cool idea for painting parties.
Today, I’m going to talk to you about two different ways you can paint on glass bottles and turn them into an evening of wine, wine, and more wine.
Ready to learn about painting on glass bottles? Let’s get started.
Why Paint on Wine Bottles?
You may be wondering why you would want to paint on wine bottles. Well, I can think of several reasons why painting on wine bottles is a great choice for paint and sip parties.
For instance, maybe you want to make a unique gift for someone. If they love wine and flowers, a painted wine bottle could be used as a vase, and it will be a one-of-a-kind gift.
Also, painting on bottles is a good way to learn how to paint on something other than a canvas. In fact, it may even get you wanting to paint on all kinds of other items around your home.
As I already mentioned, wine is a big part of paint and sip night, so this is a great way to continue with the wine theme.
How to Paint on Wine Bottles
Today we are going to look at a couple of different ways to paint on wine bottles. You could host two separate parties, and do one type of bottle painting at each party.
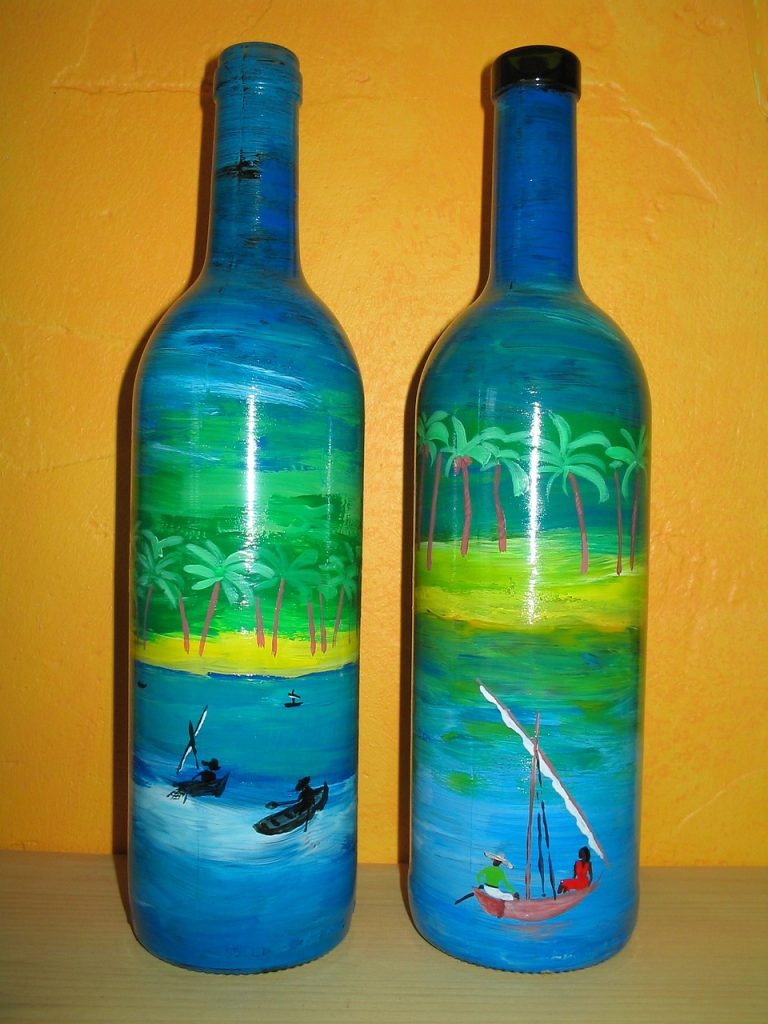
Full Bottle Paint
The first method of painting on bottles we are going to look at involves completely covering the bottle with paint. First, gather up all of the supplies you will need:
- A wine bottle for each guest
- Spray paint
- Acrylic paints
- Primer paint
- Paintbrushes
- Stencils (optional)
- LOTS of newspapers or drop cloths
Prepping the Bottles
Once you have gathered up all of the materials you will need for your paint party, it is time to prep the wine bottles. If there are labels on the bottles, they will need to be removed.
I usually use Dawn dish detergent to remove labels from bottles. Then I give the bottles a rinse in vinegar to get rid of any soap residue and allow the bottles to air-dry.
Painting the Bottles
The first step in the painting process is to give each bottle a coat of primer. This is going to make it easier for the acrylic paint to adhere to the surface.
I recommend using an enamel-based primer, as it is best for priming glass. You can use a brush or spray the primer onto the bottles.
This step should be done about three days before the painting party. You may need to use two or three coats of primer, and you should allow each coat to dry for about 24 hours.
Once the party starts, the bottles will be ready to paint on. Start by spraying a coat or two of paint all over the bottle. Then you can get into the actual design.
For this type of painting, I often bring stencils to create the design. Sometimes I simply tell the guests to let their imaginations run wild and paint whatever they want, and other times I have a specific design in mind.
When the painting is finished, you can also add embellishments to your bottles, such as glitter, ribbons, rhinestones, and more.
Painting a Lighted Bottle
The second method of painting bottles doesn’t involve coating the entire bottle in paint. There will be some painted designs, as well as plenty of clear space.
For this project, you will need the following items:
- Wine bottles
- Corks with mini LED lights
- Acrylic paints
- Paintbrushes
- Mod Podge or Sculpey Glaze for finishing
For this type of bottle painting, I bring special corks for each bottle. These plastic corks have strings of mini LED lights attached. The lights go into the bottle, and they add to the painting on the outside.
I don’t usually bother with a primer for this, because paint party guests won’t be covering the bottles entirely in paint so the light can shine through.
As with the other type of glass bottle painting, make sure that the labels have been removed and the bottles are clean and dry.
The designs can be stenciled on or hand-painted, whichever you and your guests prefer. Again, I like to let everyone do their own thing for this type of project. Just make sure that there is enough space left unpainted for the light to shine through.
Once the paint has dried, go over the design with a coat of Mod Podge or Sculpey Glaze.
When everyone has finished painting their bottles at the paint and sip party, embellishments can be added. I suggest not going overboard with embellishments to take notice of the light inside the bottles.
Check these acrylic glass painting ideas for more inspiration.
Final Thoughts
I love painting on wine bottles, and I have found that many paint and sip party guests also enjoy it. It’s a great painting surface alternative to canvas.
This is a fun way to create a unique piece of art that can be functional. The lighted bottles can be used as nightlights, and the full-painted bottles can be used as vases.
If you are trying to come up with something different and unique for your next paint and sip night, consider painting on wine bottles. It is loads of fun, and it will perfectly complement the wine you are serving.
See more:
*image by Krakenimages/depositphotos
Sari Green is a semi-professional artist and professional writer. She has been hosting paint & sip parties for the past couple of years, and truly enjoys helping other people to create their very own masterpieces. She loves to create, and you never know what she’s going to come up with next!