Key Takeaways
Remove Excess Paint: Begin by wiping off as much paint as possible using a rag or paper towel. This step minimizes the amount of paint that needs to be cleaned from the bristles.
Use a Solvent: Soak the brush in a container filled with a solvent like mineral spirits or turpentine. Swirl the brush gently to loosen the paint. Repeat this process in a second container with fresh solvent to ensure thorough cleaning.
Wash with Soap and Water: After solvent cleaning, wash the brush with mild soap and warm water to remove any remaining paint and solvent residue. Gently work the soap into the bristles and rinse until the water runs clear.
Alternative Cleaning Methods: For a less toxic approach, use vegetable oil to loosen the paint from the bristles, followed by washing with dish soap and warm water. This method is effective and reduces exposure to harsh chemicals.
Dry and Reshape: Once clean, gently squeeze out excess water with a clean towel. Reshape the bristles to their original form and let the brush dry flat or with bristles pointing downward to maintain its shape.
Condition the Bristles: To keep bristles soft and extend the life of your brushes, consider conditioning them with a brush conditioner or a small amount of linseed oil after cleaning.
If you are getting into oil painting, you are going to be spending more money on your art supplies than if you are using acrylic paints. Among the most expensive art supplies you need for oil painting are brushes.
You will need to use paint brushes that are specifically made for working with oil paints. Because they are more costly than other brushes, you will need to learn how to clean your brushes properly so they can be used for many years to come.
One good thing to be said about oil paint is that because it takes a long time to dry, chances are it isn’t going to dry on your brushes before you have a chance to clean them.
But, you still have to clean the brushes as soon as you are finished with a painting session to ensure that they retain their proper shape and are not damaged.
When I teach oil painting at sip and paint parties, I always make sure to have the proper cleaning materials with me. I show the paint party guests how to properly clean their brushes, and recommend the best products to use.
If you plan on working with oil paints or will be attending an oil painting paint and sip party, the following information will come in handy at the end of the evening when it is time to start cleaning up.
Prepare the Brushes for Cleaning
When it comes to cleaning and storing paint brushes, there are a few things you can prepare that will make it a lot easier to get them perfectly clean. The first step in the process is to pre-clean the brushes, which will require cleaning rags and some safflower oil.
Safflower oil is slower to dry, so if you are going to use your brushes within a day or two, I recommend this oil. Dip the bristles into the safflower oil, and then store them until your next painting session.
If you are not going to be using the brushes within a day or so, dip them into the safflower oil. Then, use the rag to squeeze the paint from the brushes, pulling the rag down the length of the bristles. Continue doing this with clean parts of the rag to get rid of as much paint as possible.
Once done, make sure you learn how to dispose of oil paint properly.
Grab Some Paint Thinner
Once you have gotten rid of any excess paint from the paintbrush bristles, it is time to clean off the rest of the paint. You can use solvents, such as paint thinner for this purpose. I usually use turpentine (in a well-ventilated area, as the fumes are pretty harsh).
For this brush-cleaning method, you will need two containers, some turpentine, and some paper towels or cleaning rags.
This can get kind of messy, so I suggest covering the work area with old newspapers when cleaning brushes after painting parties.
Pour some of the turpentine into each of the two containers, just enough to cover the brush bristles. Soak the brushes for a few minutes, and then swirl them around to get the paint loose.
Use cleaning rags or paper towels to blot the brushes. Be gentle with this step so you don’t damage the bristles.
Place the brushes in the second container of turpentine, and repeat the process.
You can also use paint thinner to clean oil paint palettes.
Important note: Turpentine is a toxic product, so make sure you know how to dispose of paint thinner after cleaning brushes properly.
Paint Thinner Alternatives
If you have environmental allergies or respiratory problems, I don’t recommend using paint thinner to clean brushes. There are other methods you can use.
For example, you can use a homemade mixture that contains an oil as an alternative to paint thinner.
Using Oils
You will need to have baby oil, safflower oil, or linseed oil, a container, paper towels, and some warm water.
Working over a sink, pour the oil into the container and place the brush bristles into the oil. Work the oil into the bristles with your fingers. Yes, this is going to get messy, and you will need more oil to wash your hands later.
Gently massage the oil into the bristles, and then rinse under warm running water. Repeat until the water runs clear. Finish by blotting the brushes on the paper towels.
Using Oil Soap
Another option is to use an oil soap to clean your brushes, especially if the paint is dried on. You will need some Murphy’s Oil Soap, paper towels, and some warm water.
Hold the brushes over a sink, and pour a little bit of the oil soap directly onto the bristles. Add a bit of warm water, and then massage the bristles, working the soap into each bristle.
Rinse and repeat until the brushes are clean. Then, follow up with a clear water rinse and blot dry with paper towels.
What if the Paint Has Dried Onto the Bristles?
If the paint has dried onto the bristles, you will need to use another method to clean it off. I recommend using mineral spirits for this. It is an organic solvent that can be used to clean paint that is wet or dry.
You will need mineral spirits, two glass jars, a plastic bag, a clamp or clip, and paper towels for this brush-cleaning method.
Fill one of the jars with just enough mineral spirits to cover the bristles. Use the clamp or clip to hold the brush in place so it is suspended in the mineral spirits without touching the bottom of the container.
Cover the container and brush with the plastic bag, and allow the brush to soak for 24 to 48 hours. Take the brush out of the container and blot it on some paper towels.
Fill the second jar with mineral spirits and soak the brush in this for about 10 minutes. Move the brush around to get rid of any paint that is left over. Blot with clean paper towels before moving on to the next step.
Cleaning the Cleaners
After cleaning oil paint from your brushes with solvents, soap, or oils, you need to clean away the cleaners. All you need for this is a bit of soapy water. I use a mixture of dish soap and warm water. Don’t forget the paper towels!
All you have to do is squirt a bit of the dish soap into your hand (standing over a sink to avoid messes). Wet the brush with some warm water, and then rub it back and forth across the soap on the palm of your hand.
Rinse the brush (and your hand) under warm, running water. Repeat until no more paint is picked up by the soap.
One Last Thing…
There is one final step in the brush-cleaning process. This is to make sure that the brushes are dried and re-shaped after cleaning them.
You will need cleaning rags and conditioner for this. Take a rag and wrap it around the bristles of a brush. Using gentle pressure, grip the rag with your fingers and pull down and away from the bristles.
Look for any soap or paint residue on the cloth. If there is any, rinse the brush and cloth under warm water.
For older brushes with brittle bristles, you may want to use a bit of conditioner (I use regular hair conditioner for this). Apply the conditioner, wait for a minute or two, and then rinse away with warm water.
Lay a cloth onto a flat surface, and lay the brush on top of the cloth. Then, lay another cloth over the brush. Keep flipping this over periodically, pressing down on the cloth to help dry the brush.
Now you can use your fingers to press the bristles back into their regular shape and straighten paint brush bristles.
These are the methods I use for cleaning oil paint from my brushes, and the methods I use when teaching painting classes. I hope they work for you as well.
See more: How to clean an oil painting
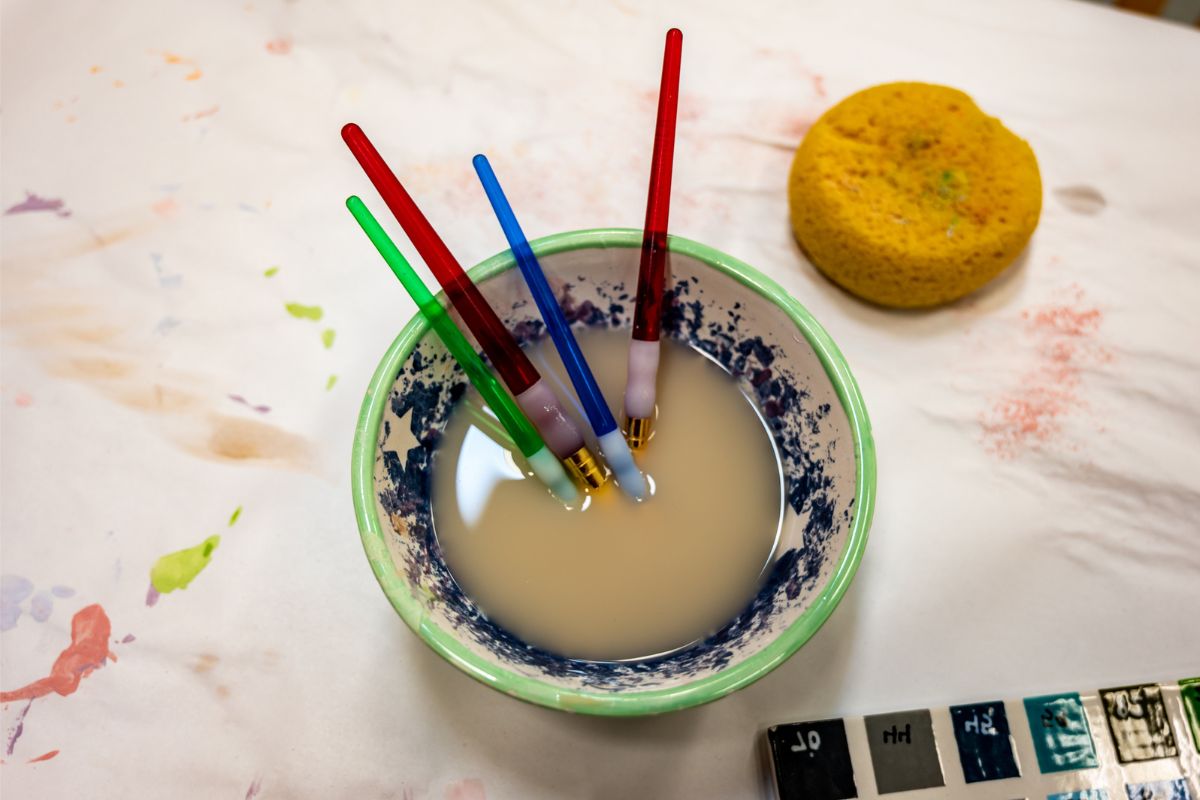
*image by Lost_in_the_Midwest/depositphotos
Sari Green is a semi-professional artist and professional writer. She has been hosting paint & sip parties for the past couple of years, and truly enjoys helping other people to create their very own masterpieces. She loves to create, and you never know what she’s going to come up with next!