Key Takeaways
- Assess the Damage: Examine the brush for stray hairs or dried paint. Trim damaged bristles and clean off any hardened paint before proceeding.
- Common Causes of Bent Bristles: Brushes often become misshaped due to improper storage, such as being left bristle-down in water or pressed against hard surfaces.
- Straightening Method:
- Soak in Hot Water: Place the bristles in hot (not boiling) water for 10–15 minutes to soften them.
- Lay Flat: Align the bristles and lay the brush flat.
- Apply Pressure: Place a flat object over the bristles and add gentle weight (like canned goods) to hold them in position.
- Dry Completely: Let the brush dry thoroughly—this may take several hours to a couple of days depending on thickness.
- Alternative Techniques:
- Linseed Oil and Glue: After cleaning, dip the bristles in linseed oil, reshape, then dip in water-soluble glue. Let dry fully before rinsing off the glue with warm water.
- Toilet Tissue Wrap: Wrap the cleaned bristles in tissue, shape them, and let them dry overnight to retain their form.
- Preventive Measures: Always store brushes flat or with bristles suspended. Avoid leaving them in water or pressed against surfaces to maintain their shape.
Have you got some paintbrushes that have bent bristles? While this shouldn’t be happening, there are occasions when it does, and you will need to know how to fix the problem.
After all, you spend a lot of money on quality paintbrushes. The last thing you want to do is have to replace them because you have bent the bristles.
While there may be times when you simply must give up and buy new brushes, there are ways you can straighten out some brushes and give them new life. There are a few ways you can do this, and today I am going to offer up a few tips that will help you save those expensive paint brushes.
Want to learn how to fix brush bristles? Let’s get started.
Examine the Brushes
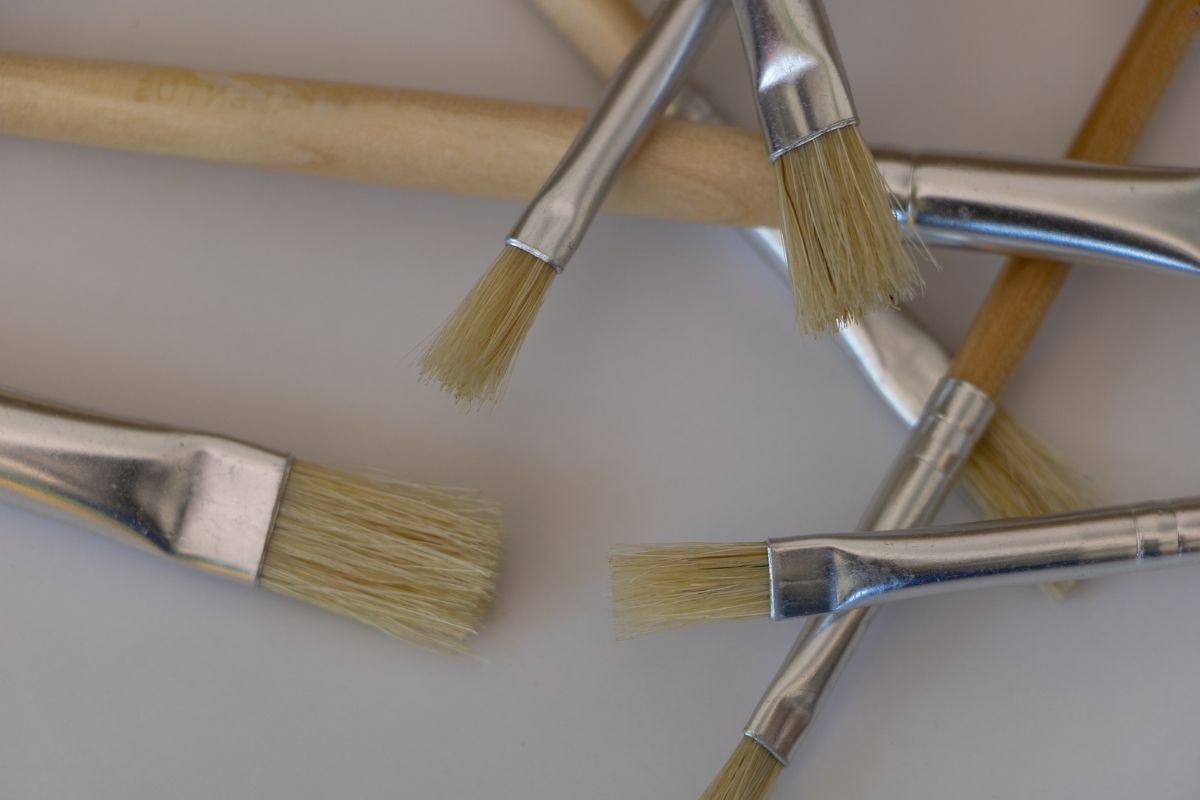
Before you can start working on straightening out the bristles of your brushes, you should examine them to see the extent of the damage. It may be that there is other damage in addition to bent bristles.
For instance, if there are any stray hairs, chances are they are not going to go back into place. If there are only a few stray hairs, you can easily cut them away with a pair of nail clippers or a pair of manicure scissors.
If there is other damage, such as dried paint on the bristles, you will need to clean the brushes before straightening the bristles. Whether it is oil or acrylic paint, you can get rid of dried paint by soaking the brushes in turpentine for a few days and then cleaning them in water to get rid of the turpentine.
Check my specific guide on cleaning oil paint brushes for more tips.
How Do Bristles Get Bent?
There are a couple of ways that paintbrush bristles can get bent. One way is due to improper storage of the brushes.
It is important to store your brushes so they are lying flat. The bristles shouldn’t be pushed against anything, otherwise, they will bend.
Quite often, beginner painters will simply place their dirty brushes into a cup of water until they are ready to use them again or clean them. This is never a good idea.
When you do this, the bristles are going to press against the bottom of the cup and it only takes a few minutes for them to begin to bend. There are special water cups you can get that will hold the brush above the bottom.
The bristles will be submerged in water, but they will never touch the bottom of the cup. When you use one of these cups the bristles are less likely to become bent.
How to Straighten Bent Brush Bristles
Now that you know why your bristles get bent and you have identified the brushes to be repaired, it is time to get to work. You will need to have a container that is large enough to hold the brushes while they are laying flat.
#1. Prepare the Container
The first step in the process of straightening plastic brush bristles is to fill the container with hot water. Allow the hot water tap to run for a few minutes so the water is as hot as you can get it without heating it on the stove.
Fill the container with enough water to completely cover all of the brushes you wish to repair.
#2. Place the Brushes In the Container
Place all of the brushes into the container of water. Each brush should be completely submerged so the water gets at all of the bristles.
Allow the brushes to soak in the hot water for 10 to 15 minutes.
#3. Arrange the Brushes
Now you can remove the brushes from the water. This next step involves laying the brushes on a flat surface.
Make sure that all of the brushes are spread out in a row. All of the bristles should be pointed in the same direction, and the metal bands should be in alignment.
#4. Put Something Heavy on the Brushes
Place a baking sheet over the brushes so the edge is over the bristles. Next, place some heavy items on top of the baking sheet.
I usually use canned goods for this step. They are heavy enough and they will stay in place.
#5. Let the Brushes Dry
Finally, allow the brushes to dry completely. This may take several hours or even a couple of days, depending on the thickness of the brushes and what they are made from.
Once the brushes are dry, the bristles should be straight again and the brushes will be ready for your next painting project.
More Tips on Straightening Paintbrush Bristles
Here are a few more tips that will help you to keep your paintbrush bristles nice and straight.
#1. Use Linseed Oil
If after using the above method to straighten your brush bristles and they are still bent, try using some linseed oil on them. Re-wash the brushes, and then dip them into the linseed oil.
Next, reshape the bristles with your fingers. Once the bristles are reshaped and without cleaning off the linseed oil, dip the brushes into water-soluble glue, such as Elmer’s white glue.
Allow the glue to dry for a week or two. Then you can wash the glue off with warm water (do not use any soap) and the bristles should be nice and straight.
#2. Wrap Bristles in Toilet Tissue
For this method, wash the brushes and rinse them, but leave a bit of the soap on the bristles. Next, wrap the bristles in toilet tissue, using your fingers to shape the bristles.
Allow the brushes to dry overnight. Remove the tissue, and the bristles should be much straighter.
#3. Try Using Vaseline
A little bit of Vaseline may just do the trick. Put a very small amount of Vaseline on the bristles and shape them with your fingers. After a few hours, wash away the Vaseline with warm, soapy water.
This method is best used on small brushes because the larger the brushes, the more difficult it will be to remove the Vaseline later.
Final Thoughts
Just because paintbrush bristles get bent, it doesn’t mean that the brushes are no longer usable. You just need to find ways to straighten out those bristles.
Another method you may want to try involves using tissue paper. Wash the brushes with warm, soapy water or brush soap. While they are still wet, lay them on a piece of tissue paper. Roll the tissue paper around the bristles, wrapping it as tightly as you can. Stand the brushes upright and let them dry for a day or two.
*image by Gicku91/depositphotos
Sari Green is a semi-professional artist and professional writer. She has been hosting paint & sip parties for the past couple of years, and truly enjoys helping other people to create their very own masterpieces. She loves to create, and you never know what she’s going to come up with next!